AI Product Photo Generator: A Practical Workflow Guide
Learn how to use an AI product photo generator to turn clean product photos into polished catalog and ad visuals with a repeatable workflow.
By Nim
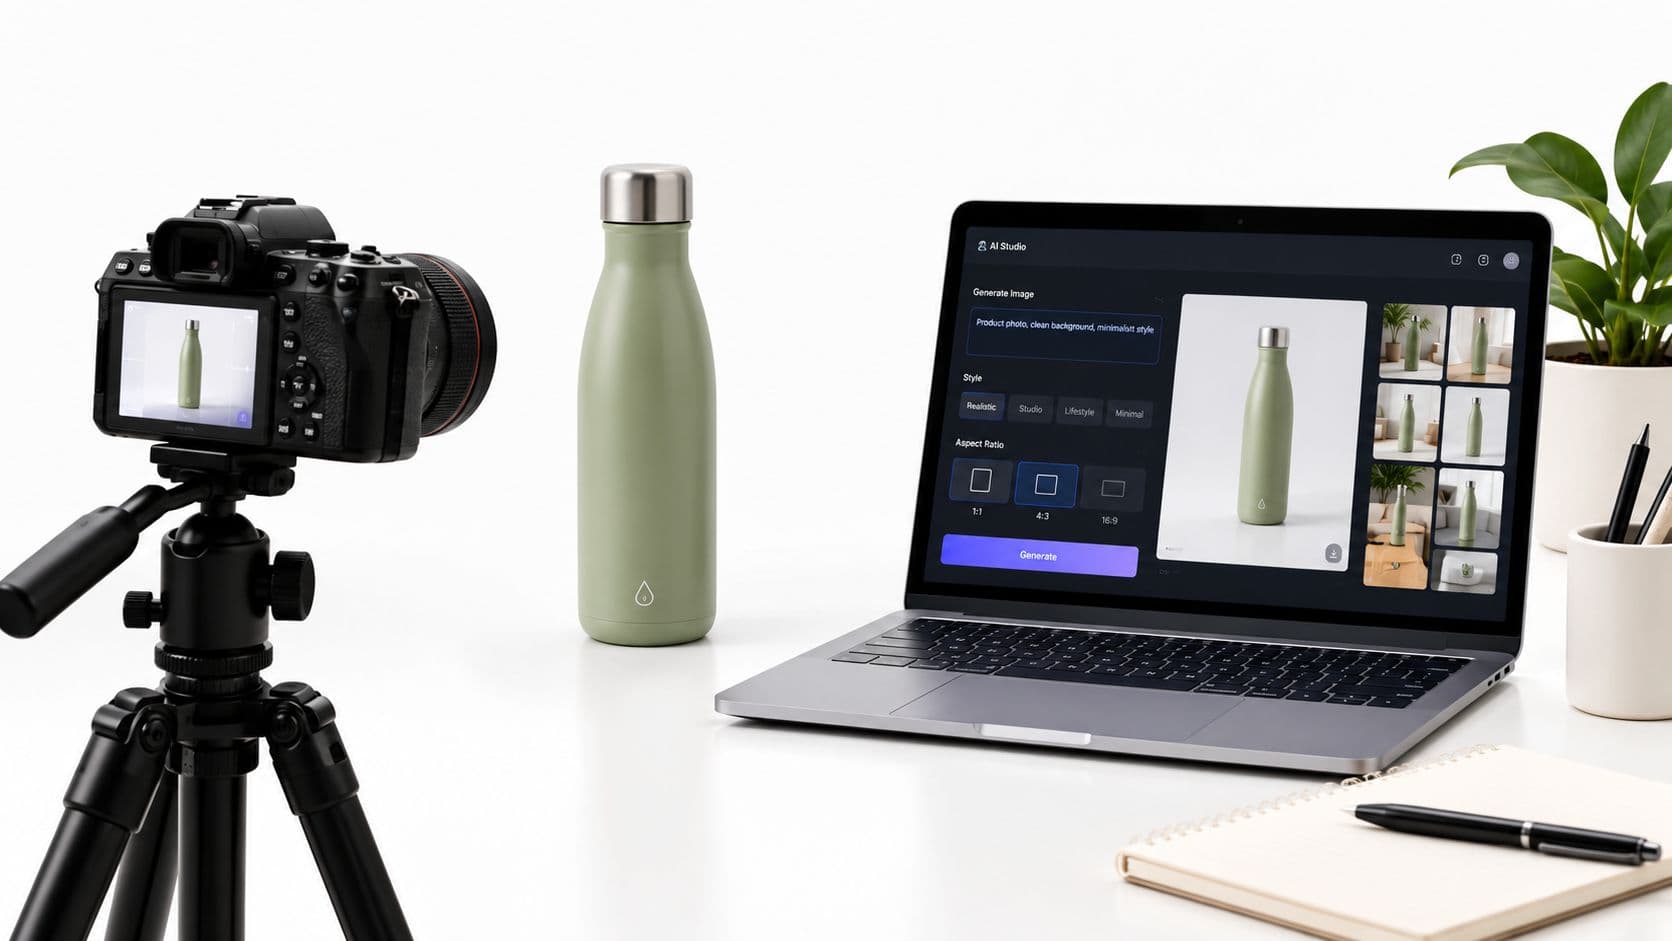
A seller may have an approved packshot for a new serum, bottle, or pair of shoes, yet still need lifestyle scenes, marketplace images, bundle compositions, and ad variations before launch. Re-shooting every concept is slow and expensive, while fully synthetic images can subtly change the product. An AI product photo generator is most useful in the middle ground: it starts with a real source photo, creates surrounding visual variations, and leaves the seller responsible for checking whether the product still matches what customers will receive.
The reliable workflow is simple: prepare one approved source, generate scene variations, review product fidelity, download only the approved assets, and reuse those assets across related formats. The sections below focus on that repeatable process rather than one-off prompt experiments.
What an AI Product Photo Generator Actually Does for Sellers
An AI product photo generator gives a seller a way to turn one approved product image into a controlled set of publish-ready assets. The job is to place the same item into a clean setting, a seasonal composition, a bundle layout, or an ad scene without changing the label, color, proportions, or finish.
That matters most when the source is already approved. A skincare seller with one jar photograph can use it for a white-background listing image, a bathroom counter scene, a soft morning-light composition, and a grouped visual for cross-sell or launch creative. The value comes from building a consistent asset set from one verified product reference, not from collecting attractive images that drift away from the actual product.
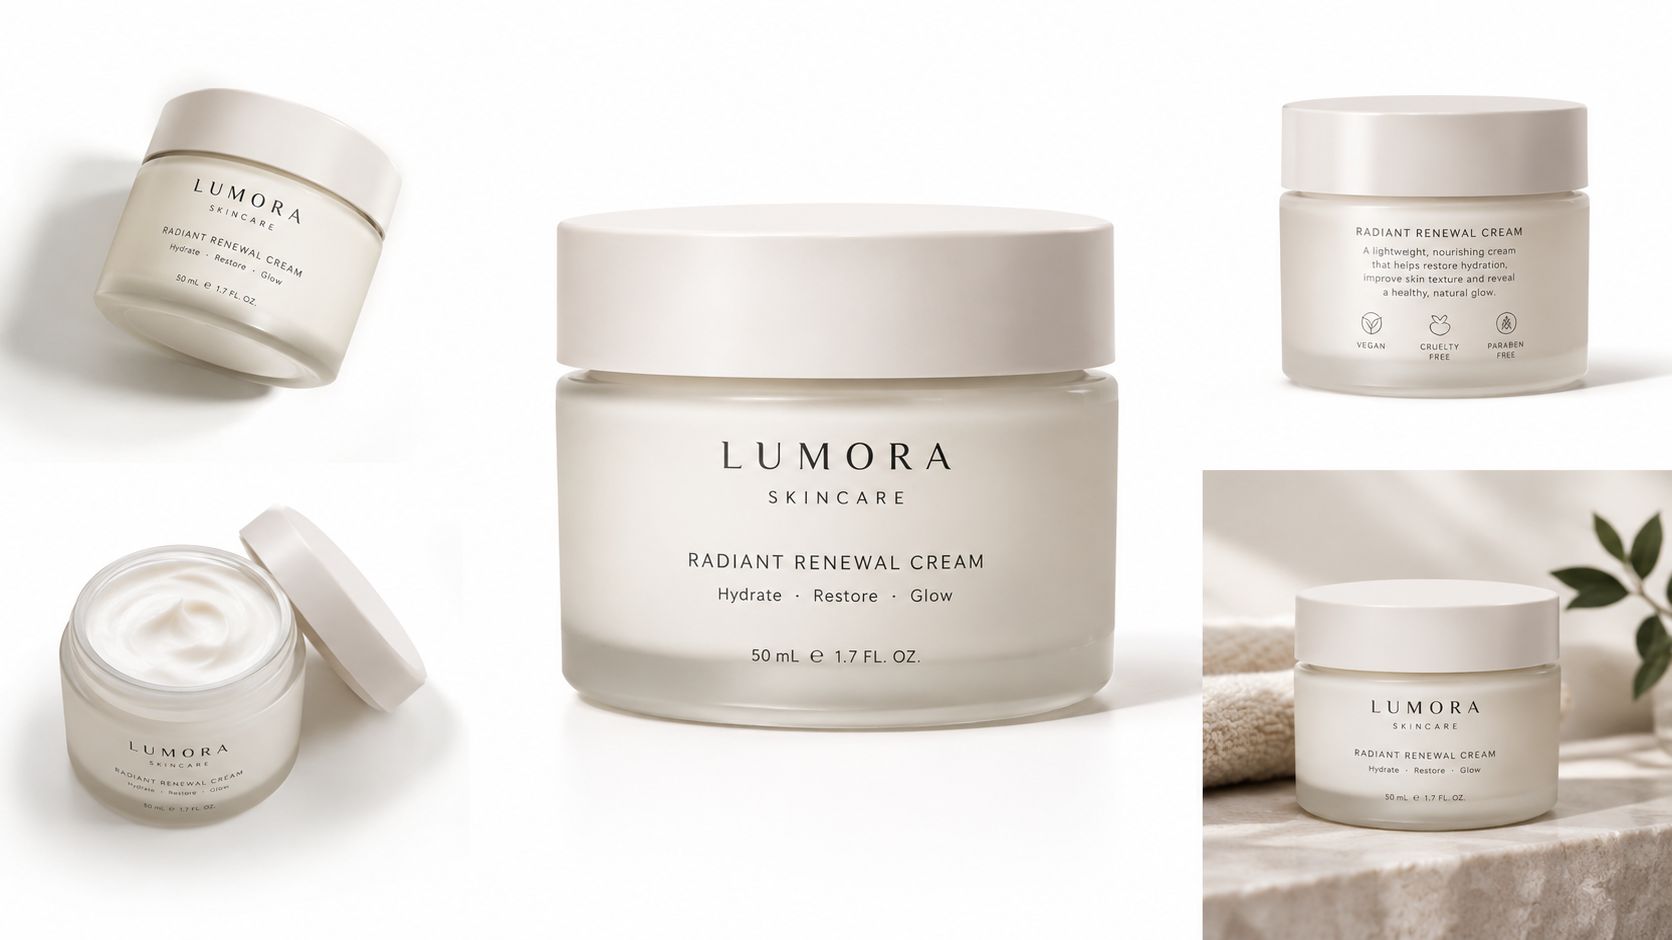
The repeatable production loop
The workflow is straightforward.
- Input: Add a clean source photo that already represents the product accurately.
- Generate: Describe the intended environment or commercial use without asking the system to redesign the product.
- Review: Compare every result with the source at full size, not only as a thumbnail.
- Download: Keep only variants that pass the fidelity check, then reuse those approved files as references for related assets.
Prompt libraries can help a creative team study how scene descriptions are structured, especially when a campaign needs several visual directions. A resource such as prompts for AI image generation can support ideation, but the final prompt still needs to match the actual product, packaging, materials, and placement requirements.
The method fails fast when the source image is blurry, badly cropped, color-shifted, or partly obscured. No scene prompt can reliably restore label text or geometry that the input never captured.
That is why the production standard stays conservative. Start with one approved source, generate variations around it, and reject anything that changes the product itself. For sellers, the key benefit is not a single polished image. It is a reusable set of assets that stay consistent across marketplace listings, paid ads, and brand content.
Preparing Your Source Photo Before Generation
Generation quality is capped by the source. A clean input gives the system readable edges, stable color, and enough detail to preserve the product instead of guessing at it later. In practice, the first approval happens before any prompt is written.
Use a square or 4:5 aspect ratio, with at least 2048×2048 pixels and 300 DPI for most storefront placements. The source should show the complete product, with no clipped cap, missing corner, hidden handle, or cropped packaging.
A source-photo checklist
- Show the whole product: Use a front-facing or familiar three-quarter view where the silhouette is easy to read.
- Keep the lighting neutral: Even illumination makes the actual product color easier to preserve. Strong color casts can be mistaken for the product's true finish.
- Protect small details: Brand marks, ingredient text, capacity labels, stitching, buttons, and surface texture should remain sharp at full resolution.
- Remove unrelated objects: Hands, props, flowers, utensils, and decorative packaging can be interpreted as part of the scene or product.
- Use a simple background: White or neutral gray gives the generator a clean boundary between the object and its surroundings.
- Save the approved original: Keep a high-resolution PNG or high-quality JPEG as the untouched reference, rather than repeatedly editing the only copy.
A stricter capture standard uses a clean white or neutral gray background, no clipping, at least 1080p resolution, and ideally 4K. Neutral lighting helps because strong directional shadows can carry into later generations. If the product still needs to be separated from the background, use the object isolation workflow before generation starts.
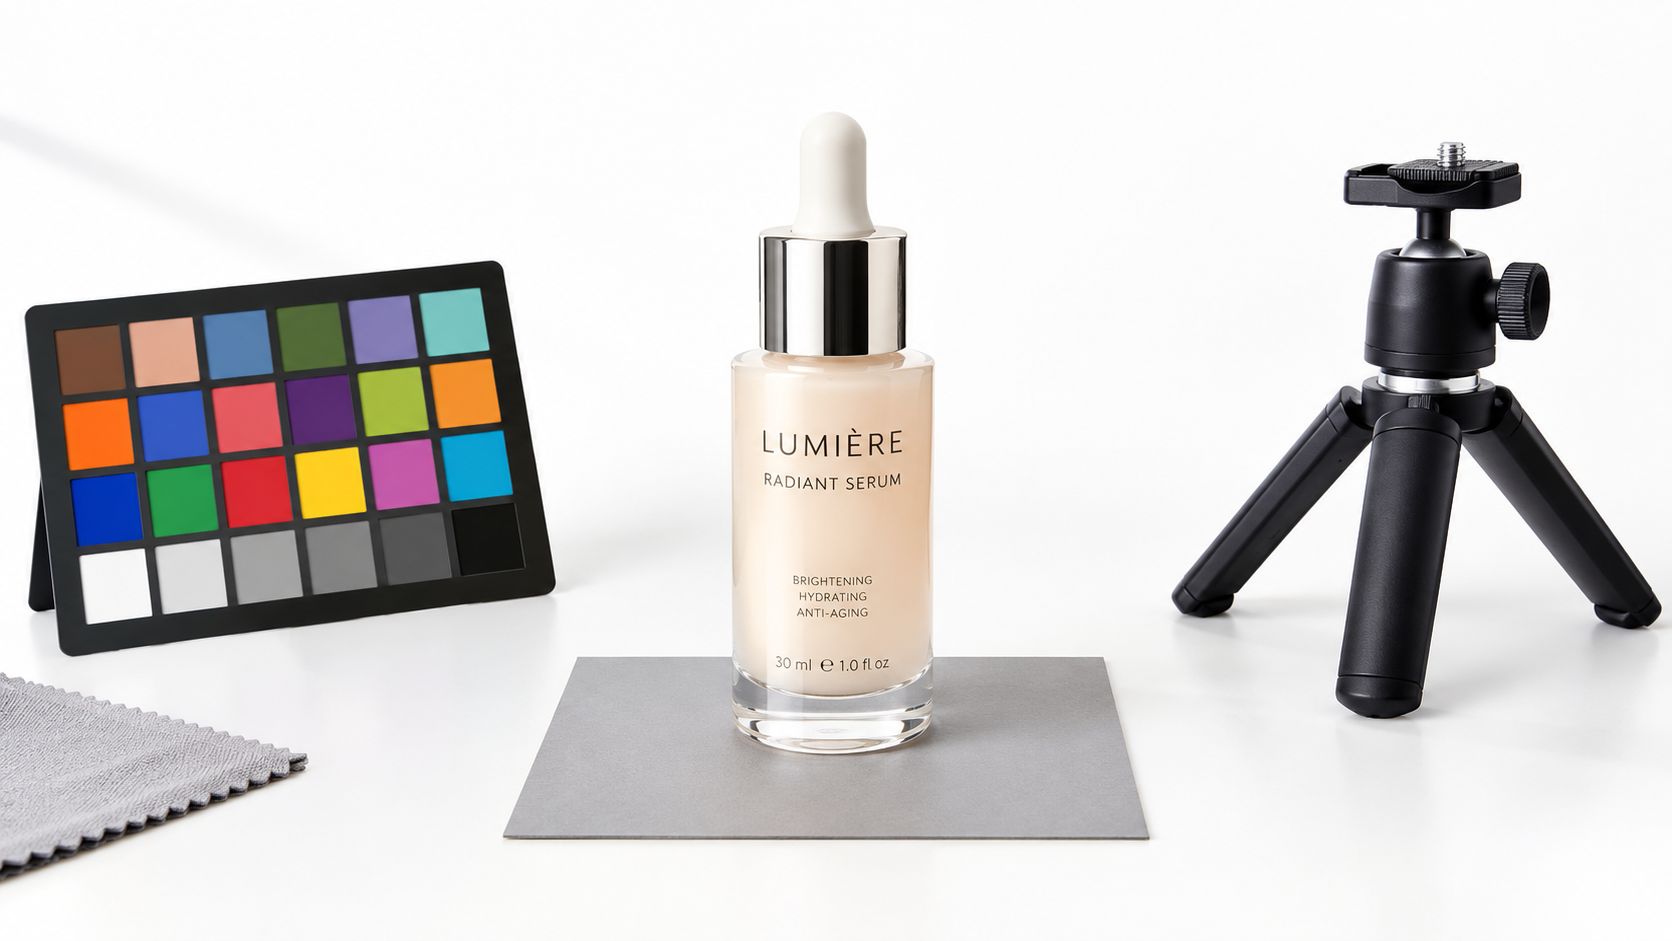
Reflective items such as jewelry, watches, glass, and polished packaging need controlled highlights, not large blown-out reflections. Teams that capture stunning jewelry images usually start with a source file that preserves shape, shine, and readable detail before any scene generation begins.
The practical standard stays conservative. Start with one approved source, keep the product faithful, and reject anything that changes the SKU itself. That approach gives sellers a reusable base for marketplace listings, paid ads, and brand content instead of a single image that only works once.
Running the Enhance Product Photo Template
A clean source file is only the starting point. The next step is to open the Enhance Product Photo template in Nim, upload the prepared product image, and describe the scene you want around it. Keep the request focused on context, not on redesigning the product itself.
A practical prompt gives the template three clear signals:
- The product: “Matte black stainless steel water bottle”
- The setting: “On a pale stone kitchen counter”
- The visual treatment: “Soft morning window light with a restrained background”
That level of direction keeps the output steady. It tells the generator what to build around the product without asking it to balance unrelated styles. A prompt that piles on “luxury, playful, industrial, maximalist, minimalist, dramatic, pastel, and editorial” sends mixed instructions and usually weakens the result. Product work is better served by one scene objective at a time.
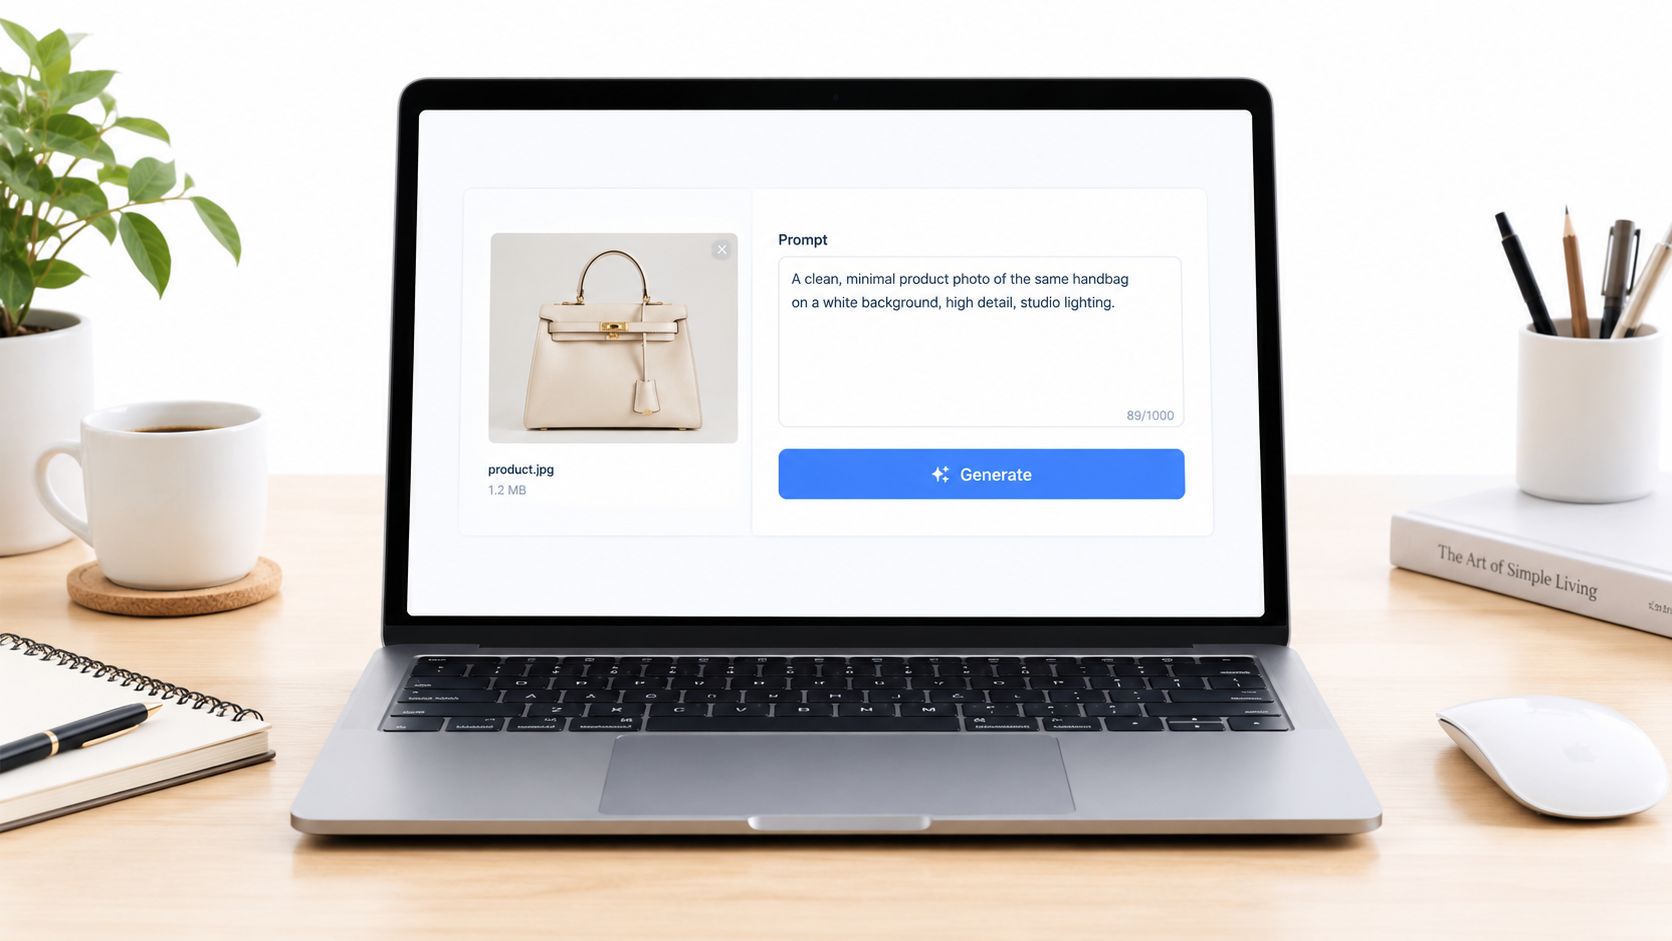
A controlled first pass
A reliable production flow looks like this:
- Open the template and add the approved source image.
- Write a concise scene prompt that names the product and its setting.
- Generate the image with the template options.
- Compare the result with the source, checking product details before approval.
- Download only the approved variant for downstream use.
The source image should stay unchanged through review. If a generated version changes the cap, softens the logo, alters the bottle width, or shifts the approved color, reject it. A polished background does not make the asset usable if the product no longer matches the reference.
Creative review and production approval also need to stay separate. A variant can work as a direction for brainstorming and still fail for a product detail page. Marketplace listings, paid ads, and social posts allow different compositions, but none should misrepresent the item being sold.
That is the true use of the template, scene production around a controlled reference. It does not replace product photography when the source file misses key details, and it should not be treated as a one-click catalog approval tool.
Reviewing Variants for Product Fidelity
A generated product image can look fine at thumbnail size and still fail the moment a shopper zooms in. The source photo has to stay the reference for every review, because that is what defines the product, not the polished background around it.
Text is the first place variants break. Brand names, ingredient lists, capacity markings, model numbers, and compliance statements need character-by-character comparison, since AI output often looks plausible from a distance while hiding missing characters, misspellings, or invented marks.
The fidelity pass
Review each variant in this order:
- Label and logo: Is every visible word correct, legible, and in the same position?
- Colorway: Does the product keep the approved hue, including the difference between matte, satin, metallic, and glossy finishes?
- Geometry: Are the cap, lid, handle, base, corners, and label proportions unchanged?
- Material behavior: Do glass, chrome, fabric, plastic, and liquid surfaces reflect or bend light in a believable way?
- Edges: Are there halos, duplicated contours, melted details, or accidental extensions?
- Shadow direction: Does the shadow sit naturally under the product and match the scene lighting?
Internal testing across multiple models shows the same pattern. Product fidelity often fails on text and geometry, which is why visual polish alone is not enough for commercial approval.
A beautiful image with the wrong label is still a failed product image.
Shopper trust is affected too. Buyer reactions to AI product photos show that visible errors, especially wrong colors, unnatural fabric behavior, and inconsistent proportions, are the details that trigger doubt. Clean composition can help, but it does not rescue a variant that misrepresents the item.
Any variant that fails one of these checks should stay out of the published asset set. Regeneration is usually safer than trying to hide a changed logo or distorted edge with downstream retouching. When the goal is a consistent set of ecommerce assets from one approved source photo, fidelity review is the gate that keeps the workflow usable.
Turning One Image Into a Full Visual Set
One approved still shouldn't become a dead-end file. It should become the reference for a controlled family of assets, with each new format given one clear commercial purpose.
A clean front-of-pack image can support several routes:
| Asset need | Suitable visual direction | Main review concern |
|---|---|---|
| Product detail page | Clean studio or neutral scene | Accurate label, color, and silhouette |
| Bundle promotion | Several approved SKUs in one composition | Correct scale and product count |
| Lifestyle placement | Product on a desk, shelf, kitchen counter, or vanity | Natural contact shadow and context |
| Paid advertisement | Product with clear negative space for campaign copy | No accidental generated text or claims |
| Short product clip | Controlled movement or reveal based on an approved still | Product shape remains stable during motion |
For a multi-SKU composition, the ecommerce product collage workflow is the relevant kind of next step. A bundle scene should use approved references for every included item. If one product has not passed the fidelity check, adding it to a collage only spreads the uncertainty across a larger asset.
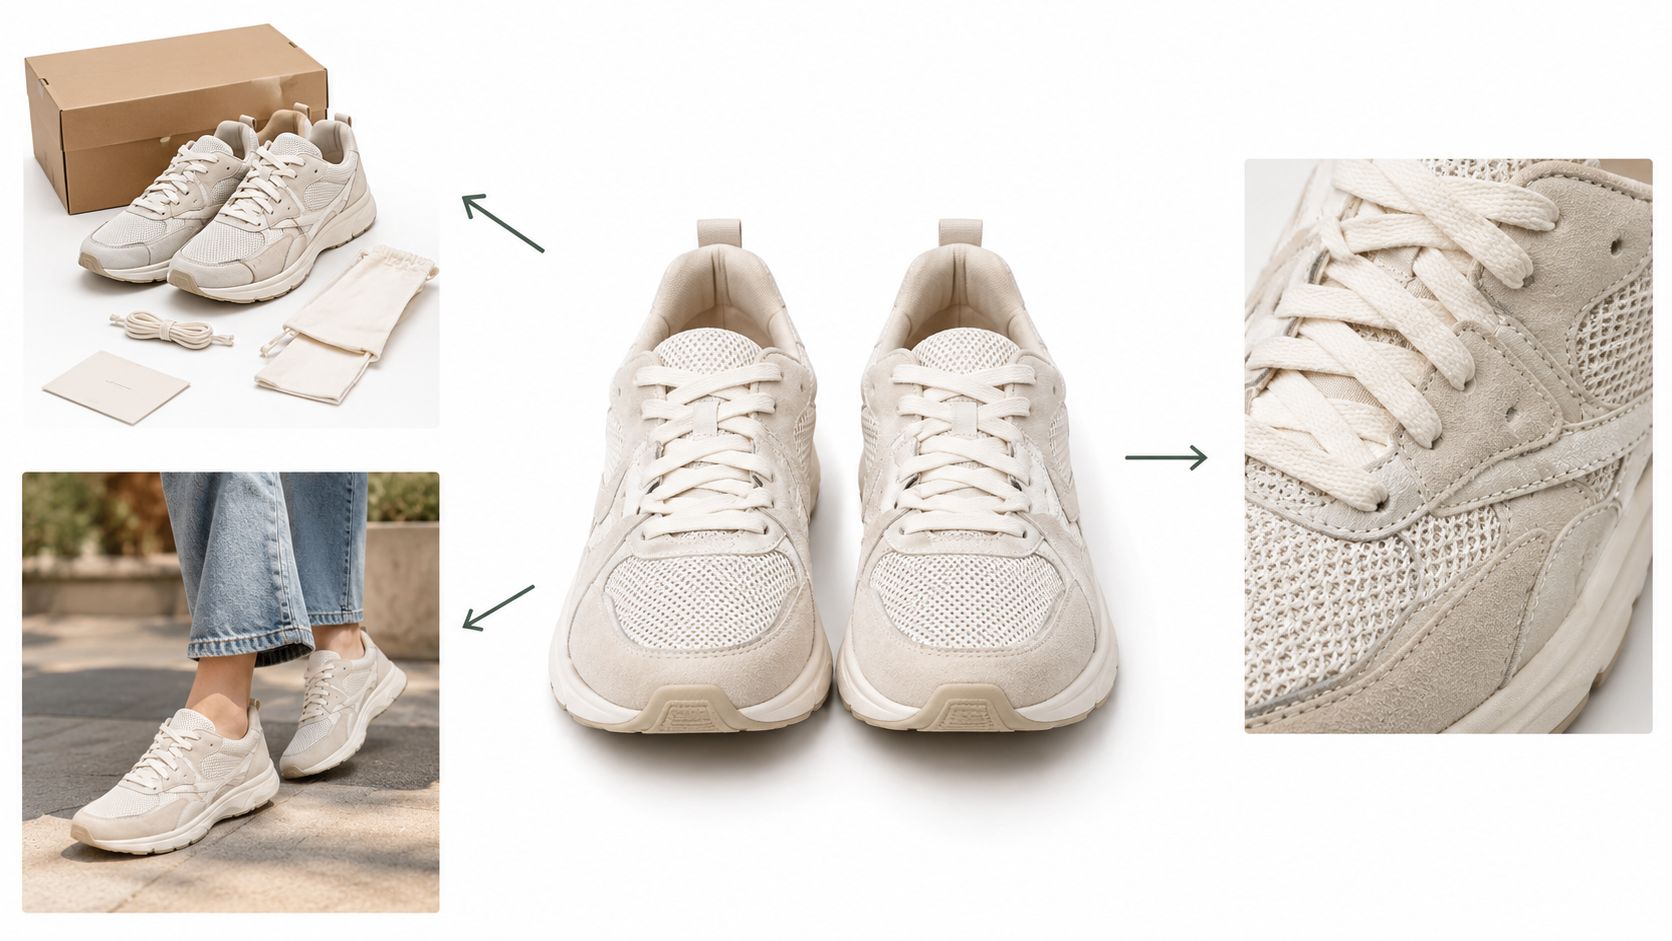
Still images versus motion
Still images offer tighter control over labels, framing, and marketplace requirements. Lifestyle scenes create more emotional context, but they also introduce more opportunities for scale, lighting, and contact-shadow errors. Bundle images communicate selection or value, yet they require a separate check for every SKU in the frame.
Motion can make a product feel more tangible, but it adds another fidelity dimension. A short product clip should begin with an approved still and use a simple visual idea, such as a measured reveal or product turn, rather than combining movement, new props, text, and a completely different environment at once.
The reuse rule is strict: only approved variants should feed the next workflow. Teams should retain a master filename for the accepted source and generate one asset type at a time. That keeps prompt adjustments targeted and makes it easier to identify whether a failure came from the product reference or from the new scene direction.
Troubleshooting Common Generation Problems
A weak result often points to a source or workflow problem, not a missing prompt detail. A drifting logo, altered cap, or inconsistent silhouette usually means the generator has moved too far from the approved source photo. Treat that source as the control reference for every asset in the set.
When branding starts to drift
If the logo changes, label color softens, or the cap becomes irregular, stop editing the flawed variant. Return to the original approved image. Regenerating from a compromised output can preserve its errors and carry them into later product scenes.
Use a conservative recovery sequence:
- Return to the verified source image.
- Simplify the scene description.
- Change one scene variable at a time.
- Generate a new variant.
- Compare it with the original before approving it.
Keep the first recovery attempt visually plain. A neutral background and limited props make it easier to judge the product itself. Add decorative elements only after the product remains stable across variants.
When a marketplace image is unsuitable
Marketplace images have stricter requirements than advertising or lifestyle content. As a general marketplace guideline, the main image typically needs a pure white background, the product filling most of the frame, and no text, watermarks, borders, or confusing props. Requirements vary, so check the specific platform's current image rules before publishing. For additional context, see this ecommerce AI product photography guide.
Do not force a lifestyle variant into the main listing position. Use the cleanest, most restrained approved version for that role. A more expressive scene can support advertising or secondary content, provided the product remains accurate and clearly identifiable.
When a set feels inconsistent
One approved source photo should anchor the full asset set. If variants using the same scene description show different camera heights, shadow directions, or product scale, inspect the source before adding prompt detail. Reframe the product, improve the lighting, and remove distracting elements from the input. Then generate again from that cleaner reference.
Review the output as a group, not only as individual images. Compare product size, angle, lighting, and surface details across the accepted variants. A single attractive image can still weaken the set if it makes the product look different from the other approved assets.
The reliable rule is return to the source, change one factor, and rerun. Background edits may fix presentation, but they cannot reliably restore a changed product identity. Keep the approved source unchanged, and use only verified variants as inputs for the next asset type.
Putting the Workflow Into Practice
A practical run starts with one approved source photo of a product, such as a serum bottle. The image should show the full bottle, readable branding, accurate color, neutral lighting, and a plain background. Open the Enhance Product Photo template in Nim, add the cleanest approved product photo, write a focused scene description, generate a result, and compare the output with the original.
The first decision is whether the source needs repair. If the label is soft or the product is clipped, another generation pass is the wrong next move. If the source is solid but the scene feels off, change the scene description and keep the original file unchanged.
The handoff decisions
After review, the strongest accepted image becomes the reference for the next asset.
- Bundle image: Use approved product references and check every SKU in the composition.
- Ad creative: Choose a scene with usable negative space and inspect it for accidental text or product claims.
- Short product clip: Start from an approved still and keep the motion concept simple.
- Marketplace image: Use the most restrained version and check the relevant platform rules before publishing.
A consistent filename helps keep the wrong variant out of an ad folder or product listing. A practical naming pattern can include the SKU, scene purpose, approval status, and channel, for example serum-front-approved-pdp or serum-counter-approved-social. The exact format matters less than keeping one untouched master and one clearly marked approved derivative.
Teams planning short-form commerce campaigns can also review broader guidance on AI strategies for TikTok Shop growth, while keeping product-fidelity checks specific to each published asset.
The workflow scales when approval happens before reuse. Sellers should not place an uncertain image into a collage, animation, or ad and hope later editing will fix it. Keep the source, generation, review, and download cycle short enough to repeat across the catalog without weakening the quality gate.
Once one asset passes inspection, reuse the approved version as the starting point for the next product visual. That approach keeps the set consistent, reduces rework, and makes it easier to build bundles, ads, and product-focused creative from a single source photo.
- ai product photo generator
- product photography
- ai ecommerce
- product visuals
- naked templates