AI Royal Portrait Generator: Turn Photos Into Regal Art
Turn your everyday photo into a majestic royal portrait with an AI royal portrait generator. Create stunning, regal images in seconds using advanced AI
By Nim
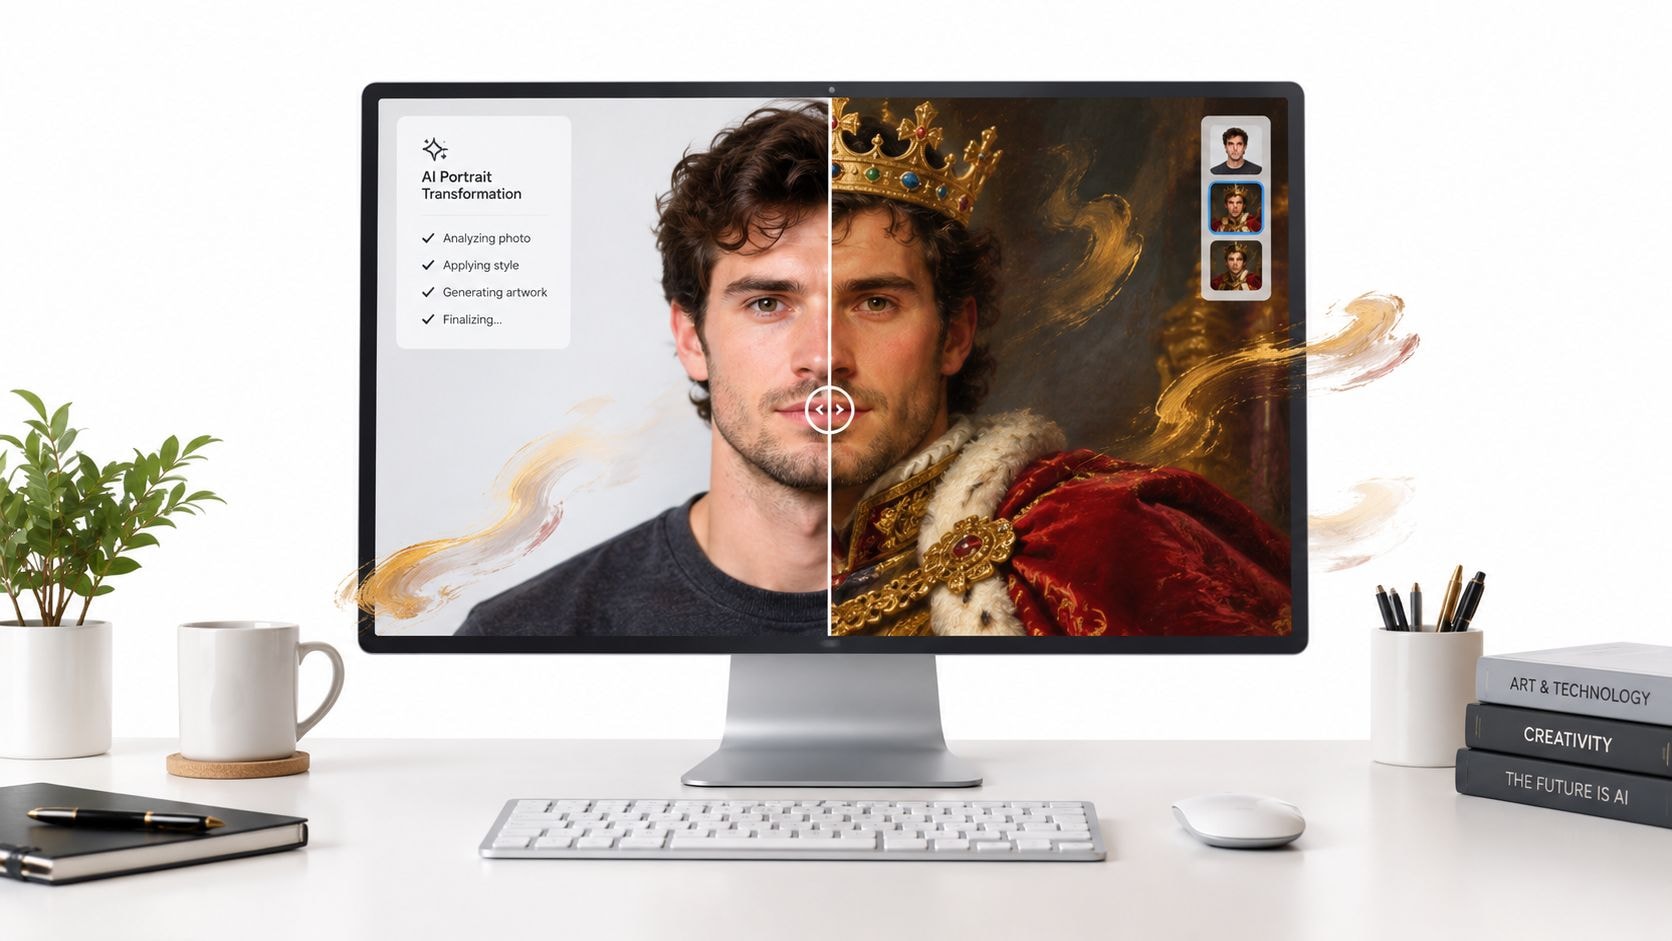
A clean selfie is already enough to start. With the right preparation, an AI royal portrait generator can turn a front-facing phone photo into a painted regal portrait, then refine the face, replace the setting, and improve the final image without a studio shoot. The practical challenge isn't finding a crown or ornate clothing. It's keeping the subject recognizable after the system changes the lighting, costume, pose, texture, and background.
The workflow below uses Nim's Personal Royal template for the classical painted transformation, followed by Mug Shot, Background Replace, and Upscale. The result depends heavily on the source photo, so the strongest gains usually happen before generation, not through increasingly elaborate prompts.
When a Single Selfie Should Become a Royal Portrait
A person opens the phone gallery looking for a usable portrait and finds the usual candidate, a recent selfie with the face centered, reasonably sharp, and free from distracting objects. That image is generally enough to begin a regal transformation in Nim. The useful sequence is straightforward: create the painted royal portrait, refine the headshot, place it in a more convincing royal interior, and upscale the finished composite.
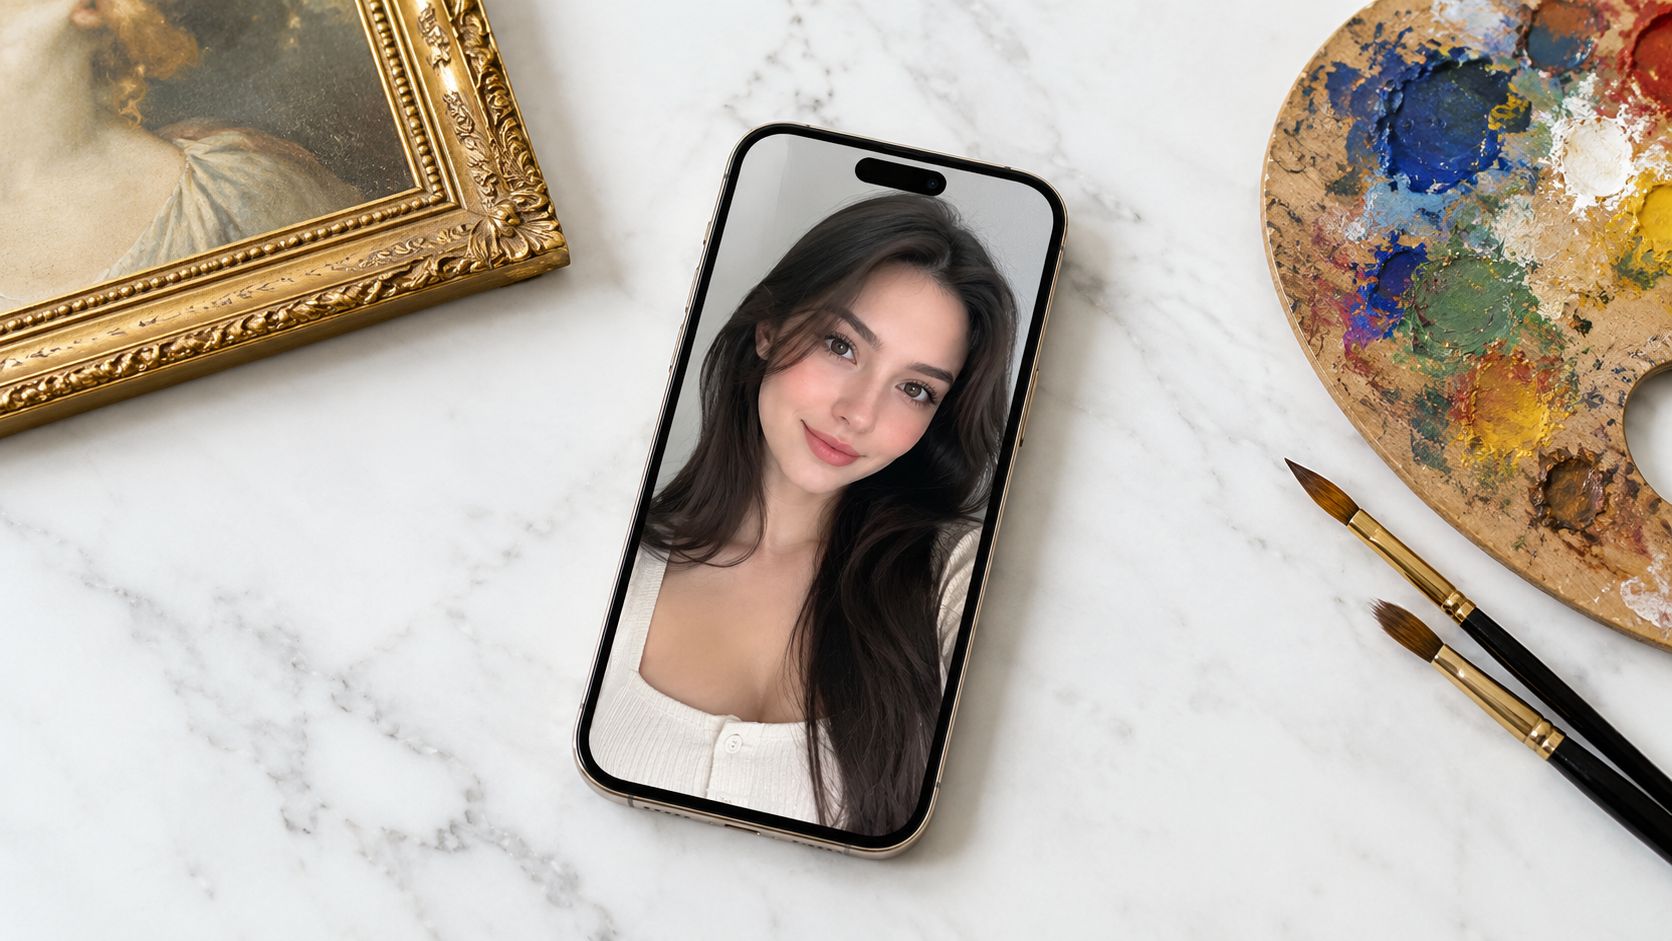
The Personal Royal template handles the central creative change. It takes a prepared portrait and applies royal attire, classical lighting, and a painterly presentation. The source doesn't need to show a full body, and there's no reason to arrange a formal shoot just for this task. A clear head-and-shoulders image gives the system more useful facial information than a distant photograph.
A four-stage workflow
- Create the regal base. Use the Personal Royal template with one prepared portrait.
- Tighten the face. Pass the painted result through Mug Shot when the eyes, jawline, or facial definition need more clarity.
- Change the setting. Use Background Replace to place the subject in a throne room, palace hall, gallery, or another suitable interior.
- Finish the image. Use Upscale on the final composite, then assess whether additional enhancement is needed.
Each stage solves a different problem. The royal template establishes the style, Mug Shot addresses portrait definition, Background Replace changes the environment, and Upscale prepares the completed image for a larger presentation. Applying them in that order prevents the background from influencing the initial face transformation.
Practical rule: Choose the source photo based on facial clarity first, not on how dramatic the original setting looks.
The rest of the process assumes a single-person portrait. Group images, full-body compositions, and heavily angled faces make identity preservation more difficult because the face occupies less of the useful visual information. A simple source gives the painterly transformation a stronger anchor.
Preparing the Source Photo Before You Generate
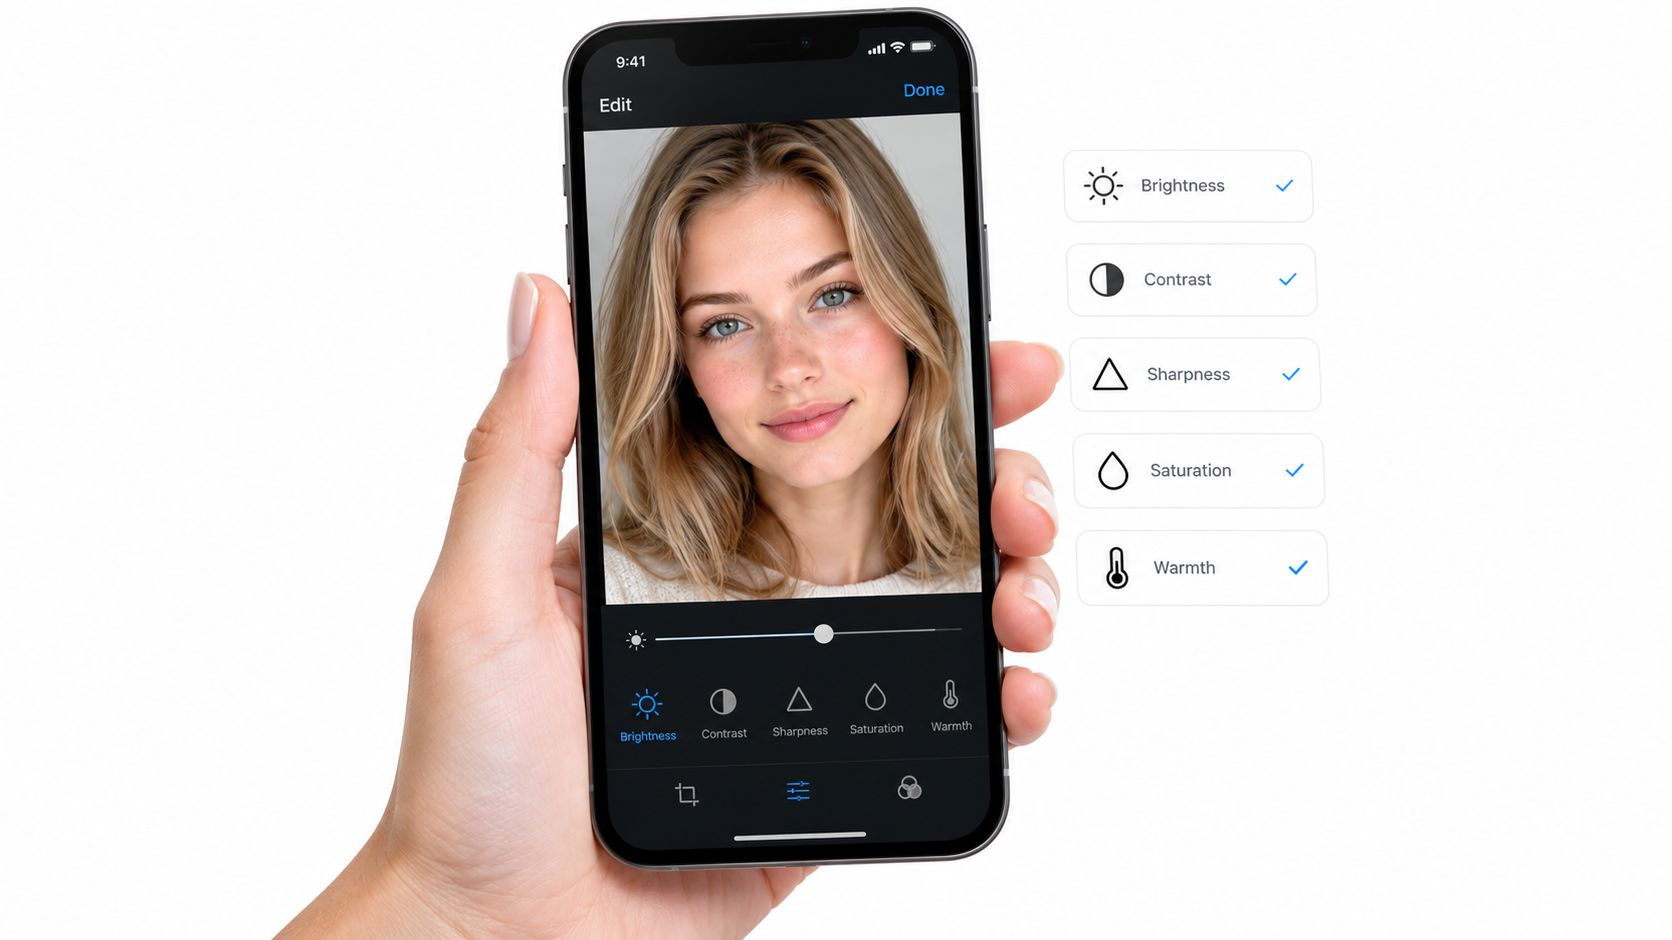
Input preparation determines how much facial structure remains visible after the royal styling. The best starting image is recent, centered, and well lit, with the eyes, nose, mouth, cheeks, and jawline unobstructed. Hair should be pulled back or kept clear of the cheeks where possible.
Check the face before uploading
- Use even light. Front lighting or light from slightly above reveals facial planes consistently. Strong side shadows can become exaggerated brushwork, while colored lighting can push skin tones in an unwanted direction.
- Keep the framing close. A head-and-shoulders crop gives the face enough visual weight. A wide shot forces the transformation to reconstruct more of the subject instead of concentrating on recognizable features.
- Remove obstructions. Sunglasses, masks, hands, hair across the face, and heavy makeup all hide the details the transformation needs.
- Simplify the background. A plain wall or quiet outdoor setting makes the subject's outline easier to separate later, especially around hair and shoulders.
- Avoid aggressive filters. Beauty filters can remove pores, asymmetry, and small facial landmarks. Those details may look minor in a phone preview, but they help anchor likeness.
- Prefer a clean original file. A photo repeatedly saved as a compressed image can lose fine texture, leaving softer eyes, hair edges, and skin detail.
A source image doesn't need to look like a finished professional headshot. It needs to be legible. A natural expression with clear features is often more useful than a highly posed photograph with dramatic shadows. Readers who need broader portrait preparation guidance can also review professional headshot preparation advice, while keeping the current task focused on a painted royal result.
The background doesn't have to be perfect because it can be replaced later. It does need to be uncomplicated. Busy plants, patterned walls, and overlapping objects can create uncertain edges that remain visible when the subject is placed against a palace interior.
The source photo carries the likeness. The royal styling should add character, not compensate for hidden facial features.
Before opening the template, the practical test is simple. At normal viewing size, can another person identify the subject from the face alone? If the answer is no, a more theatrical prompt won't solve the underlying weakness.
Generating the Regal Style with the Personal Royal Template
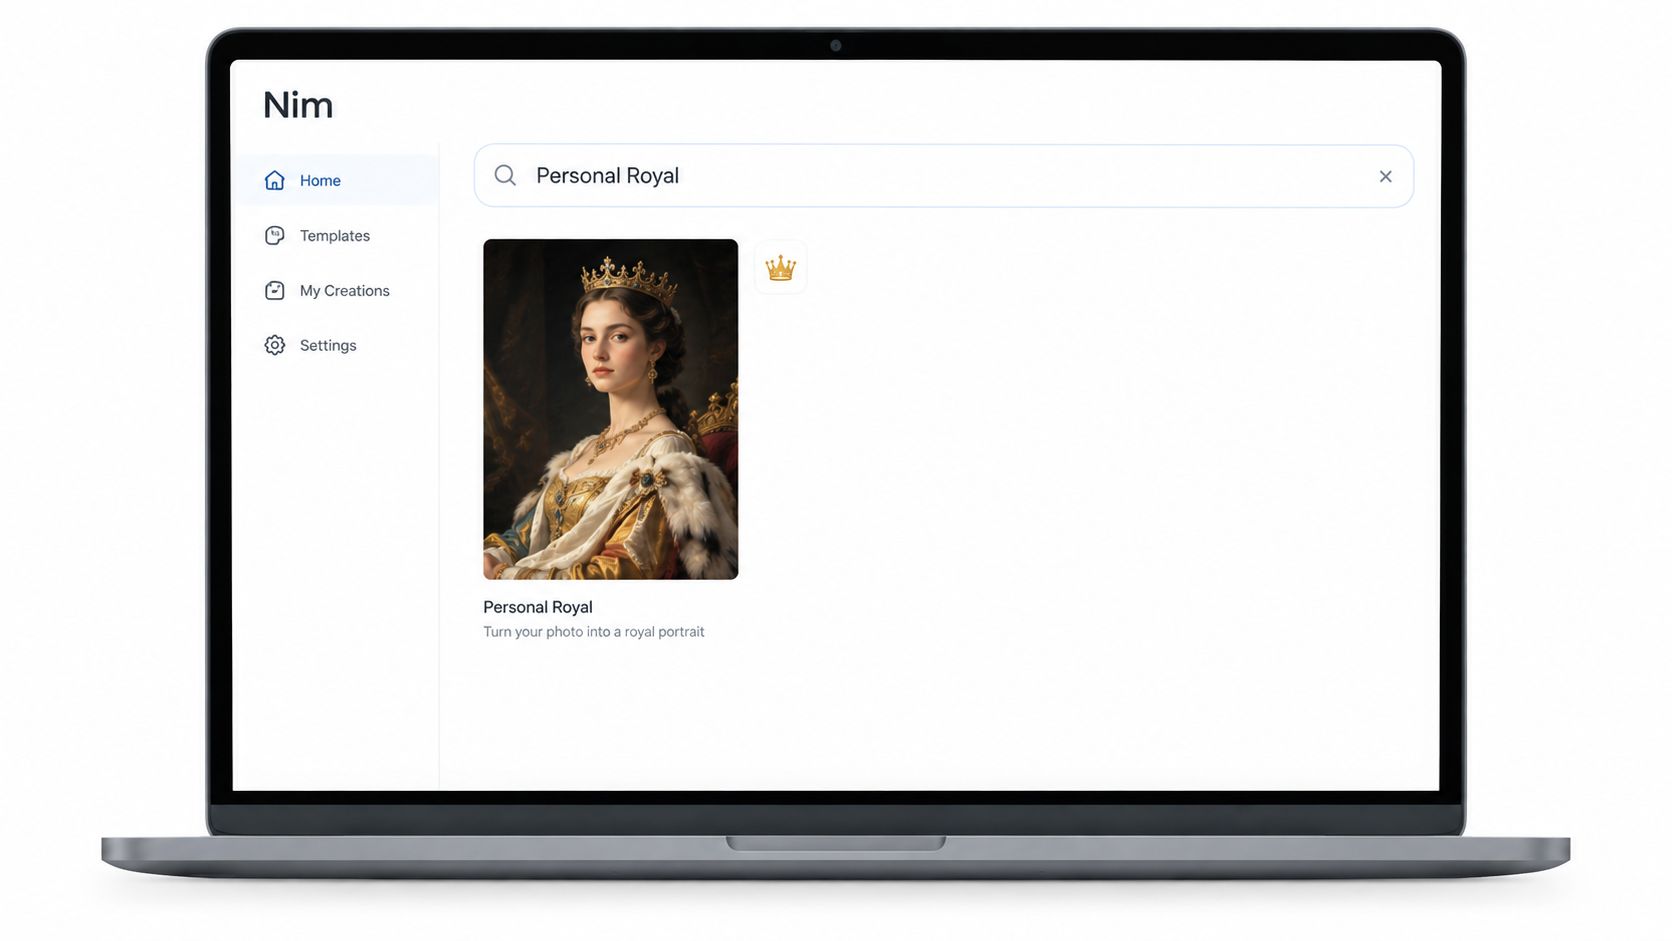
The confirmed route for a classical painted royal portrait in Nim is the Personal Royal template. Open the template, provide the prepared headshot it requests, and generate the first result. The template's built-in royal direction supplies the main visual treatment, so a long descriptive prompt isn't necessary for the initial pass.
Start with the template's own direction
Upload the single-person source rather than a group or full-body image. If the template presents a text field, leaving it empty for the first generation is a sensible choice when the desired outcome is its standard regal treatment. This establishes a baseline and makes it easier to tell whether a later instruction improves the clothing or merely adds visual noise.
After the first render appears, review the image before making stylistic changes. Three checks matter most:
- Facial identity: The eyes, nose, mouth, face shape, and expression should still read as the source subject.
- Royal character: The clothing and presentation should look intentionally regal, not like generic formalwear with decorative details.
- Painterly consistency: The brush texture should carry across the face, clothing, and surrounding image without making one area look photographic and another look unfinished.
If the face has drifted, regenerate with the same input before changing the wording. A fresh pass can redistribute detail without introducing more variables. When the identity is acceptable but the attire needs direction, use a short, concrete note rather than a paragraph of atmosphere.
Useful examples include:
- “Add a jeweled crown and deep red velvet robe.”
- “Keep the face natural and use a dark blue ceremonial coat.”
- “Use restrained classical royal attire with a painted gallery finish.”
The wording should identify the change, not describe every possible visual property. The painterly style is already being established by the template. Extra adjectives can compete with that direction and make the result less predictable.
A successful first render doesn't need to be perfect in every detail. It needs a stable face, readable attire, and a coherent painted treatment. Those qualities give the later Mug Shot and Background Replace stages a strong base instead of forcing them to repair several unrelated problems at once.
Refining the Headshot and Swapping the Background
The royal template creates the overall portrait, but it can soften facial definition as it applies the painted treatment. Mug Shot has a narrower role in this workflow. Upload the painted royal output to the tool and use the regenerated headshot when the eyes, jawline, or studio-like facial lighting need more clarity.
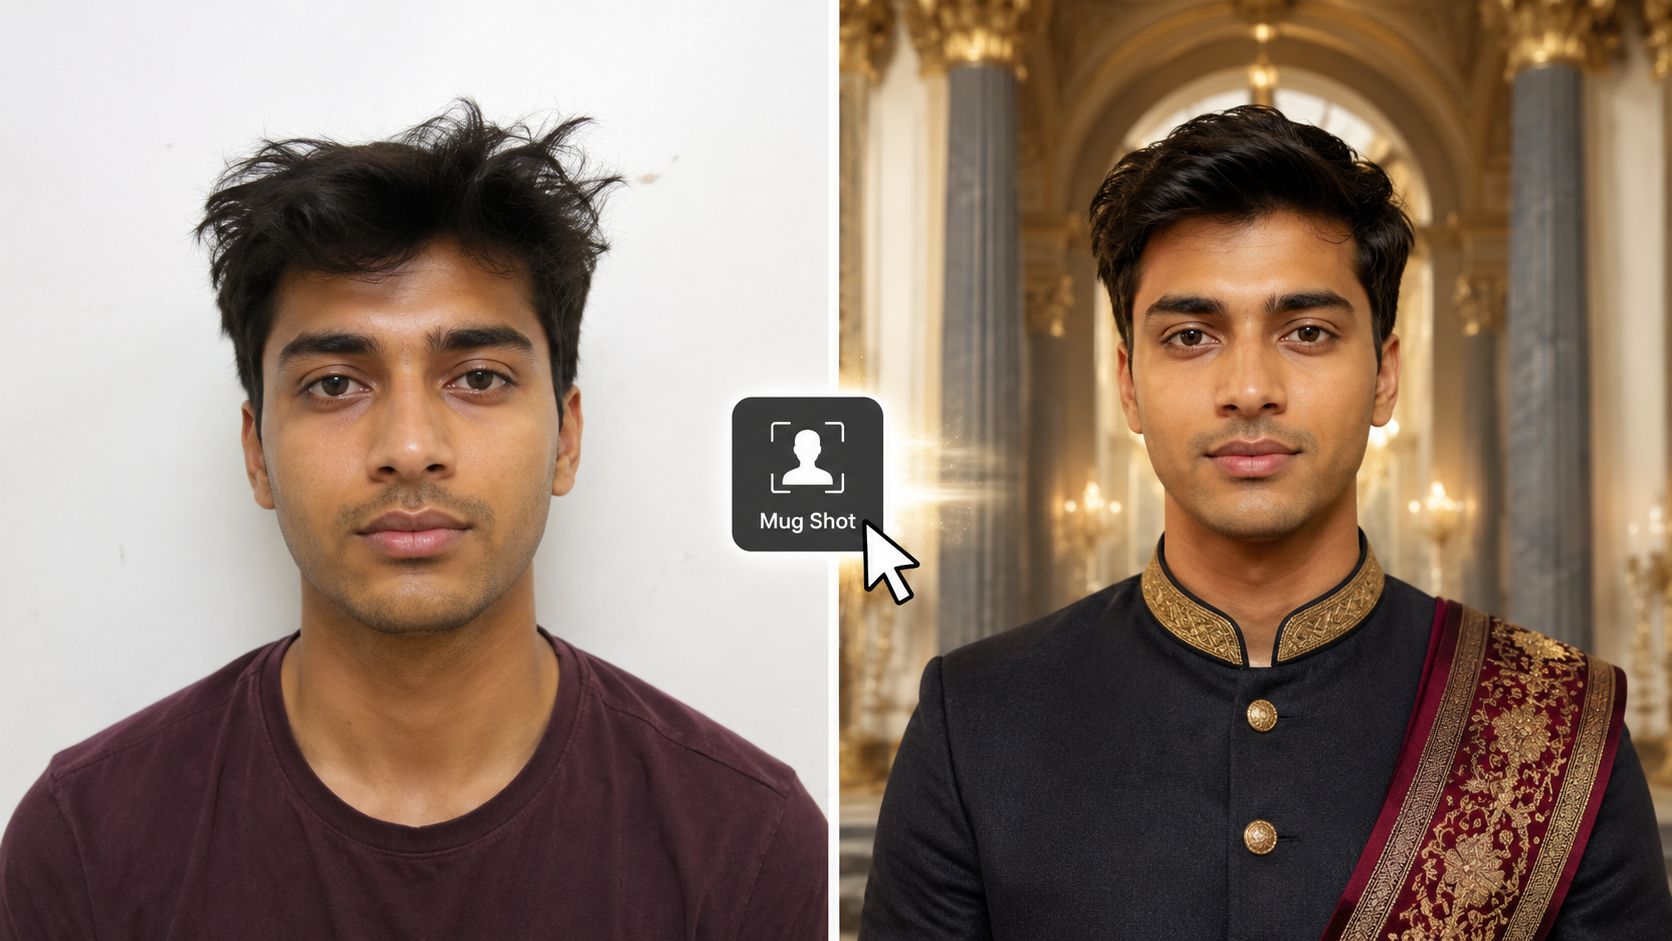
Use Mug Shot for facial definition
Mug Shot shouldn't replace the royal generation. Its value is in tightening the portrait after the main style has been established. Compare the regenerated version with the original painted result, paying attention to whether the subject still has the same expression and whether the new lighting makes the face clearer without flattening the costume.
If the face is already strong, skipping this refinement can preserve more of the original painterly character. If the royal pass has blurred the eyes or softened the jaw excessively, the extra headshot stage can produce a more usable portrait base.
Give the portrait a convincing setting
Next, upload the refined portrait to Background Replace. Describe the replacement environment in plain language, such as “a candlelit palace throne room with tall windows and dark wood” or “a classical royal gallery with framed paintings and warm architectural lighting.” The background should support the costume's palette and the subject's scale.
Generate several options for comparison when the tool allows that workflow. Look for:
- Consistent perspective: The subject shouldn't appear pasted in front of a room that has a conflicting camera angle.
- Compatible lighting: A warm background with a cool face, or a bright room behind a dim subject, can weaken the illusion.
- Clear separation: Hair, shoulders, and the edge of the robe should remain readable against the new setting.
- Appropriate restraint: A throne room can establish the concept without overwhelming the face with excessive ornament.
Background changes are also part of broader image-production practice, so teams building repeatable visual workflows may find Image Studio AI production useful for thinking about how assets move from creation to refinement. For this portrait, the important discipline is to preserve a consistent face crop while changing only the environment.
The most convincing result usually comes from treating the background as supporting evidence of status, not as the main subject. A quieter palace hall often makes the crown, costume, and expression more readable than an overloaded royal scene.
Keeping the Likeness Stable Across Painterly Styles
Painterly transformation creates a real trade-off. It adds period character, visible texture, and a sense of authored art, but it can also alter facial proportions more readily than a photographic treatment. A portrait-authenticity study found that human raters classified AI-generated portraits as real with a mean accuracy of 72.7%, with a 95% confidence interval of 72.4 to 72.9 (study of photorealism and portrait artifacts). That result doesn't guarantee that a particular royal portrait will preserve identity, but it does show why visual plausibility and personal likeness shouldn't be treated as the same thing.
Start with the factors the generator can read reliably:
- A direct view: Front-facing images expose the eyes, nose, mouth, and facial proportions more completely than a strong angle.
- Visible natural texture: Pores, freckles, asymmetry, and under-eye detail can help the face remain specific rather than becoming an airbrushed type.
- Moderate styling: Heavy makeup and extreme expressions give the system less stable information.
- Clean edges: Sunglasses, raised hands, and hair covering the cheeks create ambiguity around important landmarks.
If the output looks like a relative rather than the subject, don't immediately add dramatic style language. Return to the original photo and rerun the same royal treatment. Changing both the input and the instruction makes it difficult to identify what caused the drift.
Likeness is usually a selection problem before it's a prompting problem.
A practical approach is to keep the source and template constant across a small set of rerolls, then choose the version with the most stable facial structure. This doesn't promise identical results, and it won't fix a source photo with hidden features. It does reduce unnecessary prompt interference while letting the system explore different interpretations of the same face.
Enhancing and Upscaling the Final Portrait
Once the background is in place, the composite is ready for final quality work. Open Nim's Upscale tool, upload the merged royal portrait, and select the highest factor supported by the applicable plan. The purpose is to give small details, such as embroidery, crown edges, and brush texture, more room to remain clear at a larger display size.
Upscale the completed composite
Upscaling should happen after the face and background are settled. Enlarging an unfinished portrait and then replacing the scene can waste the added detail or create inconsistent sharpness between the subject and the environment. Keep the pre-upscale image available for comparison, because a larger version can make shifts in skin tone, contrast, or background color easier to notice.
If the final royal image looks flat or hazy, an optional pass through the Image Enhancer tool can restore some contrast and color depth. The adjustment should remain restrained. Too much enhancement can pull the image away from its painted character and reintroduce a harsh, processed appearance.
Review the finished image
A final inspection should cover the details viewers notice first:
- Face: Are the eyes aligned, and does the expression still resemble the source?
- Hands and accessories: Are crowns, jewelry, and clothing edges coherent?
- Hair boundary: Does the hair separate naturally from the replacement background?
- Lighting: Does the face belong in the palace, gallery, or throne-room setting?
- Texture: Does the brushwork remain consistent after enlargement?
The complete sequence is therefore source preparation, Personal Royal generation, optional Mug Shot refinement, Background Replace, and Upscale. Keeping those jobs separate makes troubleshooting easier. If the face fails, revisit the source or royal generation. If the scene fails, revisit Background Replace. If fine detail fails, inspect the final upscaled image rather than changing the portrait style again.
A reusable folder or library arrangement can preserve the original photo, the royal render, the refined headshot, the background version, and the final upscale. That makes future portraits easier to manage without confusing an intermediate file with the finished composite.
Nim brings the Personal Royal template together with image-generation and refinement tools for creating a painted regal portrait from a prepared photo. Visit Nim, upload a clear headshot, generate the royal base, and refine only the parts that need attention.
- ai royal portrait generator
- royal portrait ai
- regal photo ai
- ai painted portrait
- nim video