Professional Headshot AI Guide for Consistent Team Photos
Create consistent professional headshot AI images for teams with Nim. Learn input prep, Mug shot workflow, and review tips for profiles and press.
By Nim
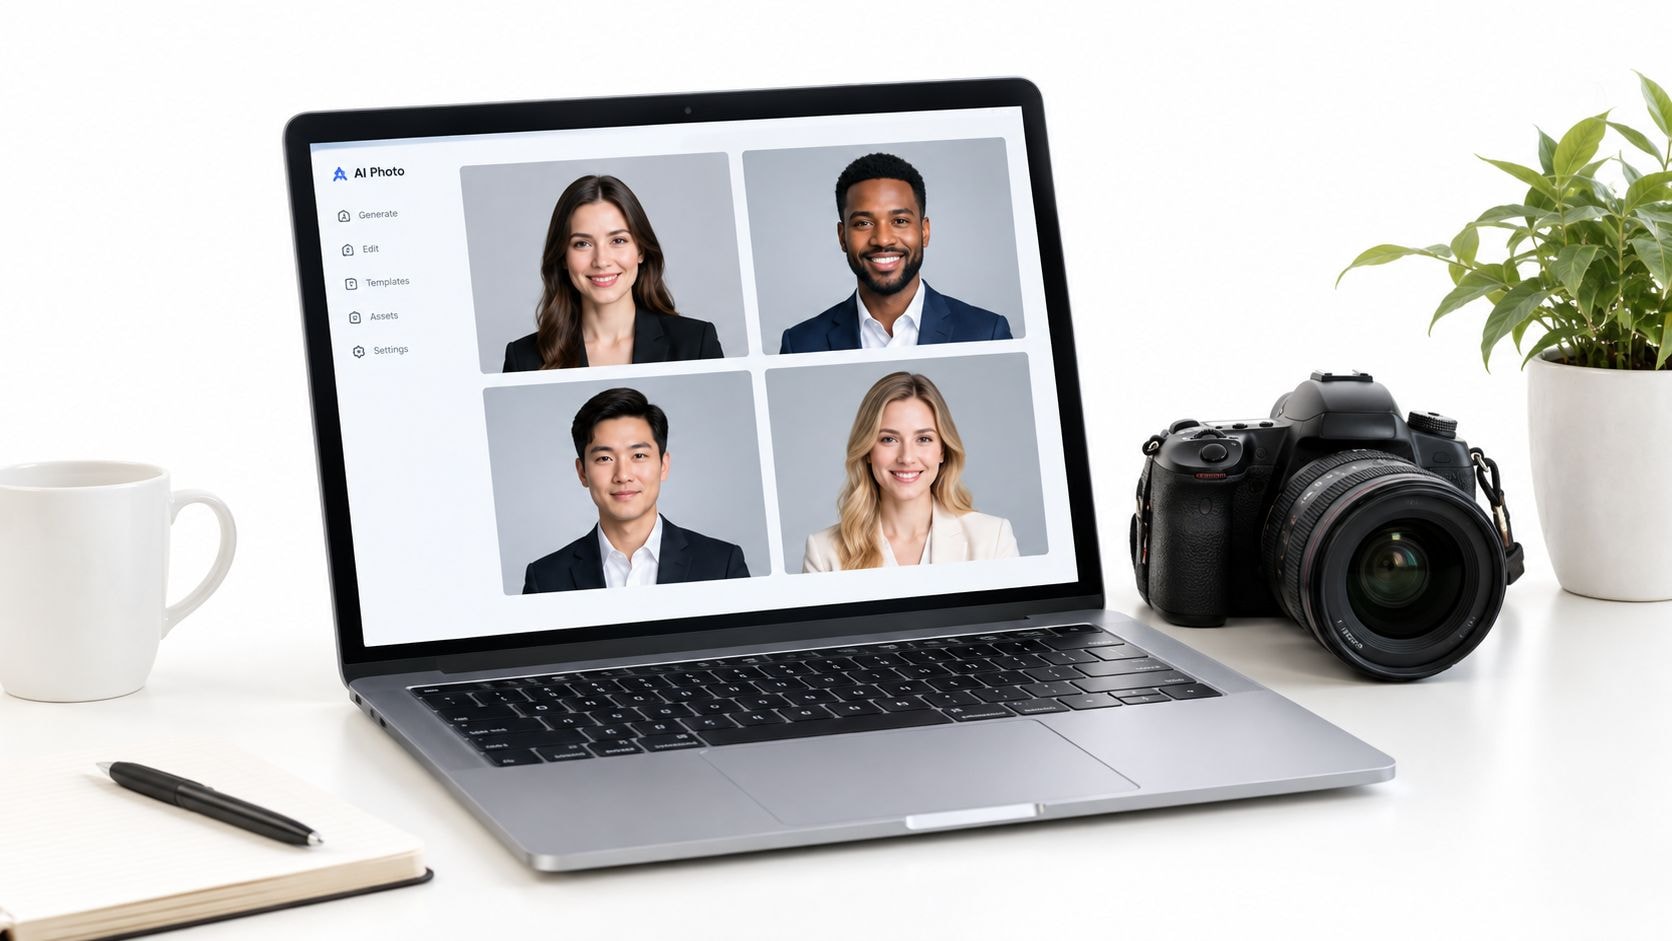
A team page can look polished and still feel off if every headshot came from a different place, different light, and a different crop. The fastest way to fix that is to standardize the inputs, generate each portrait through a single workflow, and review the set before anything goes live. For teams that need a consistent professional headshot ai result for a website, press page, or speaker bio, Nim's Professional Headshot workflow fits that job because it keeps the task centered on a clean source photo, generation, review, and download.
The problem usually shows up in the details. One person has a dark background, another has a bright office wall, and a third has a tight crop that cuts off part of the hairline. That kind of mismatch weakens trust on a company site, especially when the same faces also appear in press materials and event listings.
A useful organizing step before generation is gathering the team's photos in one place so the right people get reviewed together. For that, organize company photo collections can help keep the handoff tidy instead of turning the process into a scavenger hunt.
Why Teams Need Consistent Professional Headshots Now
A studio shoot still gives the tightest uniformity, but many teams need a faster path that does not depend on everyone's calendar. A single professional headshot ai workflow works well if the source photos are prepared carefully and the outputs are reviewed as a set, not one by one. That matters for a website team grid, press materials, speaker bios, and recruiting profiles, because the same person showing up in each place with a different crop or lighting makes the brand feel unsettled.
Consistency matters more than polish alone. When one person uses a bright outdoor crop, another has a grey office wall, and a third gets an overly softened portrait, the page starts looking assembled instead of intentional. A team does not need identical expressions, but it does need the same visual language across crop, lighting, and background.
Practical rule: if the portraits would look strange side by side on one page, they are not ready for publication yet.
For teams that want one workflow for that output, Nim's Professional Headshot use case is the relevant path. It keeps the work centered on source photo prep, generation, review, and export, which is the right sequence for profile photos used across websites, press kits, and speaker bios.
Before anyone uploads, gather the team's photos in one place so the right people can be reviewed together. A simple handoff makes the rest of the process easier, and it helps organize company photo collections without turning the task into a scavenger hunt.
A quick reality check also helps set expectations. According to according to industry estimates, demand for AI headshots is growing, which suggests more teams now treat them as standard production work rather than a one-off profile refresh.
Preparing Source Photos That Generate Clean Results
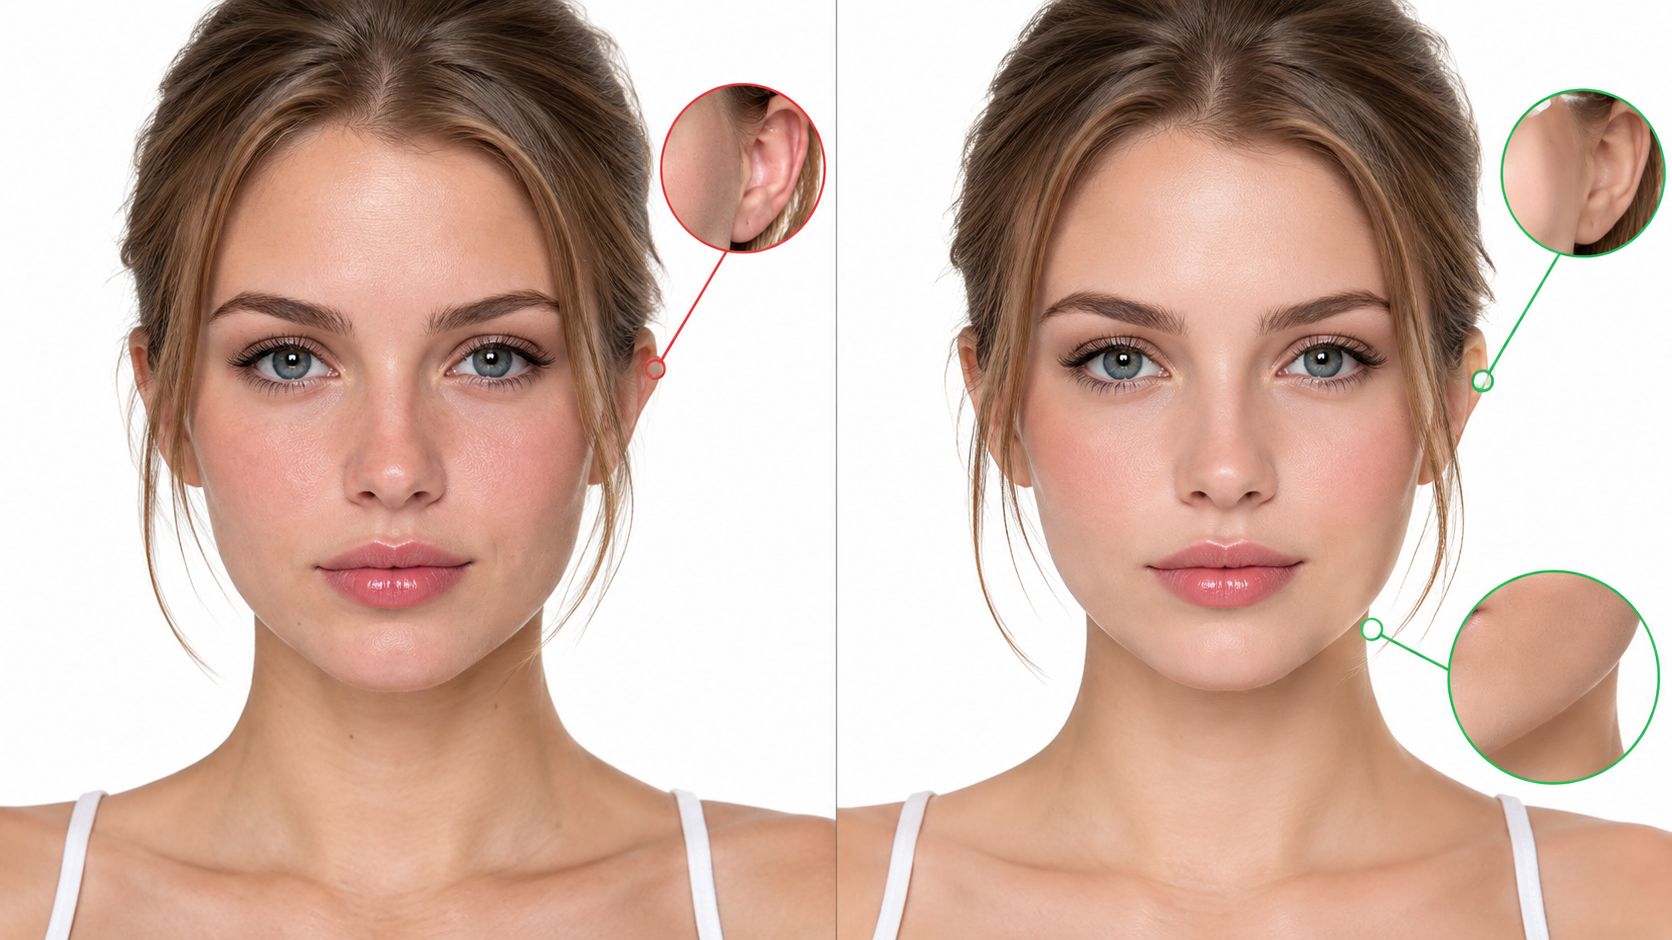
Good output starts before anything gets uploaded. The cleanest results come from solo photos, shot front-facing, with the face filling most of the frame, in sharp focus, with even light and a plain or uncluttered background. Keep the full face visible, avoid group crops, and skip busy scenes that make later cleanup harder. Check the current input guidance on the Mug shot template page before you prepare the set, because accepted inputs can change.
What to collect from each person
For team collection, shoot everyone under the same conditions. Keep camera distance similar from person to person, keep the subject facing forward, and use the same framing height across the whole set. That gives the generation step a steadier starting point, which matters when the portraits have to sit together on a website, in a press folder, and in speaker bios.
File prep should stay simple. Send clear JPEG or PNG images, with the face large enough to read cleanly, and avoid heavy compression or aggressive resizing before upload. Use a plain background when possible, and keep the image sharp so the model is working from a clean source, not from blur or noise. If you are shooting in a controlled setup, a green screen backdrop UK can help keep the background consistent at capture time.
A clean source set beats a noisy one every time. The fewer odd angles, filters, and background distractions in the input, the less cleanup the final review usually needs.
What not to send
Avoid sunglasses, extreme angles, group crops, heavy filters, and portraits taken in cluttered spaces. Those details tend to create the failures teams complain about later, warped accessories, awkward edges, and backgrounds that do not match across people. A background-supporting setup can help during the shoot, especially if you want the same source conditions for the full team.
When possible, gather the images before opening the generator so the whole team is judged by the same standard. That keeps the review phase focused on image quality instead of missing files or inconsistent capture habits.
Creating Headshots in Nim With the Mug Shot Template
A team lead can keep headshots consistent without turning the process into a full reshoot. Open the Mug shot template, check the input rules on the page, upload the prepared files, generate a first pass, review it, then download only the portraits that hold up across the set.
For batch work, file naming should stay consistent before generation starts. Use the same person-name format for source files and review notes so each result is easy to compare against the others. One test pass per person also helps surface weak crops before the full team batch goes through.
Side-by-side review matters more than any single flattering image. Crop, tone, and background should match from person to person if the headshots are going on the website, in press folders, and in speaker bios. A portrait that looks good on its own but drifts from the rest of the set creates extra cleanup later.
A simple batch routine
- Open the template and check inputs. The page is the source of truth for accepted files, so match the upload set to that guidance.
- Generate one proof for each person first. That gives an early read on whether the source photos are strong enough.
- Review the outputs together. Look for matching crop, similar shoulder placement, and a background that does not pull attention.
- Only then process the rest. Once the test set looks coherent, the full team batch is easier to keep uniform.
Keep the review focused on the headshot workflow, not on unrelated media comparisons. The partner note on how to create video from photos is useful as a separate example of how source quality affects output, but it is not part of the Mug shot process.
Check Nim's template page before every upload, since the current input rules belong there. Clean source in, generate, review, then download only when the portrait fits the intended use and matches the rest of the team set.
Refining Backgrounds and Sharpness Without Reshooting
Not every imperfect headshot needs a new source photo. Some problems are background-related, some are clarity-related, and some are strong enough that regeneration is still the better move. The trick is to separate those cases instead of stacking edits until the portrait starts looking synthetic.
| When to Refine vs Regenerate Your Headshot | ||
|---|---|---|
| Issue Seen | Best Next Action | Why It Helps |
| Background color varies across the team | Use Background replace | It can unify the visual field without changing the person's face |
| The image is a little soft but otherwise usable | Use Image enhancer | It can improve clarity without forcing a full new generation |
| Glasses, skin, or edges look wrong | Regenerate from a cleaner source photo | Artifact-heavy images usually don't improve enough with light edits |
| The portrait feels mismatched in tone or crop | Regenerate | Team consistency works better when the base image is stronger |
Background refinement is the best place to standardize a set that's already close. A clean studio-style backdrop can make a mixed team look intentional, especially on the website and in speaker pages where photos sit next to each other. The linked background guide at how to add backgrounds to videos is useful as a framing reference, even though the headshot task here is still image-based.
Sharpness is the other safe adjustment. If the face is recognizable and the only issue is a slightly soft finish, a light enhancement can be enough. But if the glasses are warped, the skin looks plastic, or the ears and hair edges are broken, the image needs a cleaner source and a new generation pass rather than more editing.
Best practice: refine once, review again, and stop if the portrait still feels off. Over-editing is usually what turns a decent headshot into an obvious AI image.
Reviewing for Likeness and Trust Before You Publish
A headshot can look polished and still miss the trust test. Before anything goes live, inspect the face match, skin texture, glasses and other accessories, ear and hair edges, and whether the background stays consistent across the team. Those small faults are what make a portrait feel off, even when the image is technically clean.
For team rollouts, that review matters on every placement, not just in a profile photo. Website bios, press pages, and speaker profiles all sit side by side, so one mismatched portrait breaks the set. A practical review flow starts with the same question every time, does this still look like the same person?
A tight approval checklist
- Face match: The person should be recognizable at a glance.
- Accessory check: Glasses, earrings, collars, and ties should read naturally on the subject.
- Edge quality: Hairline, ears, and jawline should not look smeared, clipped, or warped.
- Texture check: Skin should keep natural texture, not slide into a plastic finish.
- Background consistency: The backdrop should fit the team style and stay out of the way.
Disclosure and acceptability are separate decisions. A headshot can be well made and still be the wrong choice if it feels misleading in a public-facing context. As a practitioner, I flag anything that looks close but not quite grounded, because that is where people start second-guessing the image.
Use the same judgment on LinkedIn and on your broader team set, and keep the bar consistent with the review notes in LinkedIn AI headshot guidance. That same standard helps on website bios and press images too, where a clean crop is not enough if the likeness feels thin.
If the image still carries visible artifacts after one careful refinement, stop there and go back to a stronger source photo. That is the point where further editing usually makes the portrait less believable, not more.
Next Step to Standardize Your Team Headshots
Open the Mug shot template, prepare one strong source photo, and use that same standard for every profile. That keeps website bios, press pages, and speaker headshots aligned without turning review into guesswork.
Use background fixes only when the artifact review shows a clear need. If the face, accessories, or crop still look wrong after that pass, stop and replace the source image before you export. The goal is a set that reads as one team at a glance, not a stack of polished but unrelated portraits.
- professional headshot ai
- ai headshot guide
- team headshots
- Nim Mug shot
- corporate portraits