How to Add Backgrounds to Videos with AI Tools
Learn how to add backgrounds to videos using AI tools, green screen techniques, and generative backdrops. Practical steps for creators, marketers, and sellers.
By Nim
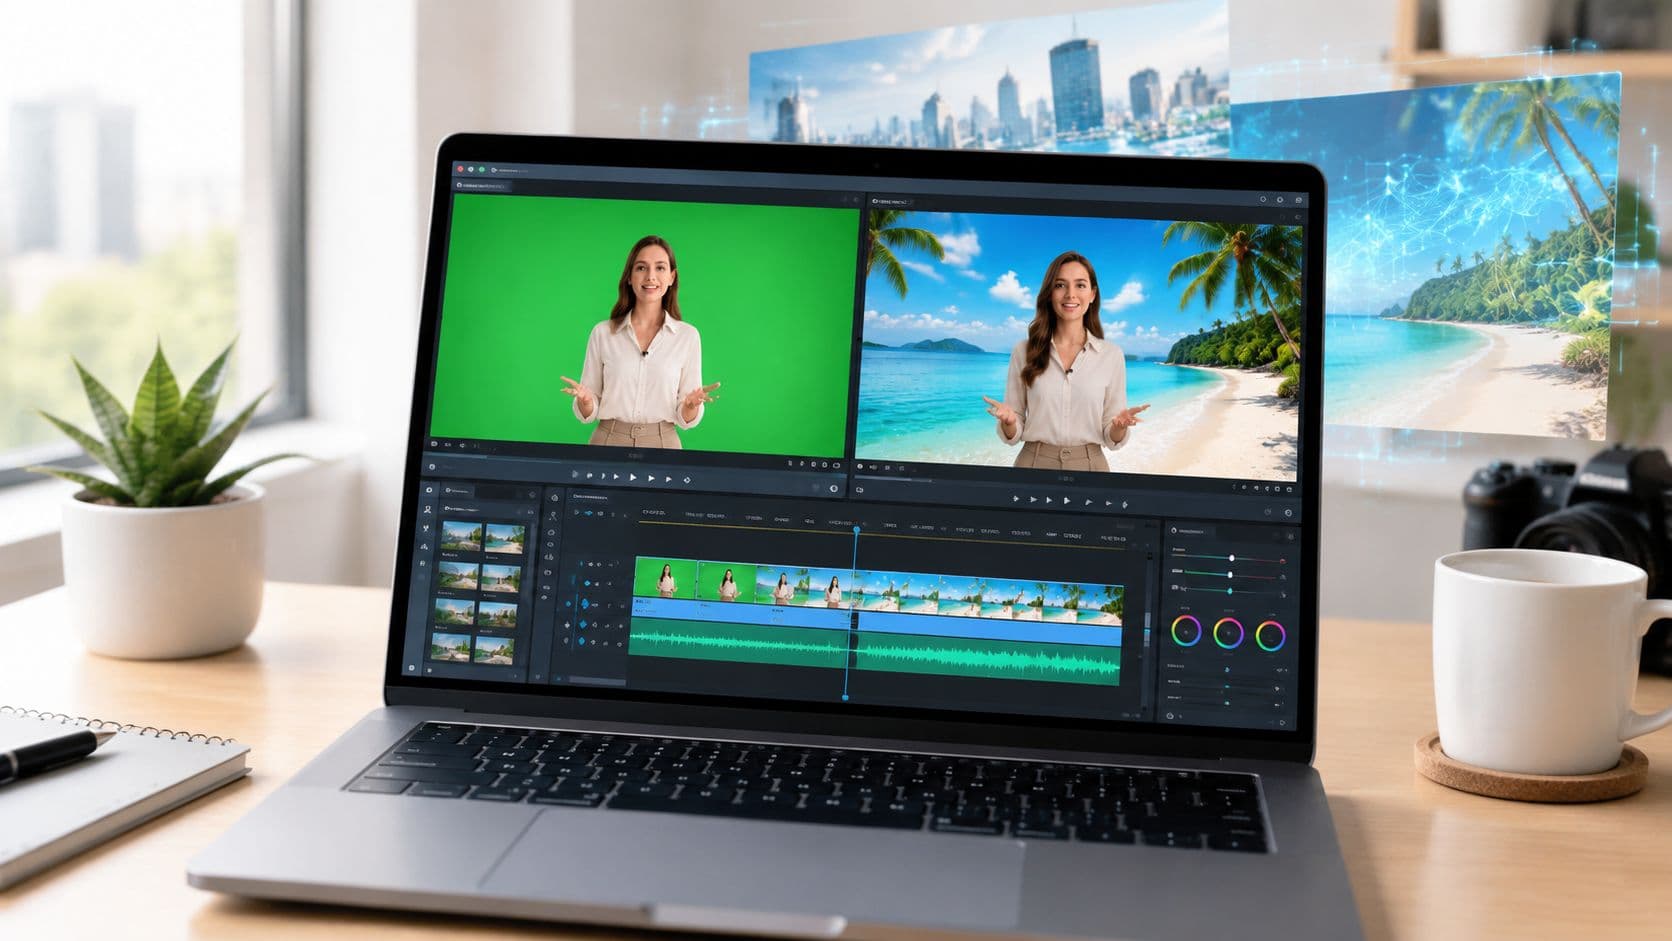
You've got a decent clip, but the backdrop is wrong for the job. Maybe the room is messy, the wall is too plain, or the scene just doesn't match the brand, and now the question is which background workflow will hold up once the footage moves.
The short answer is simple, match the method to the source clip. Use green screen and chroma key when the footage was captured for that purpose, use background replacement when the subject is already in the shot and needs a new setting, and use a generative background workflow when the goal is to build a more complete scene around the subject rather than just swap out what's behind it. For creators comparing how to add backgrounds to videos in practice, the decision is less about the software label and more about how cleanly the subject separates from the original scene.
Choosing the Right Background Workflow
A background change starts with the footage you already have, not with the effect you wish you had. If the subject was shot against a smooth, evenly lit green or blue backdrop, chroma key is still the most predictable route because the color contrast gives the editor a clear matte to build from. Adobe describes chroma key as a compositing process that makes the background transparent so something else can show through, and that logic still holds when the capture is disciplined and the lighting is even. Adobe's chroma key overview

When the clip was not shot on green screen, a dedicated background replace workflow is the more practical choice. That path is built for talking-head footage, creator clips, product demos, and other shots where the subject is already captured and the old environment just needs to be swapped out for something cleaner or more campaign-friendly. Nim's backgrounds for tutorials and demos resource is useful here because it frames the problem the way editors work through it, by matching the method to the shot, not just the output.
A third path makes sense when the scene itself needs to be created around the subject. That is where a generative background approach helps, especially for branded settings, stylized campaigns, or property-style visuals that need more context than a simple cutout and replacement. It also comes with hard limits, because hair, smoke, translucent objects, fast motion, and low-contrast edges can break the illusion and leave halos or unstable boundaries.
Practical rule: pick the workflow that asks the least of the source footage. Good capture makes every later step easier, and bad capture usually survives all the way to export.
Before editing, it helps to ask three questions. Does the foreground need to move cleanly through the final frame? Does the output need to stay transparent for another editor? And how closely does the new setting need to match the camera angle and perspective of the original shot? Those answers usually point to the right method faster than any menu in the editor.
Green Screen and Chroma Key Basics
A clean key starts in the room, not in post. The subject should be separated from the backdrop, the background should be evenly lit, and the key color should stay off clothing, props, and reflective surfaces. Adobe's guidance and Kdenlive's manual both use the same basic logic, place the foreground clip above the background, then sample the key color with a color picker or eyedropper so the editor can remove that color from the frame. Kdenlive chroma key manual
The capture itself should stay simple. Avoid folds, hotspots, and patchy shadows on the key background, because the sampled color changes across the frame and the matte becomes uneven. Keep the subject lit for separation, not for drama, and avoid foreground items that naturally reflect the key color, like bright green clothing or shiny accessories.
The fastest key is the one that needs the least rescue later.
Once the clip is in the editor, place the replacement scene underneath and use the eyedropper on a clean patch of the backdrop. Then preview the matte in motion, not just on the first frame, because the key can look fine when frozen and still break apart when the subject turns or gestures. Industry tutorials also recommend alpha-channel preview, since white, black, and gray areas make it easier to see what the matte is keeping, removing, or partially fading. Alpha-channel preview basics
Cleanup matters, but it should stay controlled. Feathering, spill suppression, and edge refinement are normal correction tools, while broad blur usually damages hair and clothing detail. If the subject crosses a shadow, fold, or color shift in the backdrop, a fresh sample sometimes helps, but the stronger fix is better lighting during capture.
For creator-led clips that were already shot on green screen, Nim's UGC talking head on green screen template is the most relevant place to start. It fits the same basic workflow used in traditional keying, subject clip on top, replacement scene behind it, then edge review before anything goes live.
Replacing a Background Without a Green Screen
When there's no green screen, the source clip has to carry more of the composite. A presenter standing still against a plain wall is easier to isolate than someone crossing a cluttered room, and that difference shows up fast in the final result. The goal is readable subject edges from frame to frame, not perfect magic.
For footage where the subject is already captured and the old setting just needs to go, open Nim's Background Replace template. Upload the cleanest clip you have, then check the generated result frame by frame instead of trusting the first frame that looks good. A still frame can hide problems that appear as soon as the subject turns, gestures, or shifts weight.
The common failure points are predictable. Hair can fray into halos, glasses can pick up rough edges, fingers can vanish, and moving limbs can leave traces of the original scene behind. Stable lighting, centered framing, and a plain source background matter before generation starts, because they give the segmenter a clearer boundary to follow.
Good source footage beats aggressive cleanup. If the subject boundary is muddy, no amount of post-fix work will make the cutout behave like a studio key.
If the composite still looks weak, refine the source before trying to force the output. Crop tighter, drop unusable frames, correct exposure, or reshoot against a simpler setting when you can. For talking-head ads and product demos, that usually gets better results than trying to rescue motion blur or cluttered edges after the fact.
A useful split is simple. Use the background replacement workflow when the subject is already in the clip and the scene needs to change. Use scene-building templates when the background itself is part of the brief. Nim's change-background-2 template fits the first case.
Picking the Best Nim Template for Your Source Footage
The right template depends on what is already in the frame. A talking-head clip with a messy real-world backdrop should go to Background Replace first, because the subject is already there and the job is to swap the environment without rebuilding the shot. A static product on a tabletop usually fits Enhance product photo better, because the goal is cleaner staging, not moving a subject through a new scene.
| Nim Template Selection by Source Footage Type | Best Source Footage | Typical Output |
|---|---|---|
| Background Replace | Talking head, product demo, presenter clip, real environment that needs a new backdrop | Subject isolated from the original scene and placed into a cleaner environment |
| Enhance product photo | Static product shot on a plain surface | Cleaner product staging with less need for subject relocation |
| Virtual staging | Empty interior room or bare property image | Furnished or staged interior scene |
| Room tour | Walkthrough clip with existing furniture and room layout | Guided interior walkthrough with the space preserved |
| UGC ads | Creator-style talking clip built for short-form ad use | Short branded talking content with ad framing |
The property side works differently. An empty room needs staging, while a walkthrough already contains the room and calls for a narrative treatment. Virtual staging and room tour solve different problems, even though both sit in the same real-estate workflow.
For portrait-style source footage, the Mug shot template fits a head-and-shoulders clip that needs a clean, controlled presentation. See the Mug shot template if the source is already framed around one person and the background is secondary. That route is useful when the subject is usable as-is, but the setting is distracting or off-brand.
A stock-style lifestyle scene is different. There, the source clip matters less than the final composition, so a broader ad or scene-building template often fits better than a direct cutout workflow. Route the asset to the template that matches the footage before you start fixing perspective or edge behavior later.
The quickest way to choose is to ask whether the shot is mainly subject cleanup, product cleanup, or scene creation. If it is subject cleanup, Background Replace comes first. If it is a room, product, or ad environment, a more specific template usually saves time and reduces the chance of awkward edges or a background that never quite fits the clip.
Fixing Common Edge and Halo Problems
Most bad composites fail for the same three reasons. Hair halos appear when a hard key pulls color into fine strands. Spill contamination shows up as a colored fringe on skin, shoulders, or clothing. Jagged edges usually mean the source footage didn't give the keyer enough clean detail to work with.

Feathering helps when the edge is too sharp, but it should be used carefully. A small adjustment softens the cutout without turning hair and clothing into mush. Spill suppression is the right tool when the subject picks up the key color, because it targets the fringe itself instead of flattening the whole image the way a general saturation drop would.
Low-quality source footage is harder to rescue. If the clip was heavily compressed or upscaled before keying, the edge often breaks into rough steps and missing detail, and more feathering usually makes the problem worse instead of better. A cleaner source export, or a fresh capture at full resolution, is the more reliable fix.
Even lighting during capture prevents a lot of this damage before it starts. Independent background-workflow guidance repeatedly points to even separation, minimal motion in the backdrop, and clean framing as the easiest way to avoid halos and drift in the composite, which is why the setup matters so much before any cleanup tool comes into play. Video background removal workflow guidance
Export Settings for Social Platforms and Transparency
Export should follow the destination, not the editor's default. Vertical 9:16 at 1080x1920 with H.264 works for short-form placements like TikTok, Reels, and Shorts. The wider 16:9 at 1920x1080 fits YouTube and LinkedIn feeds, while 1:1 at 1080x1080 is the safer fallback for Instagram feed posts when the final placement is uncertain.
When the background needs to stay transparent for another edit, use a format that preserves the alpha channel. Background-removal references specifically call out WebM with VP9 alpha and ProRes 4444 as valid transparent outputs, and they also note that transparent regions turn black if the export doesn't keep alpha data. Transparent export formats
That matters when the subject will be layered over motion graphics, a timeline composite, or another edit after export. A finished-looking frame can still fail if the alpha disappears in delivery, so the export format has to match the downstream workflow, not just the preview in the editor. For background-heavy social posts, a quick device check on both phone and desktop catches crop issues that are easy to miss on a large monitor.
For people assembling story-driven posts, it can also help to keep a reference handy for platform-specific framing. PostSyncer's guide to best Instagram story backgrounds is a useful companion when the goal is to make the backdrop serve the story instead of distracting from it.
Match the file to the platform, then re-view it before publishing. A clean key with the wrong crop still feels broken, and a transparent export that fails on playback is just wasted render time.
Matching Your Clip to the Right Background
A good background match starts with the source clip, not the template gallery. If the shot already exists and the setting needs to disappear, use Background Replace. Keep the subject large in frame, trim away unusable motion blur, and avoid clips where the cutout would have to follow fast hands, hair, or edge detail that keeps breaking.
Product footage needs a different call. Enhance product photo works better when the goal is cleaner presentation rather than a full scene change, especially for tabletop shots that already show the item clearly.
Empty spaces follow their own logic. Virtual staging fits a bare room that needs furniture and context, while room tour fits an already furnished interior that needs guided movement through the space. For creator-style ads, UGC ads is the closer match because it is built for short-form framing and a more direct social feel.
Decision shortcut: if the subject already exists, isolate it. If the room already exists, stage it. If the clip is meant to sell a product, keep the product as the anchor and choose the template that supports it.
For stock-style lifestyle scenes that are not captured yet, pick the template closest to the final use case and prepare the footage to match camera angle, motion, and lighting. Stable footage, simple composition, and even light give the background replacement less to fight against.
Match the export to the platform before you publish. The right composite still fails if the crop cuts off the subject or the layout puts the action in the wrong place.
- video backgrounds
- background replacement
- green screen
- AI video
- video editing