Product Assembly Effect Prompt: A Practical Guide
Learn how a product assembly effect prompt works in Nim — from preparing source assets to generating the template, reviewing, and exporting your video.
By Nim

Most readers arrive looking for a copy-paste product assembly effect prompt that makes a product burst apart and snap back together. That isn't the right starting point for this job. The hard part isn't describing the effect. It's preserving the original product, framing, lighting, and background while only the parts move.
That's why this workflow works better when it starts with the asset, not the wording. The strongest assembly results come from a clean source image, a template that already expects this motion pattern, and a tight review loop that catches drift before the final download.
Why a Prompt Is Not the Starting Point in Nim
The reason people struggle with this effect is simple. They search for a magical sentence, paste it into a model, and then wonder why the product changes shape, the hand moves, or the background shifts.
In Nim, the more useful mental model is template first. The Product assembly template is built for this visual result, so the task becomes feeding it the right source material and constraint language instead of improvising the whole effect from scratch.
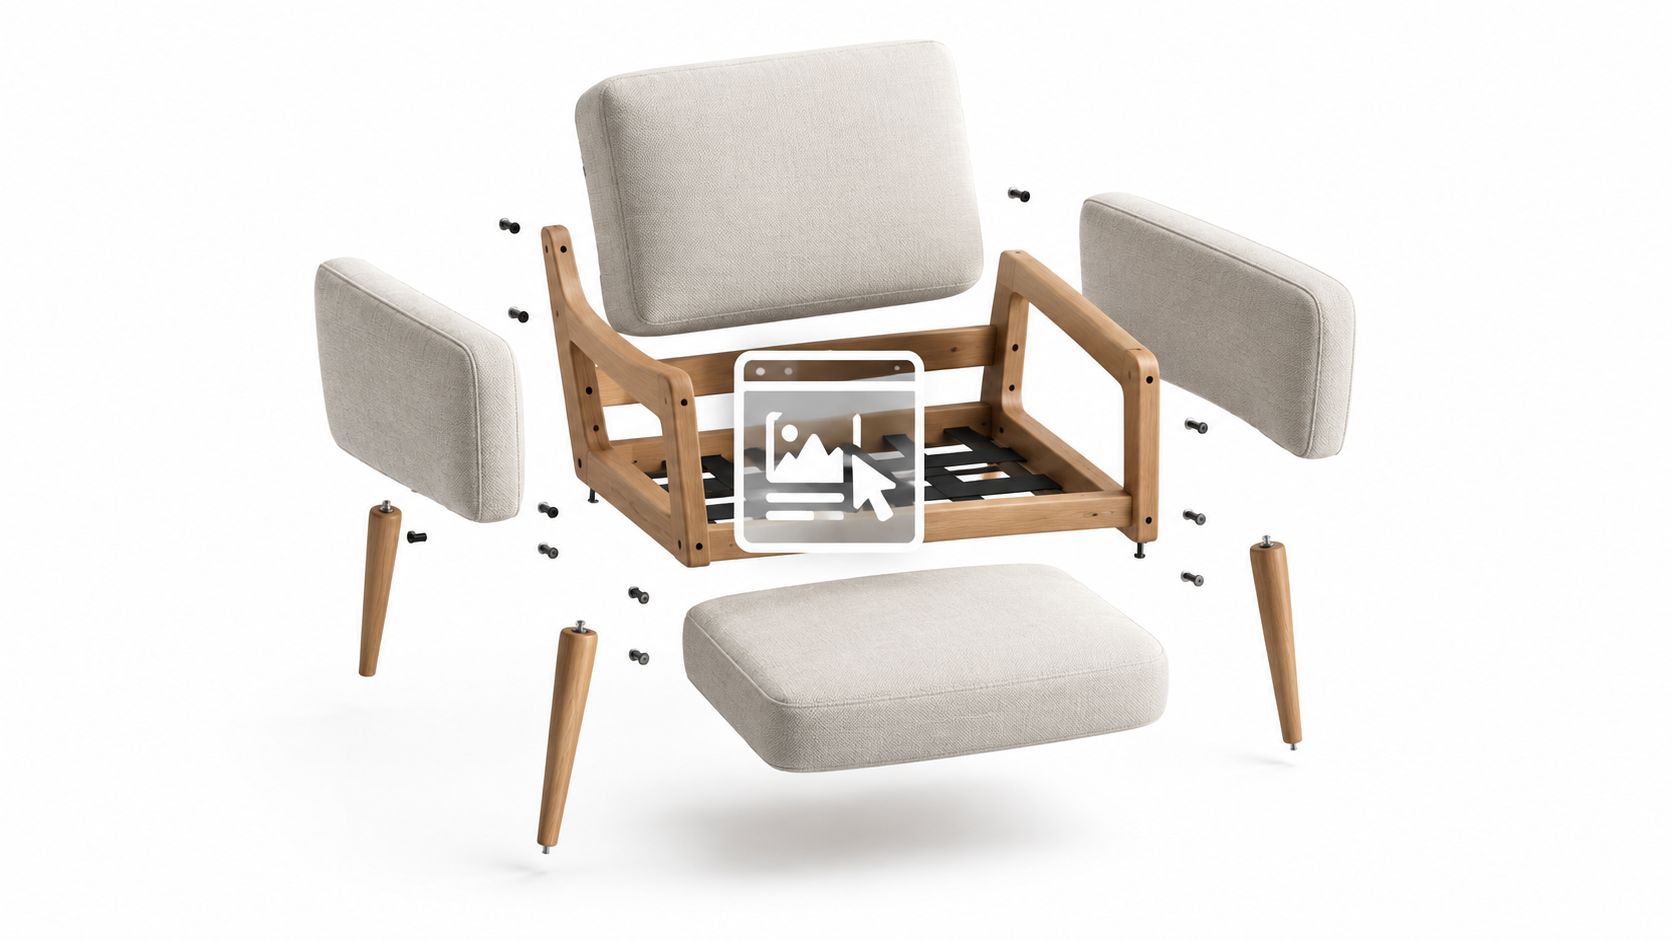
The real job is identity preservation
Public tutorials around this effect converged on the same instruction pattern by early 2026: keep the exact same camera angle, framing, perspective, lighting, background, and composition, then animate only the object components moving apart and back together in place. A widely shared February 15, 2026 example split the workflow into a separate photo prompt and video prompt and stressed smooth, precise, cinematic reassembly with realistic spacing and proportions, while another February 2026 prompt collection repeated the same constraints for a camera product with no rotation, duplication, or distortion in the parts movement, as shown in this assembly prompt tutorial example.
That matters because the effect became less about one model feature and more about a standardized recipe.
Practical rule: If the source image identity isn't locked down, the assembly motion usually isn't the problem. The changed product is.
The flow that actually helps
For this task, the useful sequence is straightforward:
- Prepare the source image: Start with a hero product image that already looks close to the final visual.
- Generate inside the template: Let the template carry the motion logic.
- Review for drift: Check whether only the parts moved, not the scene.
- Download the approved clip: Save only the version that preserves the original image convincingly.
A prompt still matters, but it works as a guardrail. It doesn't replace the source asset.
Preparing the Source Assets Before You Open the Template
A clean input image does more work than most prompt edits. If the product photo already has clutter, harsh glare, busy props, or text overlays, the assembly effect has to preserve those too, and that usually makes the clip feel unstable.
The safest source is a simple hero shot with the product clearly separated from distractions. If the current image has too much going on, it helps to clean it up first with an object isolation workflow so the product becomes the main visual contract the animation has to preserve.
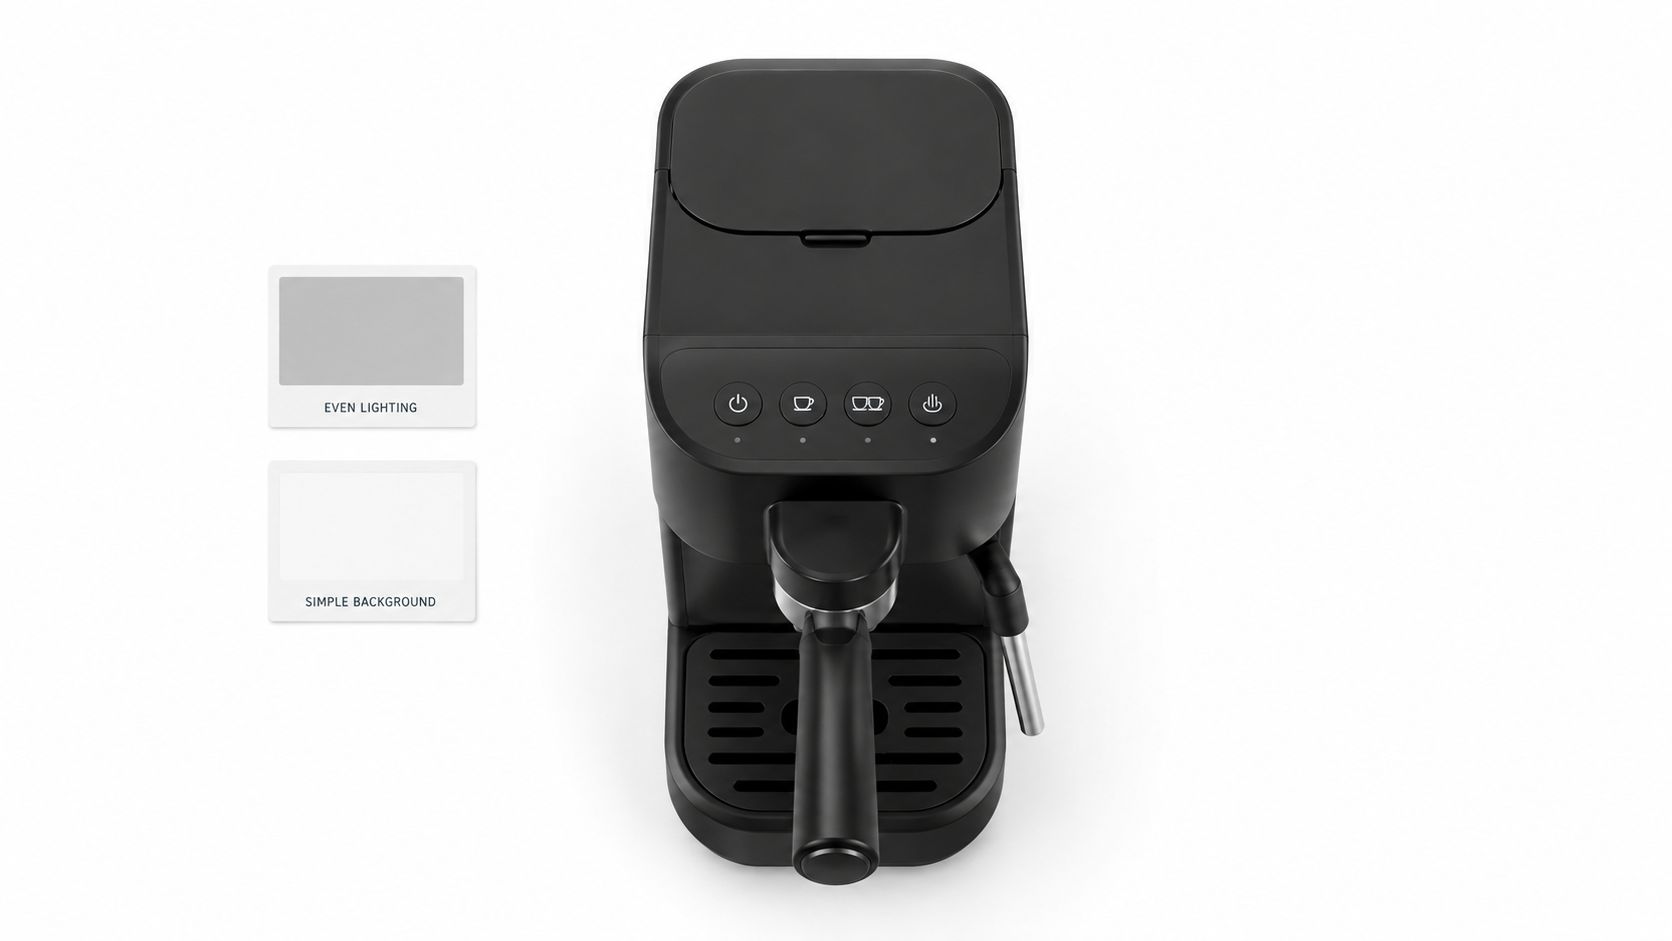
What the source image should show
The effect works best when the model can clearly read the product's structure from one image. That usually means:
- Clear silhouette: The outer shape should be easy to separate from the background.
- Visible component logic: Electronics, watches, tools, sneakers, and furniture tend to read better because their parts feel mechanically legible.
- Even lighting: Strong reflections and hot spots often become more obvious when parts split apart.
- No extra overlays: Text, logos added in post, stickers, and watermarks often become part of the scene identity.
One verified tutorial pattern is especially useful here. It recommends collecting approved source photos and noting visible part count, colors, seams, included items, known assembly order, and forbidden claims before generation. That staged workflow also suggests a bounded sequence of identity lock, explode, assemble, inspect, and close within a 15-second structure in this product video workflow guide. The point isn't the length alone. It's the discipline of locking identity before motion begins.
What usually fails before generation starts
Some products are harder from the outset. Public examples and prompt libraries consistently favor structured solid objects such as electronics, vehicles, sneakers, and industrial equipment, while soft, irregular, or highly reflective subjects are less reliable in this effect family, as noted in this video breakdown of assembly workflows.
A quick preflight check helps:
- Soft goods: Fabric items can lose edge definition when separated into parts.
- Transparent surfaces: Glass and clear plastic often produce inconsistent internal detail.
- Mirror-like finishes: Chrome and glossy coatings may shift highlights between frames.
- Crowded frames: Hands, props, and angled shadows can create false “parts” the system tries to move.
The best first-pass assembly clips usually come from products that already look like they could be diagrammed.
Mapping Your Product to the Right Nim Template
Choosing the right template is less about category labels and more about visual fit. If the preview shows a result that behaves like the output needed, that's the better starting point than forcing a broad template onto the wrong product type.
For beauty packaging and similarly structured container products, the closest category match may be the beauty assembling product template. That matters because bottles, pumps, caps, and tubes often need different separation logic than a camera, chair, or speaker.
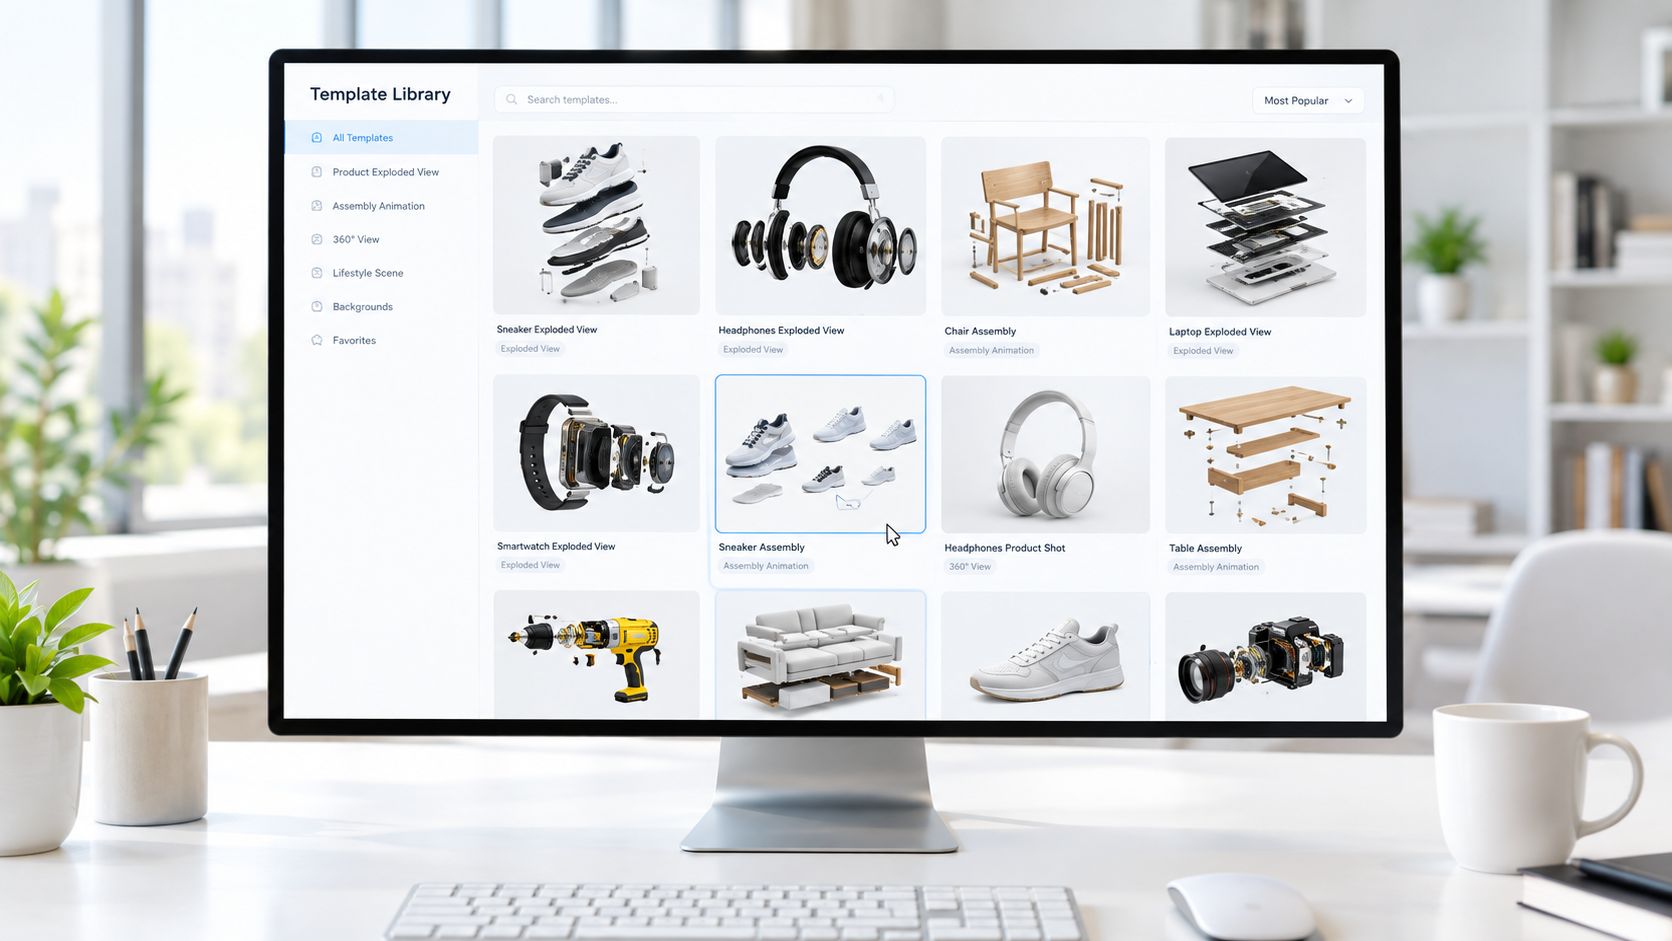
Match the template to the object logic
A product assembly effect prompt works better when the object already suggests how it would come apart.
A simple way to think about template fit:
| Product type | What usually matters most |
|---|---|
| Electronics | Ports, layers, shells, symmetry |
| Beauty packaging | Cap, bottle, pump, label continuity |
| Furniture | Cushions, frame, legs, hardware alignment |
| Footwear | Sole layers, upper, insole, stitching logic |
The goal isn't to find a template with the perfect name. It's to find one whose sample behavior matches the product's structure.
What to submit and what to skip
When opening the template, the safest approach is to stick closely to the inputs it asks for and avoid improvising extra complexity.
- Use the hero image as the primary input: That image is the identity anchor for the clip.
- Only add extra references when the template asks for them: More inputs aren't always more control.
- Keep instruction text separate from image assets: Pixels establish appearance. Constraint wording protects it.
If no assembly template matches the product's physical logic, that's a useful signal. It usually means the source image or category choice needs to change, not that the effect should be forced.
Prompt Phrasing Patterns That Preserve the Base Image
A good product assembly effect prompt is mostly a list of restrictions. That sounds limiting, but it's what keeps the effect clean.
The strongest public tutorial examples repeat the same core control language: preserve the original hand position, camera angle, framing, perspective, lighting, background, and composition, then animate only the parts. They also repeatedly insist that parts stay evenly spaced, aligned, and proportionally realistic, with no rotation, wobble, distortion, or morphing, as shown in this assembly motion prompt example.
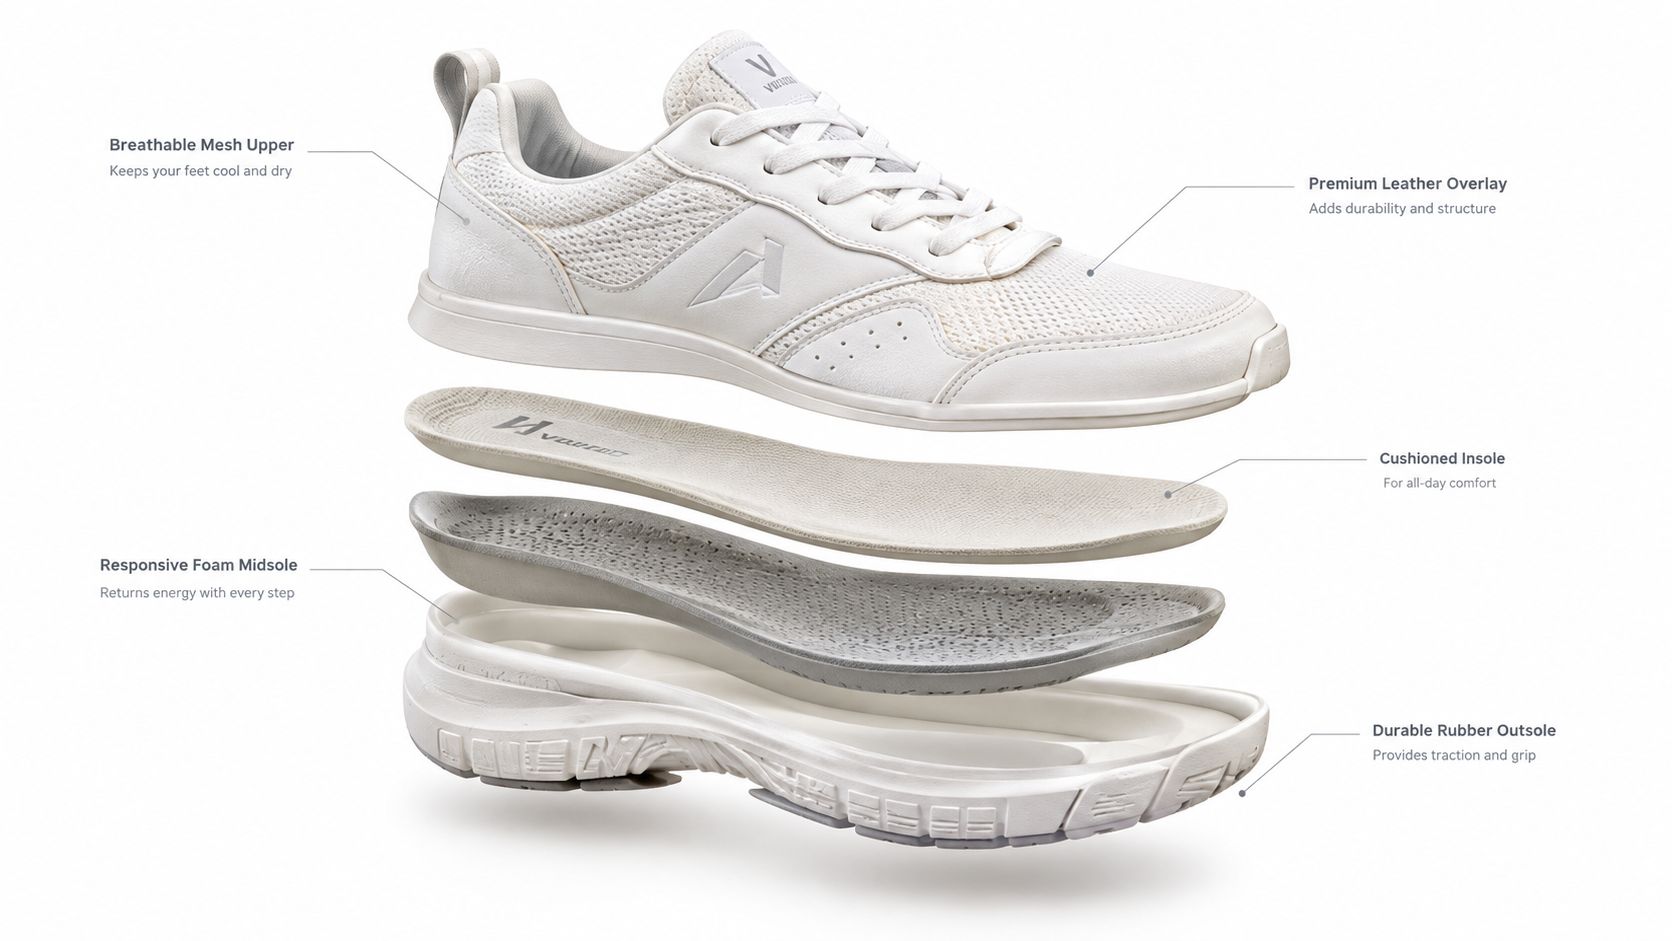
The prompt structure that tends to hold up
Instead of writing a descriptive paragraph, build the prompt in blocks:
-
Identity lock Start with the subject anchor. Example: keep the exact product shown in the input image.
-
Scene lock State what must remain unchanged. Include camera angle, framing, perspective, lighting direction, background, composition, and hand pose if the product is held.
-
Motion instruction Add one simple action. Parts float outward, remain aligned, then return to the exact starting position.
-
Failure prevention Explicitly forbid rotation, duplication, scaling changes, warping, or background drift.
-
Finish quality End with the intended output feel, such as clean studio presentation or ecommerce-ready visual polish.
A practical phrasing pattern
This is the pattern worth adapting, not copying blindly:
Keep the exact product shown in the input image. Preserve the same camera angle, framing, perspective, lighting, background, composition, and visible hand position. Separate the product into evenly spaced components that move straight outward in a symmetric arrangement, then reassemble smoothly into the exact original product. No rotation, wobble, distortion, duplication, morphing, or camera movement. Keep all proportions realistic and keep the final frame identical to the input image.
That structure works because it narrows the model's freedom to the one thing that matters: part motion.
Why sequence language helps
A more advanced way to guide the effect is to think in stages rather than one exploded frame. One published assembly visual method uses a five-stage timeline from scattered parts to finished product with consistent camera position and corresponding components tracked across stages in this assembly timeline infographic.
That staged thinking is useful even when the final output is short. It encourages clean correspondence between each part and its destination, which is exactly what makes the animation feel believable.
A vague cinematic prompt often creates a dramatic clip. A staged constraint prompt is more likely to create a usable product clip.
Generate, Review, and Download the Assembly Clip
Once the source image and prompt are ready, the actual production loop should stay boring. That's a good sign. Upload the input the template asks for, generate the first pass, and review it against the source image before changing anything.
Nim is useful here because the product video animation guide fits the same general discipline as this effect. Generate a clip, compare it to the base asset, and only then decide whether the scene holds together.
Review against four checkpoints
Watching the clip once isn't enough. Pause through it and check four things:
- Product identity: The assembled object should still match the source in shape, color, and visible details.
- Part behavior: Components should move cleanly without spinning, stretching, or changing scale.
- Scene continuity: Background, shadows, framing, and hand position should remain stable.
- Start and end match: The final assembled frame should land back on the original composition convincingly.
If the clip fails one check, change only the line that addresses that failure. Don't rewrite the whole prompt.
Keep the review standard tight
Teams producing apparel and catalog visuals already know that clean product imagery depends on consistency before effects are added. The same discipline shows up in good assembly clips, which is why a resource like AI product photography for fashion brands is useful context when the source image itself still needs work before animation.
After review, download the approved version using the template's download flow. If a needed format or variation isn't visible on the template, it's safer to treat that as an unknown or current limitation than to assume a hidden export setting exists.
Troubleshooting the Most Common Assembly Failures
Most failed assembly renders miss in predictable ways. The motion can be impressive while the product stops being the same product.
The first failure is material drift. Reflective, transparent, soft, or low-contrast products often change surface character when the effect tries to split them into components. In those cases, the prompt needs an explicit instruction to preserve the original material texture and visible highlights from the source image.
When parts rotate or wander
The second failure is motion instability. Individual pieces may spin, tilt, overshoot, or return to the wrong place.
Tighten the motion language when that happens:
- Use directional wording: Ask for straight outward separation with aligned return paths.
- Specify uniformity: Call for even spacing and consistent movement across components.
- Lock the endpoint: Require all parts to return to the exact starting position.
A broad “explode and assemble” instruction leaves too many choices open.
Rotation looks dynamic in abstract motion graphics. In product assembly, it usually looks like loss of control.
When the scene changes instead of the product
The third failure is scene drift. The product may stay mostly intact while the background shifts, the crop changes, or the shadowing gets rebuilt.
That usually needs stronger scene constraints:
- Preserve the input background exactly
- No camera movement
- No reframing or zoom
- Keep the original composition and object scale
If the same issue survives two reruns, the source image is usually problem. Recapturing the product on a simpler background with steadier lighting often fixes more than another round of prompt edits.
Next Step for Your Specific Product
The best next step is to choose the template based on the object itself, not on the phrase that brought the search. Packaged goods, electronics, watches, and other structured objects belong on the Assembling Product page. Readers working on broader catalog creative can also browse e-commerce templates for adjacent product workflows, while more scene-based assembly concepts can be compared with building assembly references or micropeople assembly references.
The cleanest first-pass results usually come from mechanically legible products with distinct layers or components. Soft products and highly reflective surfaces are the ones most likely to need a second render with tighter motion and scene constraints.
Before opening the next run, keep three things ready: the cleanest source image, the constraint-style prompt, and the review checklist. That combination is what gives this effect a realistic chance of working on the first pass.
Nim offers template-based AI image and video workflows for effects like product assembly, which is why this task works better there as an input-and-review process than as a loose text-only experiment. To try the effect with a source product image and a tighter constraint workflow, visit Nim.
- product assembly effect prompt
- nim templates
- product video AI
- ecommerce video
- exploded view animation