Product Video Animation: A Quick Template Workflow
Learn product video animation using Nim templates — turn a product photo into a short promo clip with a clear input, generate, review, and download flow.
By Nim
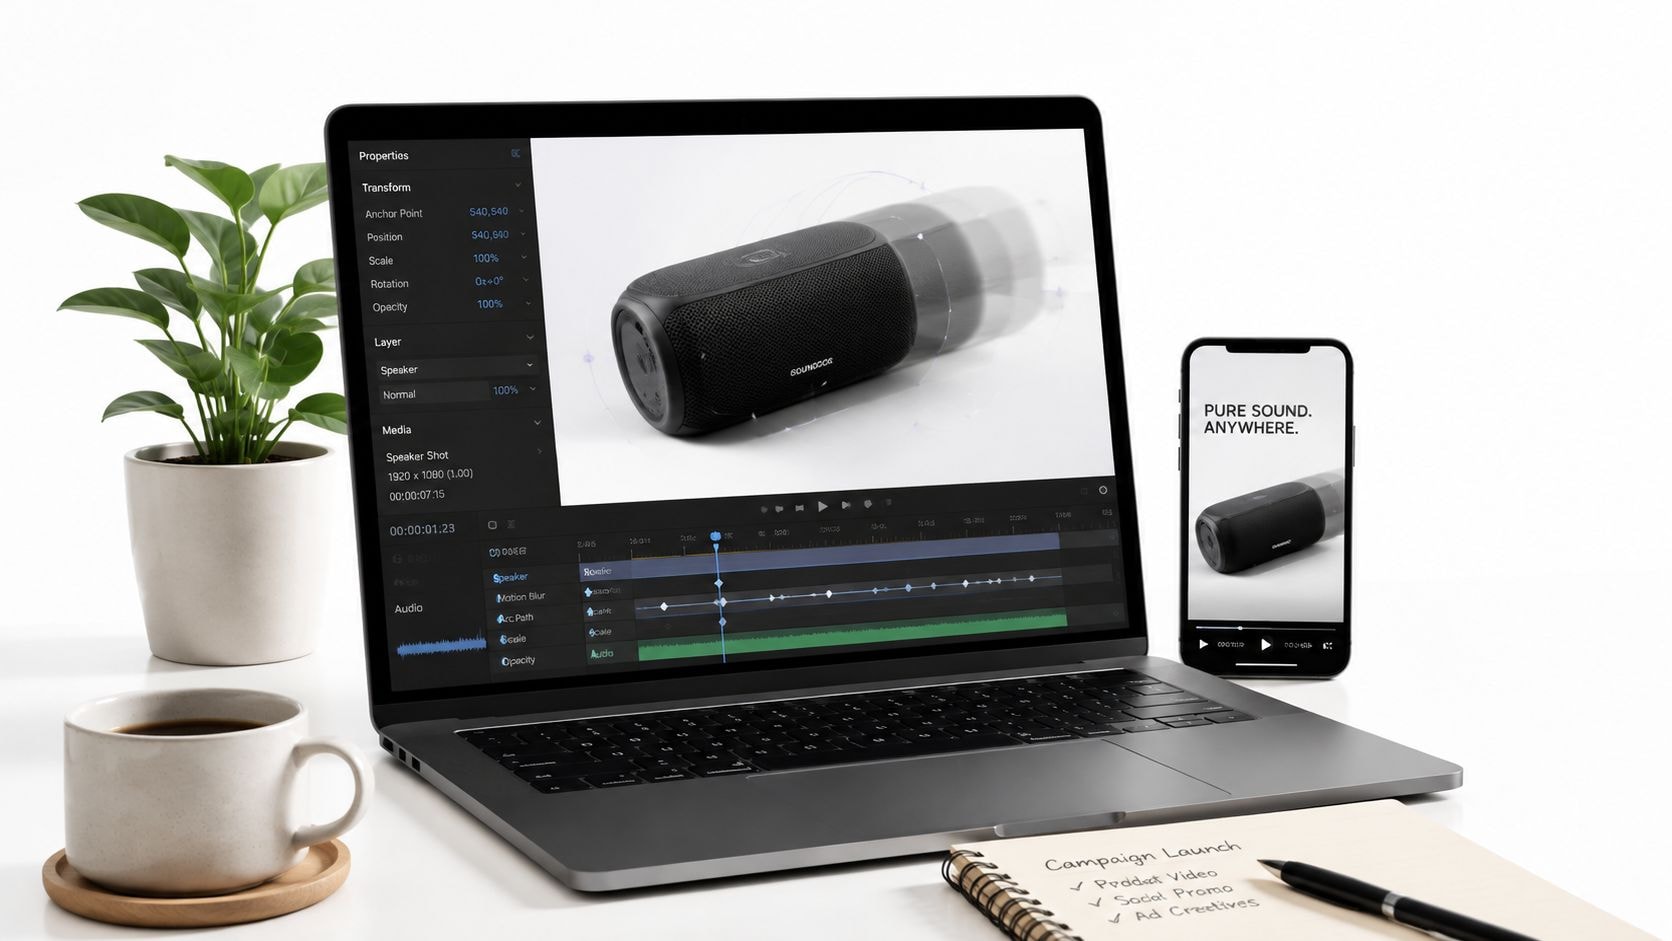
The product is ready, the product page needs fresh creative, and the team needs a usable promo clip before the day ends. A full motion-design production can solve that problem, but it also introduces storyboards, asset preparation, animation work, sound decisions, and review cycles that may be excessive for a single ecommerce image.
A template-first product video animation workflow takes a narrower route. One prepared product photo becomes the source for a structured short clip, with animated presentation, concise text, and a review before the finished asset is downloaded. The result won't replace a launch film, but it can give a seller or marketer a practical product-page or social asset without starting from a blank timeline.
What Product Video Animation Gets Done in a Template
A seller with a single image of a black skincare bottle doesn't necessarily need a studio shoot to create the next promotional variation. The useful question is whether that image is clear enough for a template to turn into a short visual sequence that presents the product, reinforces one benefit, and ends with a recognizable action.
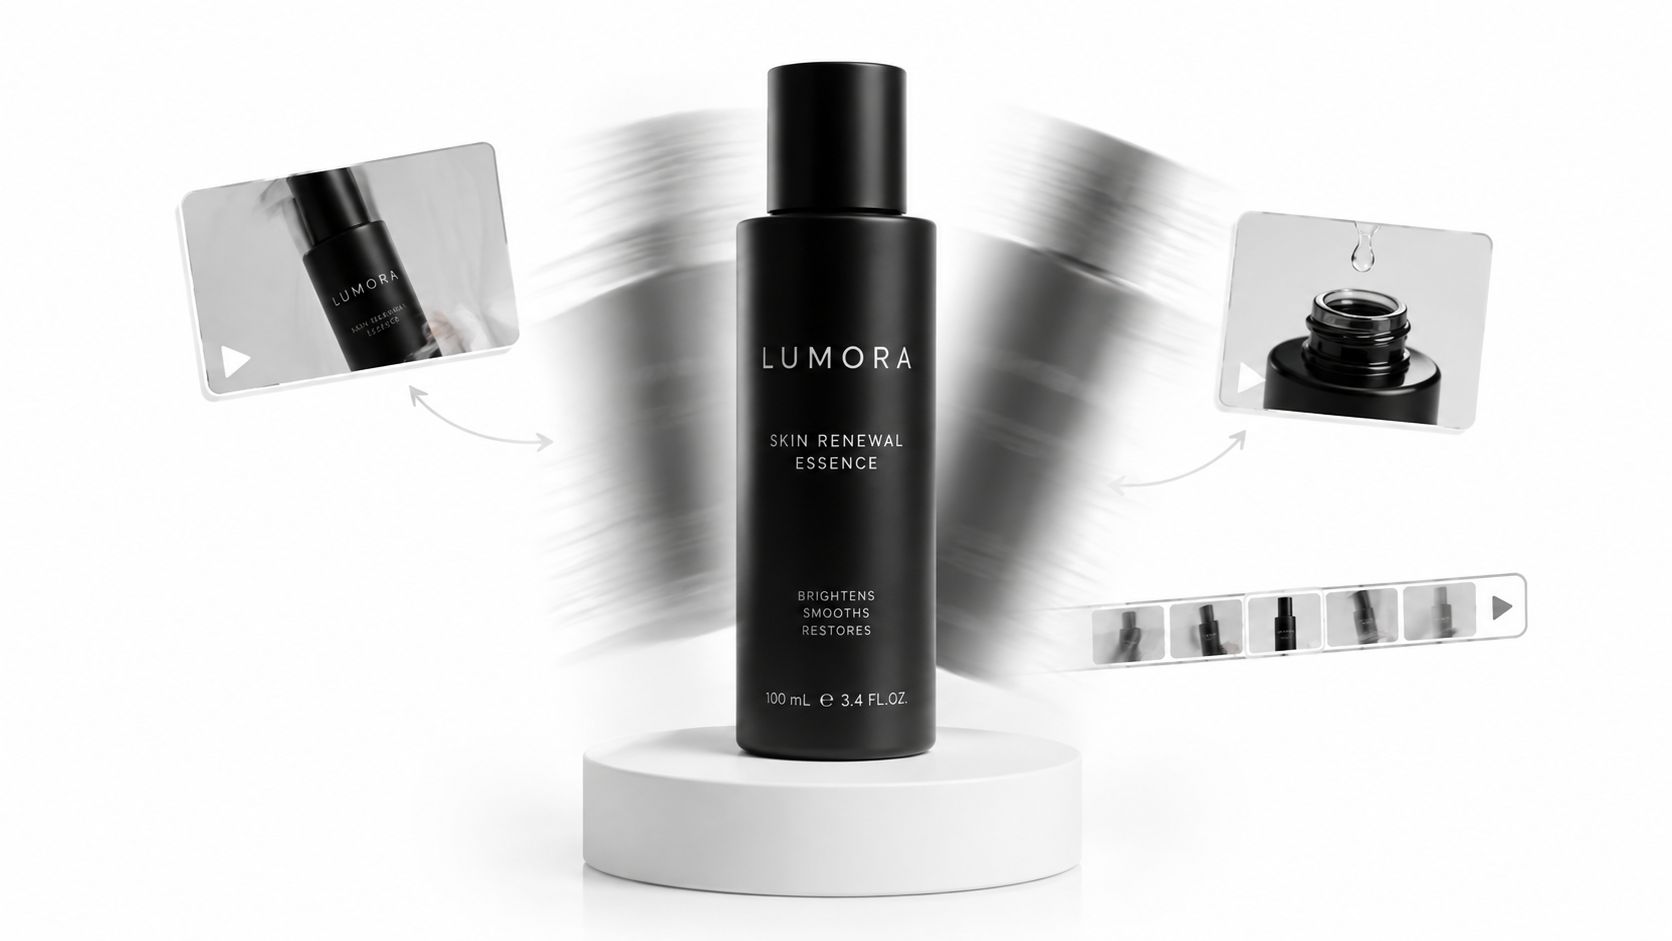
In Nim's ecommerce templates, the template-first path is designed around the material supplied by the user. The prepared product image provides the visual subject, while the template supplies a repeatable presentation structure. Depending on the selected template, the resulting clip can combine an animated product showcase with text overlay and music, giving the product more movement than a static listing image.
That scope matters. A template is useful because it removes many blank-page decisions, but it also limits the amount of creative direction available. It isn't a full broadcast spot, a multi-scene campaign film, or a replacement for carefully directed live-action footage. It is a focused asset for a product page, paid creative variation, social post, or catalog where consistency and turnaround matter more than elaborate storytelling.
The practical trade-off
Video has become a standard part of marketing rather than a specialist format. HubSpot's 2026 marketing statistics cite Wyzowl data showing that 91% of businesses use video as a marketing tool, while 23% use animated video as one of their main video formats. The same dataset reports that 96% of marketers say video has helped increase users' understanding of their product or service.
That makes product video animation especially useful when the image needs to communicate more than appearance. A short reveal can show the product's focal detail, put a benefit in context, and give the viewer a clearer reason to continue to the product page.
For broader planning around product-focused advertising formats, the AdStellar AI product video resource can help teams think through how a product image becomes an ad concept. The Nim template route remains the faster choice when the immediate need is a structured clip from one existing image.
Preparing Your Product Photo as Input
The template can't rescue a weak source image. A soft product edge, clipped packaging, harsh reflection, or distracting background gives the animation less reliable material to work with, so preparation should happen before the image is uploaded.
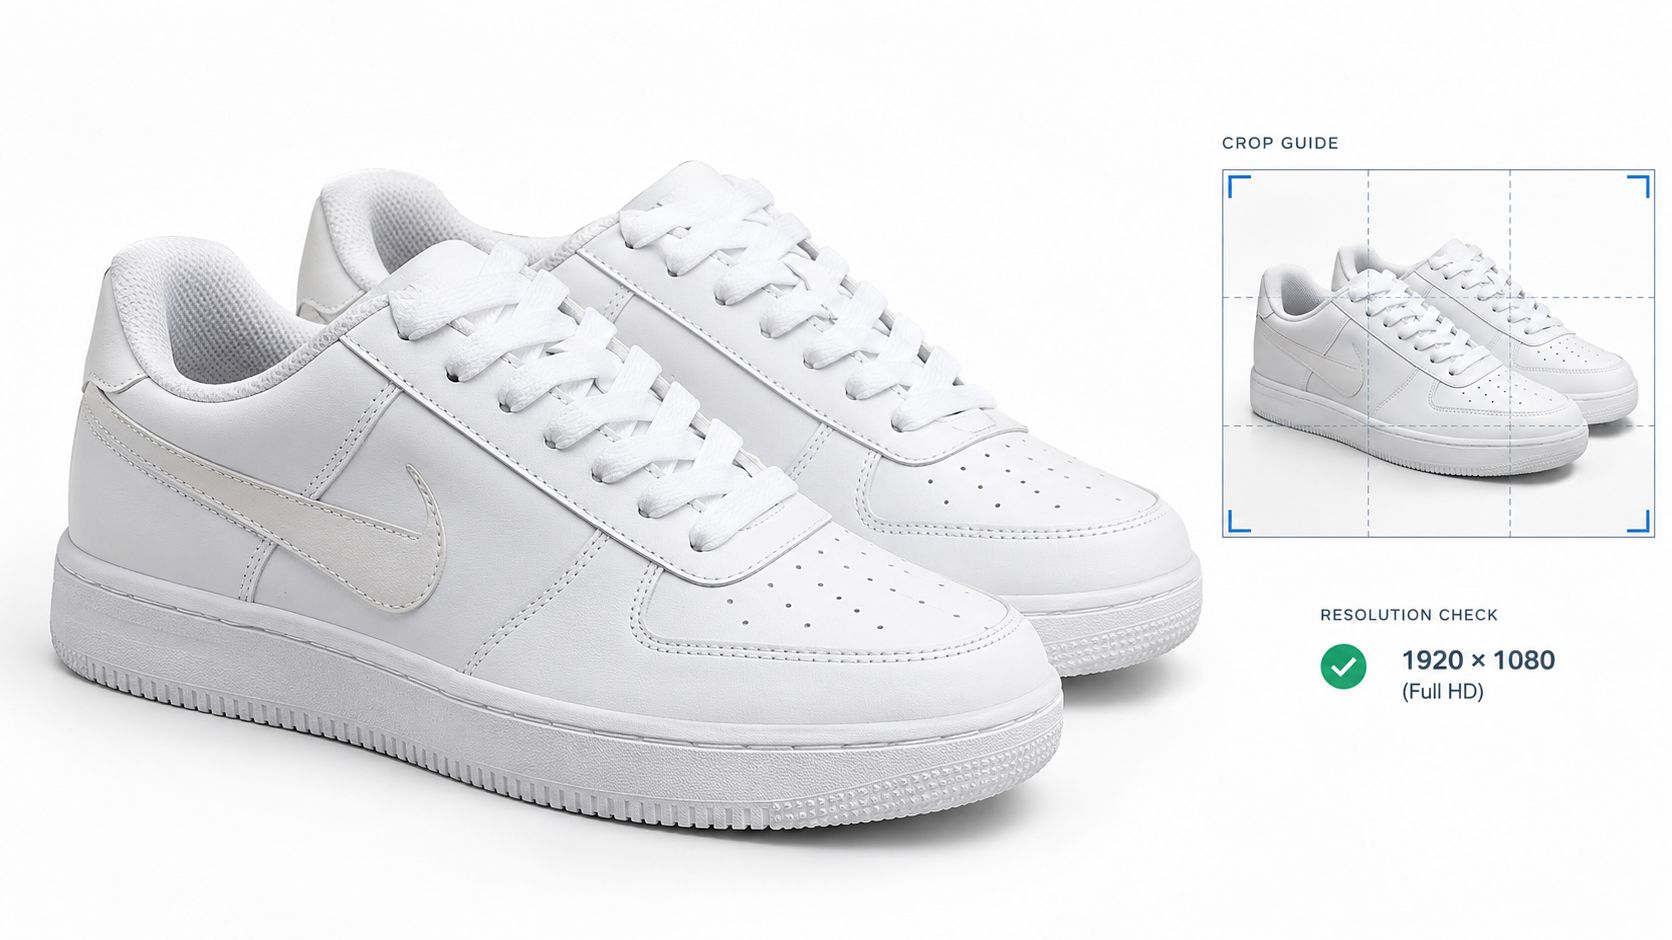
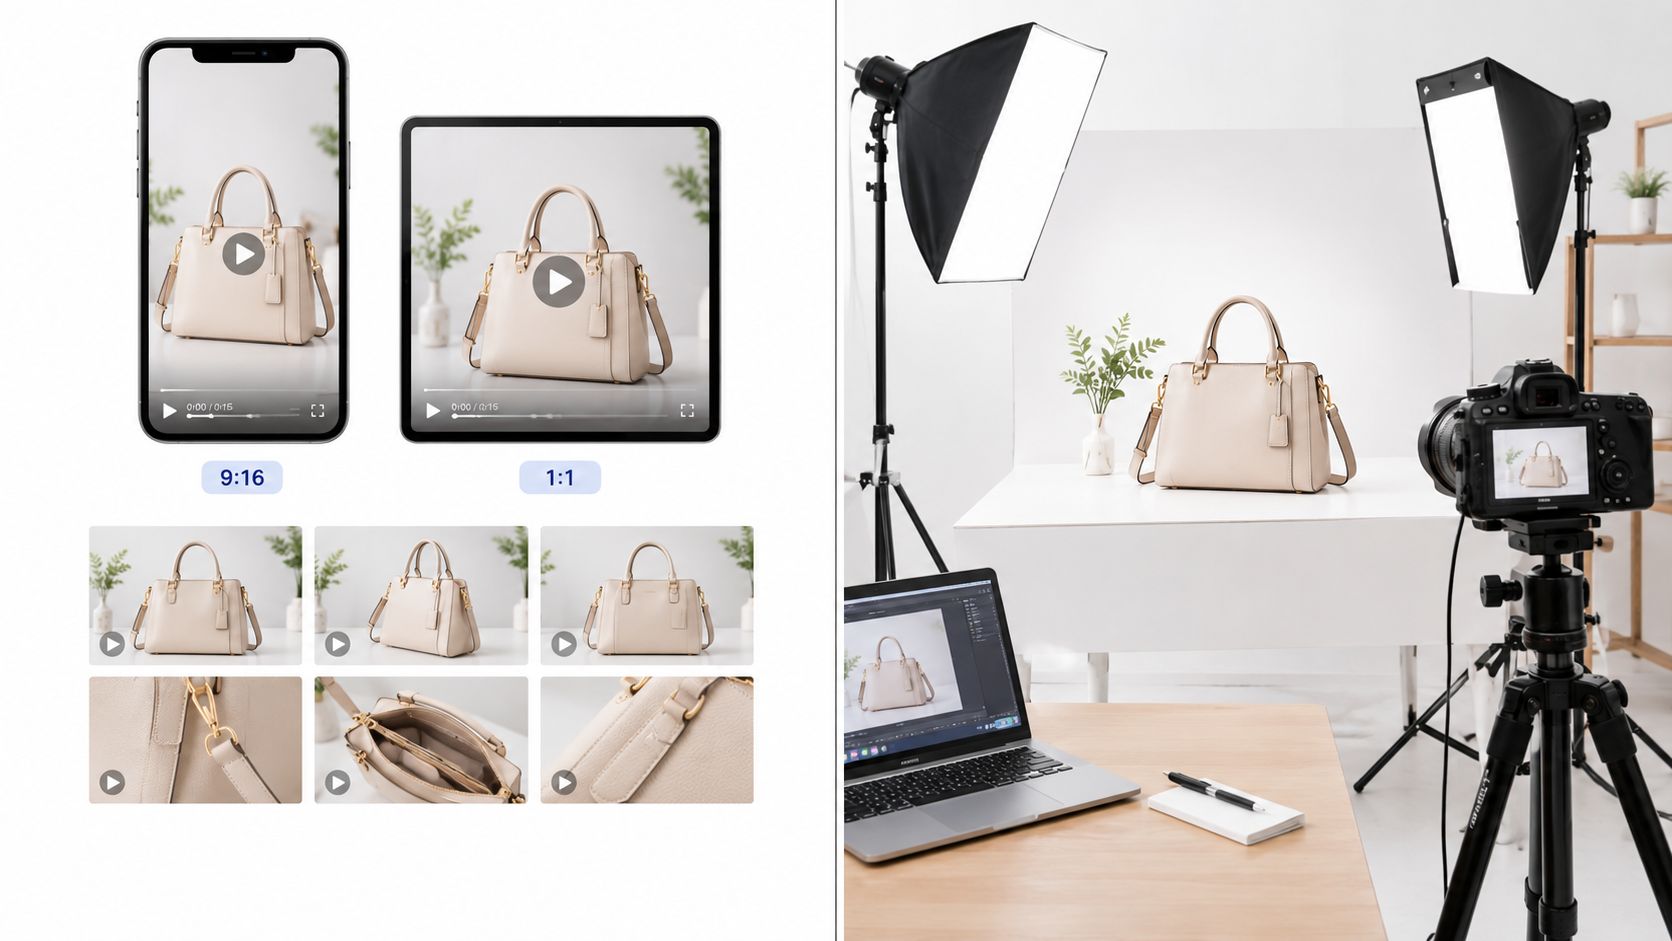
A practical source image should be high resolution, with the product centered, fully visible, and sharply focused. A file around 2000 pixels on its longest edge gives the process more usable detail, while a transparent or near-white background leaves room for text and motion without creating obvious edge artifacts. The source should be saved as a PNG or high-quality JPG and kept under 25 MB.
A simple input checklist
- Frame the product first: Keep the full item in view rather than cropping away packaging, handles, caps, or other identifying details.
- Leave useful negative space: If the clip needs a benefit line or call to action, clear space in the upper or lower third prevents text from covering the product.
- Control the light: Even lighting is safer than dramatic shadows that cross the silhouette or hide surface details.
- Match the destination: Prepare a vertical composition for social placements or a horizontal composition for a product-page context, rather than relying on the template to repair an unsuitable crop.
- Remove distractions: Watermarks, clutter, reflections, and competing objects can make the product less legible once motion and text are added.
The same discipline applies to everyday product photography. The guide on creating a mug shot is useful as a broader reminder that framing and subject clarity affect the quality of an image-led creative workflow. For a product clip, the source should make the item easy to identify before any animation is applied.
Practical rule: If the product doesn't look clear in the still image at thumbnail size, animation won't reliably make it clearer.
Running the Template in Nim
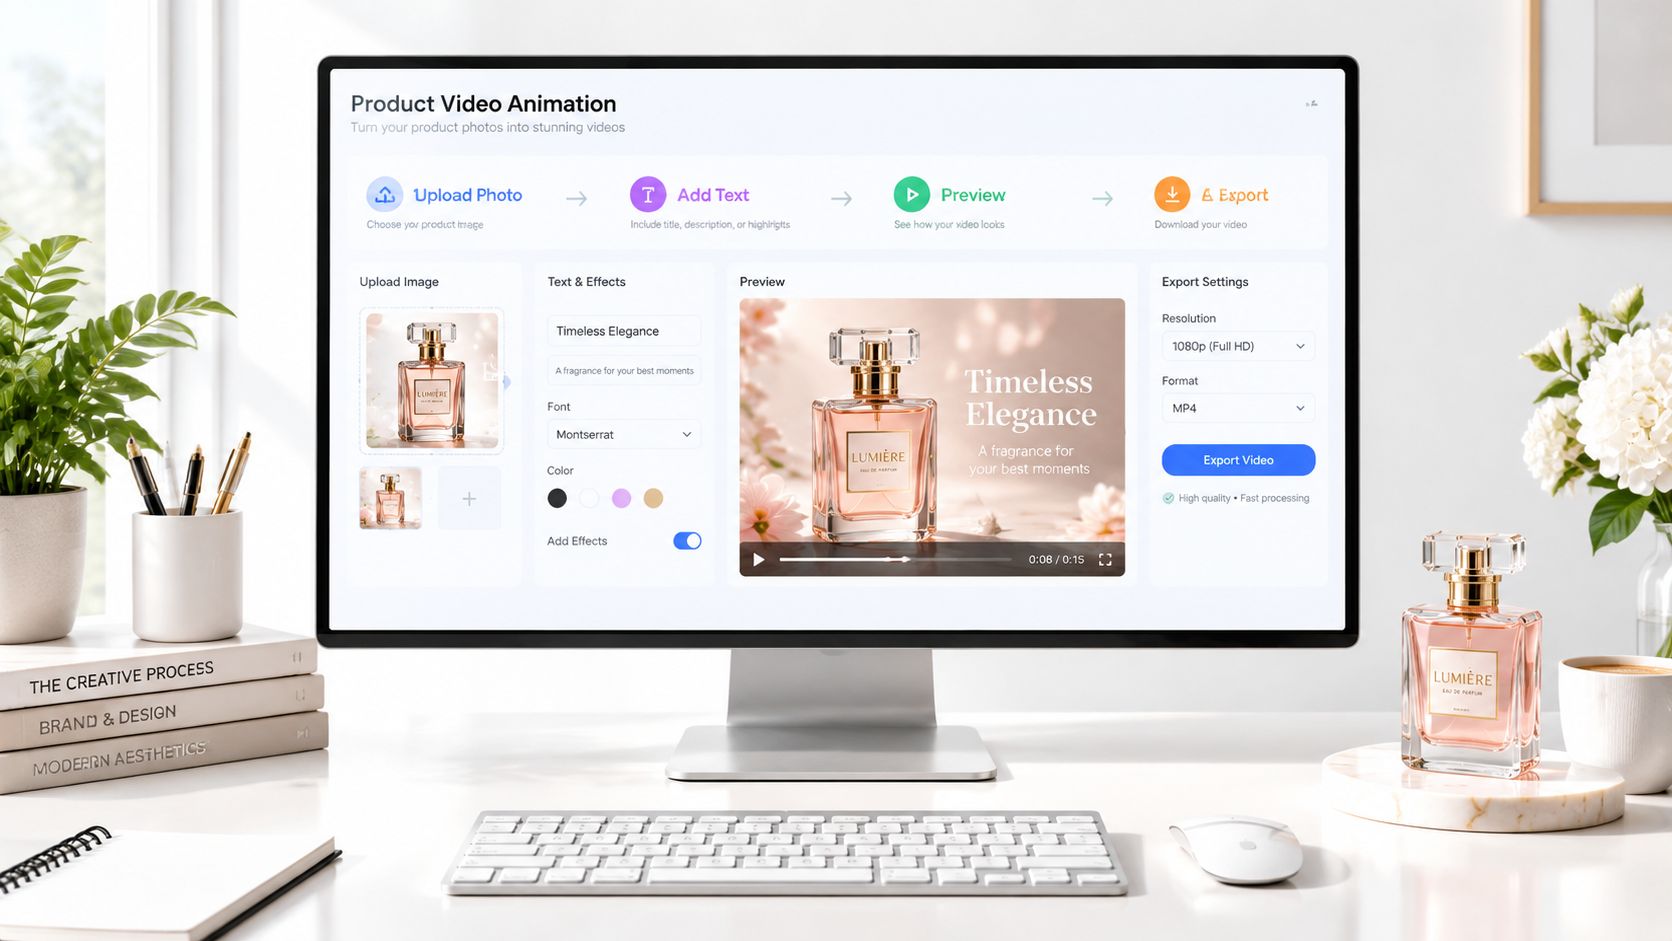
The ecommerce template flow should be treated as four straightforward stages: provide the input, generate the clip, review the render, and download the result. The important work happens before submission, because the template can only build from the product image and text supplied to it.
1. Input
Open the relevant ecommerce template and provide the prepared product photo. If the template page exposes text fields, use them for the product name, a short benefit line, price, or call to action that the template requests.
Keep each text line concise. A line such as “Hydrates dry skin” is easier to read in motion than a sentence packed with qualifications. A product name, one benefit, and one action are usually more useful than a long feature list, because the viewer has limited time to identify the item and understand its purpose.
The source image should carry the visual burden. Text should support the image, not compensate for poor framing or attempt to explain every product detail.
2. Generate
Submit the completed input and wait for the render to finish. Generation time can vary with queue demand and clip length, so the process should be treated as a short render cycle rather than a live editing preview.
The template-first advantage becomes practical. Instead of building keyframes, transitions, and a product reveal from an empty timeline, the user starts with a defined visual structure. That makes the workflow easier to repeat across related products, provided the source photos share a similar level of quality.
3. Review
Play the rendered clip from beginning to end. Three checks matter most:
- Product framing: The product should remain identifiable throughout the animated movement.
- Text legibility: The copy should remain readable against the background and shouldn't collide with the product.
- Audio balance: Music shouldn't overpower the visual message or make the clip feel disconnected from the product presentation.
If one of these fails, the first adjustment shouldn't be a complete restart. Tightening the text, removing an unnecessary claim, or replacing the source image with a cleaner crop may solve the issue more efficiently than rebuilding the entire concept.
4. Download
Download the reviewed result using the resolution the template offers. The file can then move into a separate post-production step for platform-specific trimming, captions, color matching, or other finishing work outside Nim.
The broader Nim templates collection is useful when the ecommerce format isn't the right fit for the product. A product assembly visual, an unboxing-style presentation, or a different product-focused treatment may communicate the selling point more clearly than a standard showcase.
When to Use a Template Versus a Custom Edit
A template suits a defined production problem: one strong product photo, a known destination, and a short promotional clip that needs to be repeated across products. It favors speed, consistency, and a predictable structure. That makes it a sensible choice for a product-page hero asset, a social variation, or an ad test where the product itself is the main subject.
A custom motion-design workflow solves a different problem. It becomes more appropriate when the creative needs several shots, an unfolding narrative, live-action footage combined with generated or designed scenes, exact typography behavior, or sound design built around a specific rhythm. Those requirements demand more control than a single template usually provides.
Choosing by scope
| Production need | Template-first approach | Custom edit |
|---|---|---|
| One hero product photo | Strong fit | Often unnecessary |
| Repeatable assets across a catalog | Efficient and consistent | Slower to reproduce |
| Several product shots and scenes | Limited by the template structure | Better control |
| Exact brand typography and motion rules | May require external finishing | More suitable |
| Launch film or homepage hero reel | Too narrow for the brief | Better suited to a longer pipeline |
| Cut-down ad variations | Practical starting point | Useful when each version needs a distinct narrative |
The dividing line isn't skill. It is scope. A skilled designer can still waste time by custom-building a simple product reveal, while a marketer can create a weak result by forcing a template to carry a story that needs multiple scenes.
A hybrid production often makes sense. The template can handle repeatable cut-downs and routine catalog assets, while a custom edit receives the larger launch concept. Guidance on AI advertorial tips can help teams think about the relationship between product proof, editorial framing, and promotional messaging, but the visual treatment should still match the complexity of the campaign.
A template should compress a simple brief, not disguise a complicated one.
Product video performance also depends on whether the clip communicates quickly. One cited benchmark reports 4.8% conversion for product pages with video versus 2.9% without video, an implied 65.5% relative lift, as reported by Chasing Illusions. That benchmark supports testing a short product clip on a page, but it doesn't prove that every template or product will produce the same result.
Input Prep and Iteration Tips That Lift Output Quality
The source image sets the ceiling. A template can animate a clear product presentation, but it can't reliably restore missing detail, correct a badly clipped silhouette, or turn a reflective surface into a consistent one.
The strongest starting image usually has the product filling a substantial portion of the frame without touching the edges. A rough working target is 60 to 80 percent of the frame, with enough surrounding space for the product to remain comfortable during the visual treatment. Square and vertical compositions tend to map cleanly to common ecommerce placements, but the final choice should follow the intended destination.
Fix the source before changing the concept
When a generated clip looks soft, a higher-resolution original or tighter crop is usually a better next move than adding more descriptive language. If the motion feels confused around the product edge, a second photo with a clearer silhouette, simpler lighting, or fewer reflections may produce a more stable result.
Avoid loading the input with decorative adjectives. Motion intent should be short and concrete, such as a clean reveal, a gentle product turn, or a close presentation of the package. The goal is to make the desired action understandable, not to ask the system to interpret a paragraph of mood language.
Keep an iteration record
A useful catalog workflow records the source image, the text used, and the version that produced the cleanest result. That record becomes a reusable recipe for similar products, especially when a range shares packaging, composition, or branding.
Shorter clips also deserve disciplined pacing. A benchmark reported by VibrantSnap found that demos under 60 seconds had 89% completion and 12.4% conversion, compared with 71% completion and 8.7% conversion for demos lasting 60 to 120 seconds. The practical lesson is to put the product motion and core proof early, rather than making the viewer wait through an extended introduction.
The best iteration changes one meaningful variable at a time. Replace the photo, shorten the copy, or clarify the motion intent. That makes it easier to identify what improved the result.
Next Step and a Note on Post-Production
The fastest way to evaluate the workflow is to run one product photo through the ecommerce template from input to download. That single pass reveals whether the source image has enough clarity, whether the copy fits the visual treatment, and whether the resulting clip matches the intended product placement.
The downloaded file should be treated as a usable generated asset, not automatically as a finished campaign master. Post-production outside Nim may still include trimming for a platform, adding captions for sound-off viewing, applying licensed music, normalizing loudness, matching brand color, and creating separate versions for product pages, ads, and social feeds.
A short finishing checklist keeps the process controlled:
- Brand match: Compare color and overall presentation with existing product references.
- Silent viewing: Add captions or burned-in text when the message must work without sound.
- Placement fit: Check that the product and call to action remain visible in the intended feed or page layout.
- Short-form cut: Create a 6 to 10 second vertical cut when a concise feed version is required.
- Catalog consistency: Use comparable framing and copy length across related products.
Teams working across many SKUs can also review cost optimization for catalog photos when planning the upstream image pipeline. Better source consistency reduces the amount of corrective iteration required later.
For background-led creative variations, the guide on adding backgrounds to videos can support the separate finishing process. It shouldn't be treated as a substitute for preparing the original product image carefully, because background changes won't correct a product that is blurred, cropped, or poorly lit.
Start with one product, review the result, and only then apply the process across the catalog. That approach keeps the template workflow fast without confusing speed with automatic quality.
Visit Nim to explore ecommerce-focused templates for turning a prepared product image into a short promotional video. Choose one product photo, run the template end to end, and use the reviewed result as the starting point for the final product-page or social version.
- product video animation
- product photo to video
- Nim templates
- AI product video
- ecommerce video