AI Singing Photo: Turn Any Portrait Into a Singing Video
Turn any portrait into an AI singing photo with this practical walkthrough. Covers photo prep, audio, lip sync, styling, and export for social.
By Nim
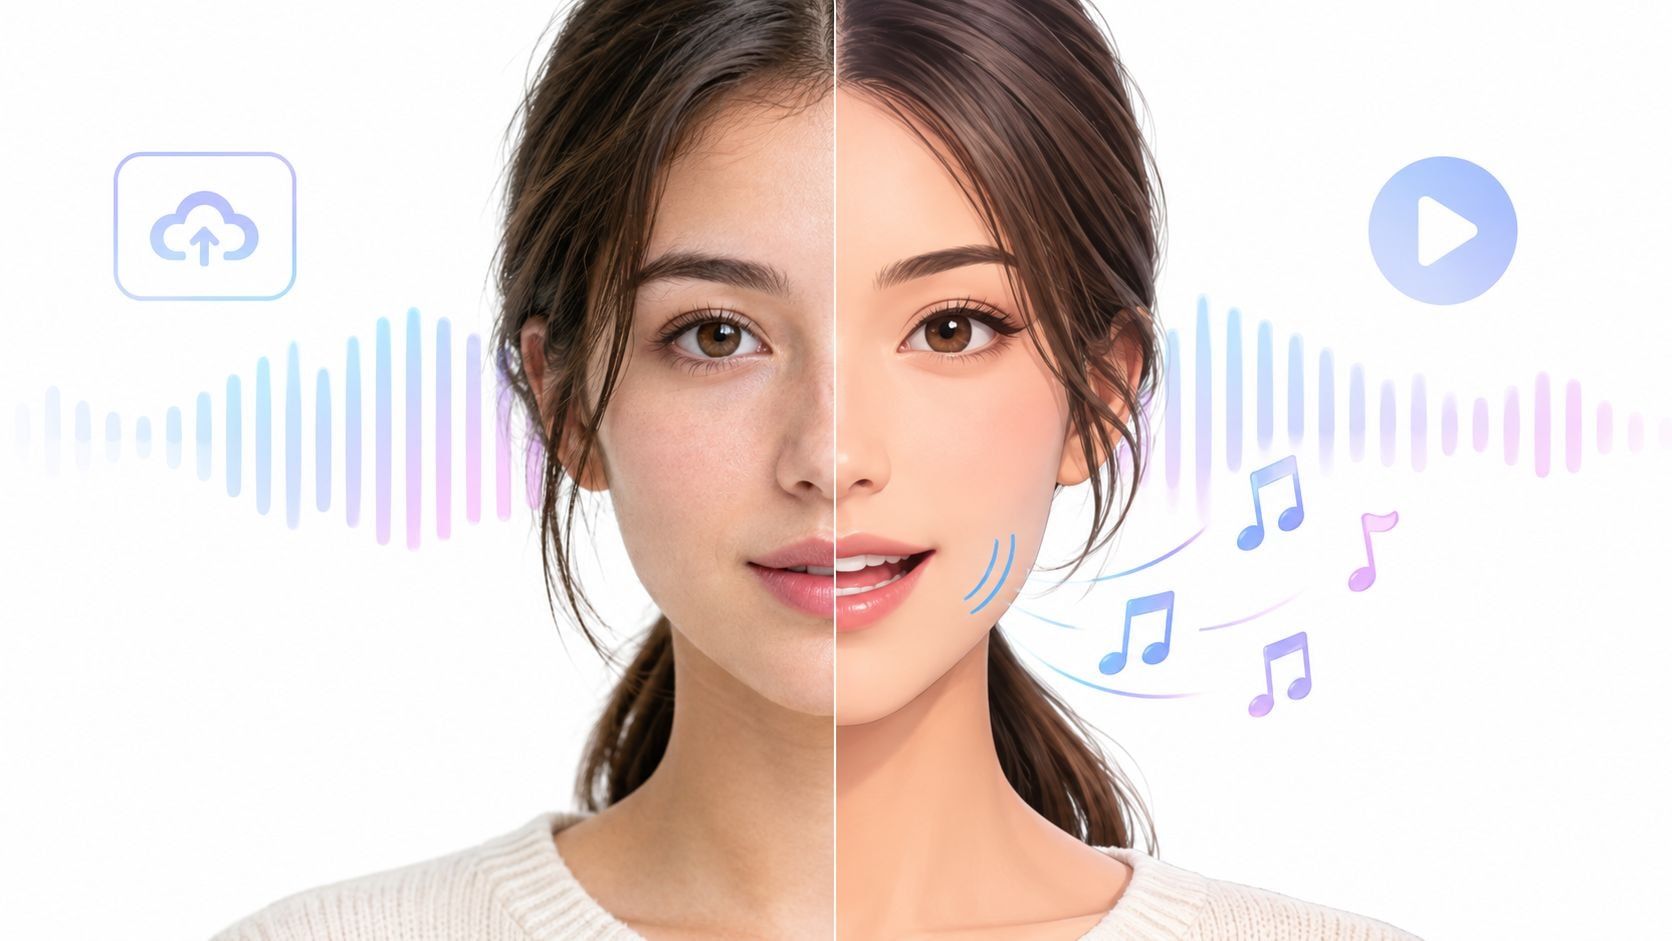
A campaign manager has a polished headshot, a short jingle, and a simple brief: make the portrait sing so the asset can work as a social post or ad concept. The result depends on more than pressing generate. The photo, vocal track, lip-sync template, and final export each affect whether the clip feels intentional or like a mouth pasted onto a still image.
An AI singing photo turns a portrait into a short lip-synced video. The practical workflow is to prepare the image, choose suitable audio, run the file through a template, review the motion, then finish the visual for its destination. Creators planning broader monetization workflows may also find this AI workflow for monetization useful for connecting individual visual assets to repeatable content production.
What an AI Singing Photo Actually Is
An AI singing photo starts with a static face and an audio recording. The system analyzes vocal timing and maps sound-related mouth movement onto facial landmarks, while trying to keep the rest of the portrait stable. The output is a video clip in which the lips, jaw, and sometimes nearby facial movement respond to the song.
That makes the task different from a conventional talking-head explainer. Singing contains sustained vowels, sharper rhythm peaks, repeated syllables, and changes in intensity. A portrait that handles ordinary speech may still look strained when it must hold a wide vowel or close its mouth quickly on a consonant.
The production has four separate parts:
- Source photo: The face must give the animation process clear landmarks.
- Audio stem: The vocal needs enough clarity for phonemes to remain distinguishable.
- Animation template: The template translates the audio into facial movement.
- Export master: The generated clip still needs platform-specific treatment outside the template.
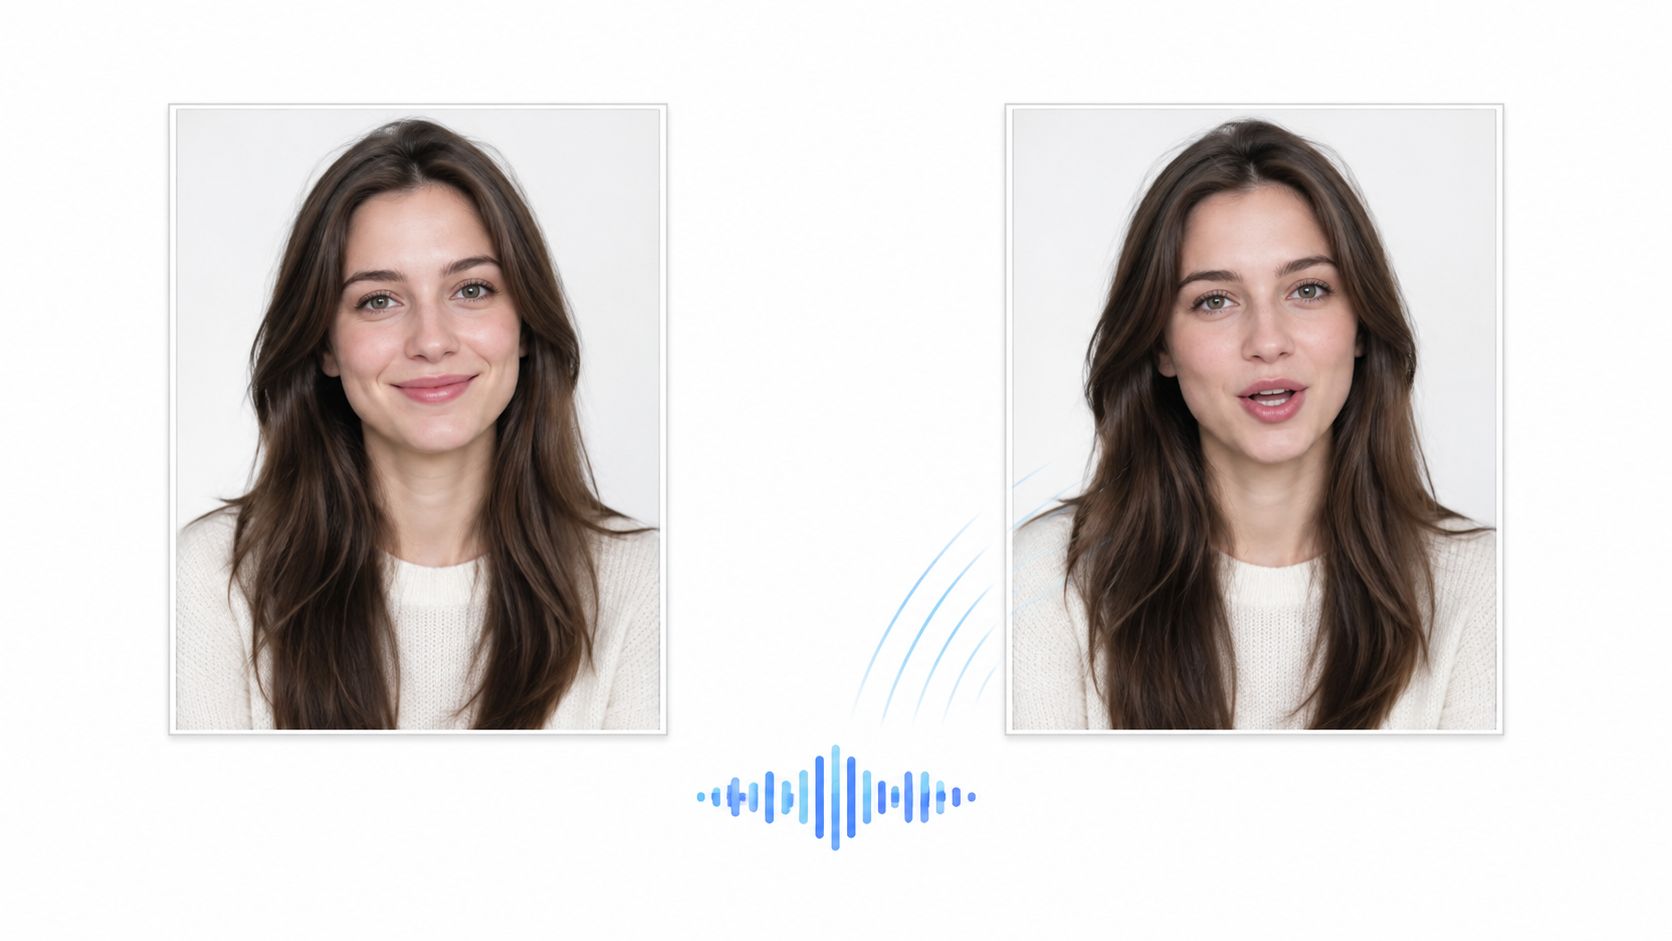
The technical foundation is mature enough for practical creation. Wav2Lip was a 2020 research breakthrough that made practical lip-sync on arbitrary faces viable, and later systems continued matching mouth motion to audio phonemes. By 2024, the MuseTalk paper described measurable targets for synchronization quality and identity preservation, including FID, CSIM, and LSE-C comparisons.
The important distinction is that an AI singing photo is not just a moving portrait. It's a timed performance asset. The source image establishes identity and expression, the audio establishes rhythm and articulation, and the template determines how convincingly those inputs meet.
Preparing the Source Photo Before You Upload
Photo preparation is the first quality decision. A strong portrait gives the lip-sync process a clean view of the mouth, eyes, cheeks, and jaw, while a difficult image forces it to infer details hidden by shadows, angles, or clutter.
A front-facing or three-quarter portrait generally offers the most stable starting point. Keep the crop around the shoulders or chest, center the subject, and leave enough space around the head that small movements won't clip the hair or forehead. A visible mouth matters more than an elaborate pose.
Lighting should be soft and reasonably frontal. Harsh side shadows can make one side of the mouth disappear, while strong backlighting reduces separation between the face and background. Sharpness matters more than chasing a large file. A focused, modest crop is usually more useful than a high-resolution image with motion blur.
Build a clean visual anchor
Use a relaxed neutral expression or a restrained smile. A teeth-baring grin can give the first frame an exaggerated shape that doesn't match a softer vocal performance. Head turns, covered mouths, sunglasses, hands near the face, and extreme perspective all reduce the available facial information.
Background treatment also affects perceived quality. A simple wall, smooth gradient, or clean separation around the hair is safer than a patterned background that can flicker when the face moves. If transparency is useful for downstream compositing, a PNG with alpha can preserve separation, while a heavily compressed JPG may introduce ringing around the lips and hair.
For a separate overview of the broader image-animation workflow, the image-to-video guide provides relevant context without changing the preparation principles above.
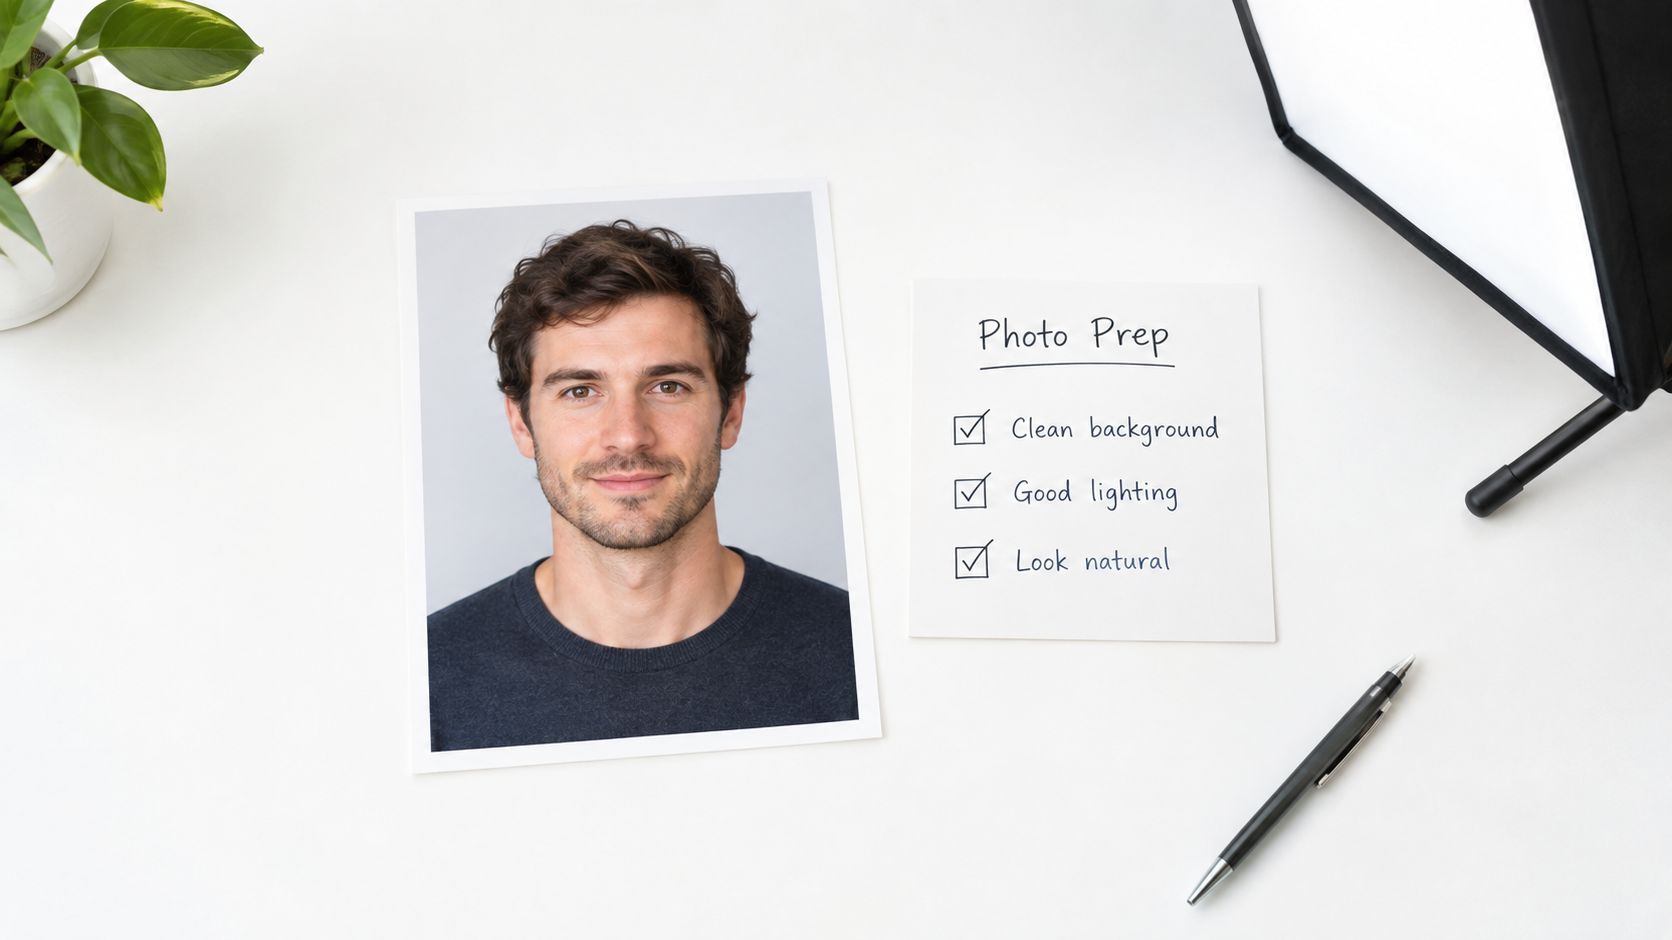
The one-minute pre-upload check
- Face angle: The subject is frontal or only slightly turned.
- Mouth visibility: No hair, hand, prop, or shadow covers the lips.
- Framing: The head and shoulders sit comfortably inside the crop.
- Expression: The starting face is relaxed and compatible with the song.
- Lighting: Both sides of the face remain readable.
- Background: Distracting patterns and unstable edges have been removed.
- File quality: The image is sharp, clean, and free from visible compression damage.
That checklist solves more problems than adding effects after generation. The template can animate a good input, but it can't reliably recover facial information that the source photo never shows.
Running the Lip Sync Template in Nim
The practical Nim flow is deliberately straightforward. Open the Nim lip-sync template, provide the prepared portrait, add the vocal track, generate the result, review the returned clip, and download it when the performance is usable.
Upload the two driving inputs
The template exposes an image upload field for the portrait and an audio field for the vocal track. The image should be the cleanest candidate from the preparation checklist, not a version already covered with captions, stickers, or a decorative frame. Those finishing elements belong later, because they can obscure the mouth or complicate review.
The audio should contain the vocal information the animation needs. If the campaign has several possible hooks, selecting the clearest short section is usually more useful than sending a complete song and hoping every passage behaves equally well.
Generate, then judge the performance
Generation runs the lip-sync pass and returns a preview clip. The first review shouldn't focus only on whether the lips open and close. Check whether the face still resembles the source, whether the eyes and cheeks remain coherent, and whether the expression fits the vocal energy.
If the template presents more than one usable image option, choose the crop with the clearest mouth and the least distracting background. A short test passage can also make review easier before a longer asset is committed, but exact duration behavior depends on the live template.
Nim's related talking model workflow is relevant when the intended result is speech rather than a sung performance. The distinction matters because singing asks the face to follow sustained tones and rhythmic accents, not just conversational syllables.
Keep live-template details live
Pricing, exact model selection, and fine-grained controls can change with the template. They should be confirmed in-product rather than copied from an old tutorial or assumed from another workflow. This guide covers the confirmed sequence of upload, add audio, generate, review, and download, not controls that may vary across the current interface.
A useful production habit is to retain the original portrait and audio separately from the generated clip. That keeps revisions focused. If the result slips, the team can change one input at a time instead of rebuilding the entire creative package.
Picking and Prepping the Vocal Track
The audio is the performance direction. A detailed portrait can't compensate for a vocal stem buried under drums, effects, crowd noise, or a dense musical backing. Lip-sync systems need recognizable phoneme cues, so the cleaner the vocal information, the easier it is to produce readable mouth timing.
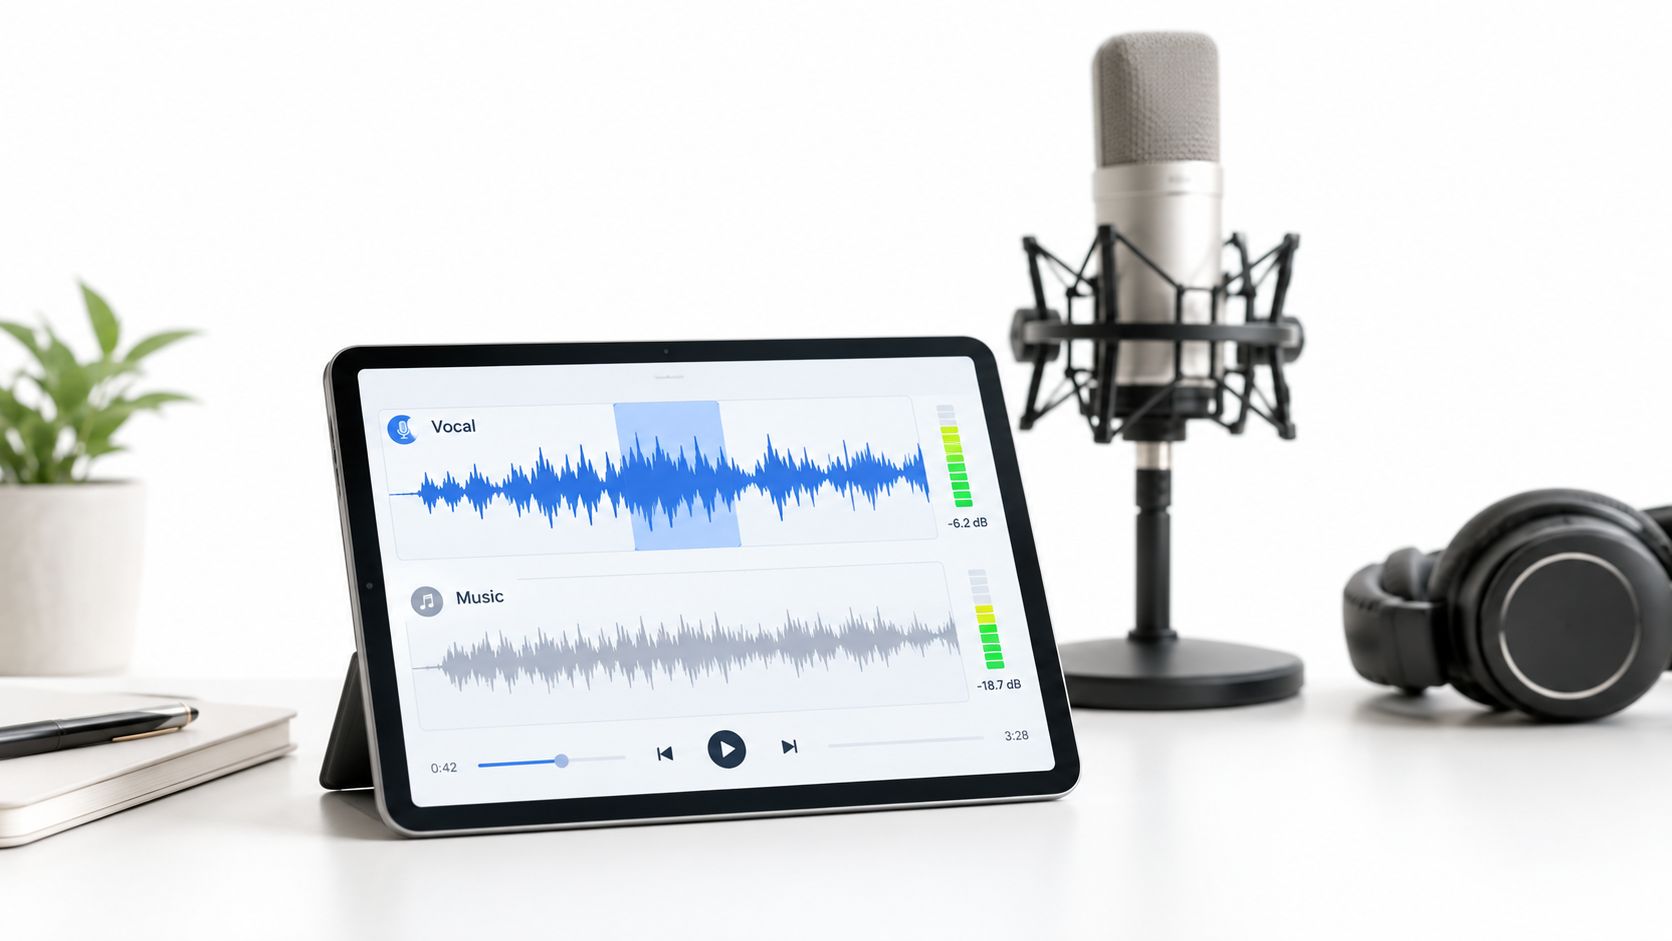
A dry vocal is the most controlled option. If the backing track must remain, the vocal should sit clearly above it, with the brief specifying at least 6 dB louder than the backing track as a practical separation target. That figure comes from production guidance for this use case, not from a guarantee of output quality.
Choose a passage the face can perform
Short hooks and compact verses are usually easier to manage than an entire chorus with repeated extreme vowels. The supplied production guidance identifies clips between 15 and 60 seconds as a practical stability range, but the right choice still depends on the song, source expression, and intended placement.
Match the image to the recording. A soft ballad paired with a wide, teeth-heavy grin creates a visual contradiction. An energetic pop hook can feel lifeless when the source portrait looks like a formal passport photo. The source face doesn't need to perform every emotion, but it should provide a credible starting mood.
Trim silence at the beginning and end. Starting on an audible phoneme gives the first movement a clear reason, while a long breath before the vocal can make the portrait appear to wait or move prematurely. Keep the audio clean as a WAV or a high-quality MP3. The technical target of roughly -14 LUFS and a 320 kbps MP3 can help maintain a consistent post-production starting point, although the live template's accepted formats should always take priority.
Listen and inspect before upload
Before adding the file, remove avoidable noise, check that the vocal doesn't distort on loud notes, and listen for breaths that could be mistaken for active syllables. The goal isn't a polished master. It's a clean driving signal with enough articulation that each major mouth shape has an audible cause.
The research literature uses objective audio-visual measures such as SyncNet's LSE-C and LSE-D to assess lip consistency. A published comparison reports Wav2Lip at LSE-C 0.86 and LSE-D 26.53 on LRS2 in one table, illustrating that synchronization can be evaluated as a measurable technical property rather than judged only as a visual novelty. Those benchmarks don't predict every creator's result, but they reinforce the production priority: timing matters more than decorative motion.
Reviewing the Result and Fixing Common Sync Issues
A generated clip needs a deliberate review, not a quick glance at the first second. Playback at full speed first, then inspect difficult moments around plosives and held vowels. A third pass on a phone can reveal whether the mouth still reads naturally at the actual viewing size.
Plosives, especially B, P, and M, expose timing errors because the lips need to close and release decisively. Watch for a mouth that opens a beat late, snaps shut before the sound ends, or repeats the same opening shape through unrelated syllables. Held vowels should look sustained rather than like a sequence of small mechanical flaps.
Fix the largest error first
Don't regenerate immediately after noticing one awkward frame. Use the review to classify the failure, then change one input at a time.
- Tighten the crop: If the mouth is small or surrounded by confusing chin and teeth edges, use a closer, cleaner portrait crop.
- Clean the audio: If the jaw jitters or the mouth cycles unpredictably, replace the track with a clearer vocal stem.
- Improve the light: If facial shadows appear to move, use a more evenly lit source photo.
- Straighten the face: If the head drifts laterally, choose a more direct view with both ears visible and similarly placed in the frame.
Practical rule: Fix the biggest timing error before changing the entire creative direction.
The common production mistake is over-animating every syllable or generating mouth motion separately from expression. That creates jitter, repetitive cycles, and poor emotional continuity. Animation guidance recommends emphasizing stressed sounds, allowing natural holds, and correcting the largest timing problem before rerunning the full clip, as discussed in this lip-sync research comparison.
The result also needs to work as a face, not only as a mouth. Check the eyebrows, eyes, cheeks, and skin edges for unintended shifts. For additional image-animation context, the photo animation guide can help frame the difference between adding motion and preserving a believable subject.
Styling remains a separate post-template step. Captions, color treatment, logos, music beds, and final crops should be added only after the raw generated clip has passed review, so finishing choices don't conceal a synchronization problem.
Styling and Exporting for Social Platforms
The downloaded template result should be treated as the raw master. Finish it in a desktop editor, where the team can trim the opening, add captions as separate image overlays, adjust color, and create platform versions without repeatedly regenerating the face.
For vertical social placements, the working specification is 1080 by 1920, 9:16, 30 fps, H.264 High Profile at 10 to 15 Mbps, with audio at 256 kbps AAC. YouTube Shorts can use the same vertical master. For square placements, use 1200 by 1200 at 1:1. A Facebook feed version can use 1280 by 720.
| Platform | Resolution | Aspect | Bitrate |
|---|---|---|---|
| TikTok | 1080 × 1920 | 9:16 | H.264, 10 to 15 Mbps |
| Instagram Reels | 1080 × 1920 | 9:16 | H.264, 10 to 15 Mbps |
| YouTube Shorts | 1080 × 1920 | 9:16 | H.264, 10 to 15 Mbps |
| X and LinkedIn | 1200 × 1200 | 1:1 | H.264, use the approved delivery setting |
| Facebook feed | 1280 × 720 | 16:9 | H.264, use the approved delivery setting |
Keep captions outside the rendered face layer. A burned caption overlay can be swapped during editing without altering the underlying lip-sync clip, which is useful when the same singing photo needs different hooks, translations, or calls to action. A practical add song to photo guide can also help with the broader relationship between still imagery and music.
Short-form placements work best when the opening reads immediately. Leave the first one to two seconds free of motion for an autoplay-friendly preview, and keep the total runtime under 60 seconds for Shorts and Reels. The opening still can carry the campaign context, while the vocal entrance supplies the reveal.
The raw master should preserve the performance. Platform styling should clarify it, not disguise a weak sync.
Before publishing, check the rights on both sides of the asset. The portrait should come from a person or organization with permission to animate and distribute that likeness. The audio and lyrics need their own clearance, especially for commercial campaigns, public figures, minors, employees, or recognizable pets. Product tutorials often explain how to upload a face and song, but a compliant workflow also records consent and licensing decisions before the file reaches social media.
Nim provides a template-based lip-sync workflow for turning a prepared portrait and vocal track into a singing video, followed by review and download. Open the Nim lip-sync workflow with a cleared image and suitable audio, then use the generated clip as the raw master for platform-specific editing.
- ai singing photo
- ai lip sync
- talking photo
- image to video
- nim video