Floor Plan to 3D Model AI How to Turn Plans Into Renders
Learn floor plan to 3d model ai in Nim. Prepare your plan, generate a 3D view, review results and choose 3D vs walkthrough for listings.
By Nim
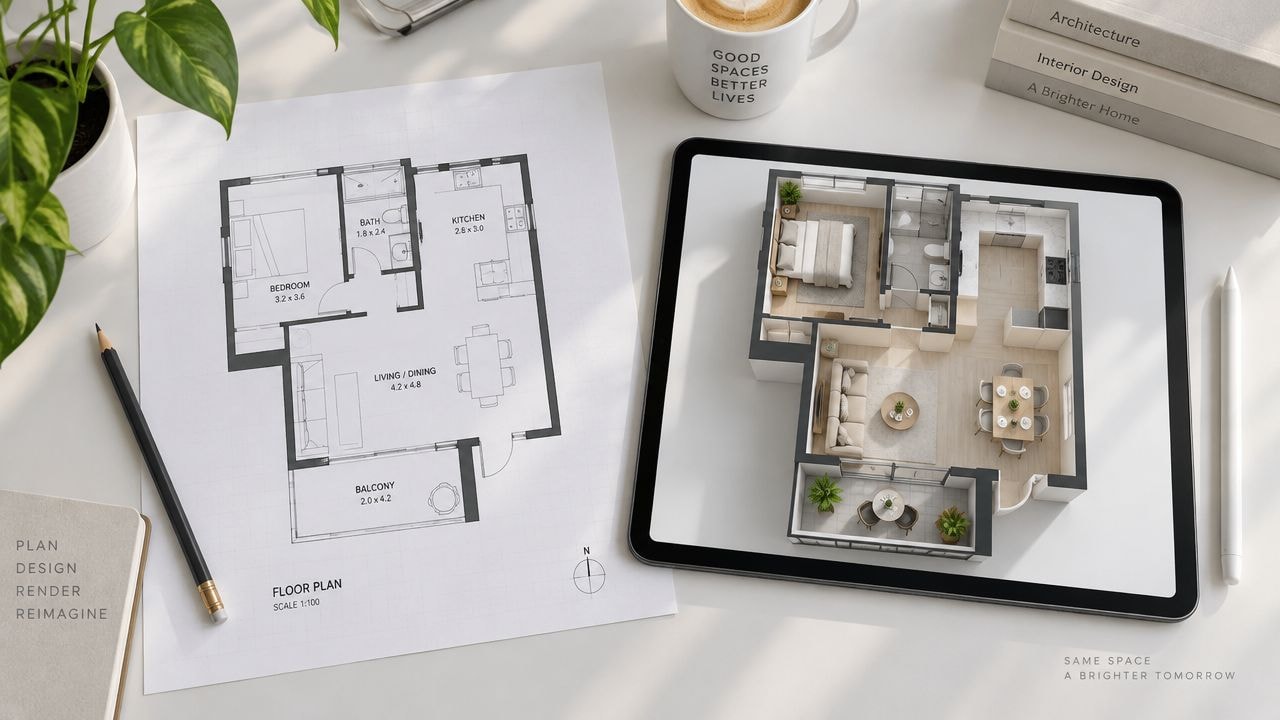
A flat floor plan can look precise and still fail to sell the space. A floor plan to 3d model ai workflow in Nim turns that flat drawing into a presentation-ready 3D view, then lets the result do the job a listing photo can't, show flow, volume, and room relationships at a glance. The catch is simple, the output is only as reliable as the plan you feed it, so the work starts before generation.
Why a 2D Floor Plan Needs a 3D View to Sell
A buyer can study a 2D plan and still miss how the rooms connect. A 3D view fixes that fast, because walls, openings, and circulation become easy to read at a glance. The Plan to 3D template in Nim works well on listing pages, client pitches, and social previews, where a clean visual often explains the space faster than a technical drawing.
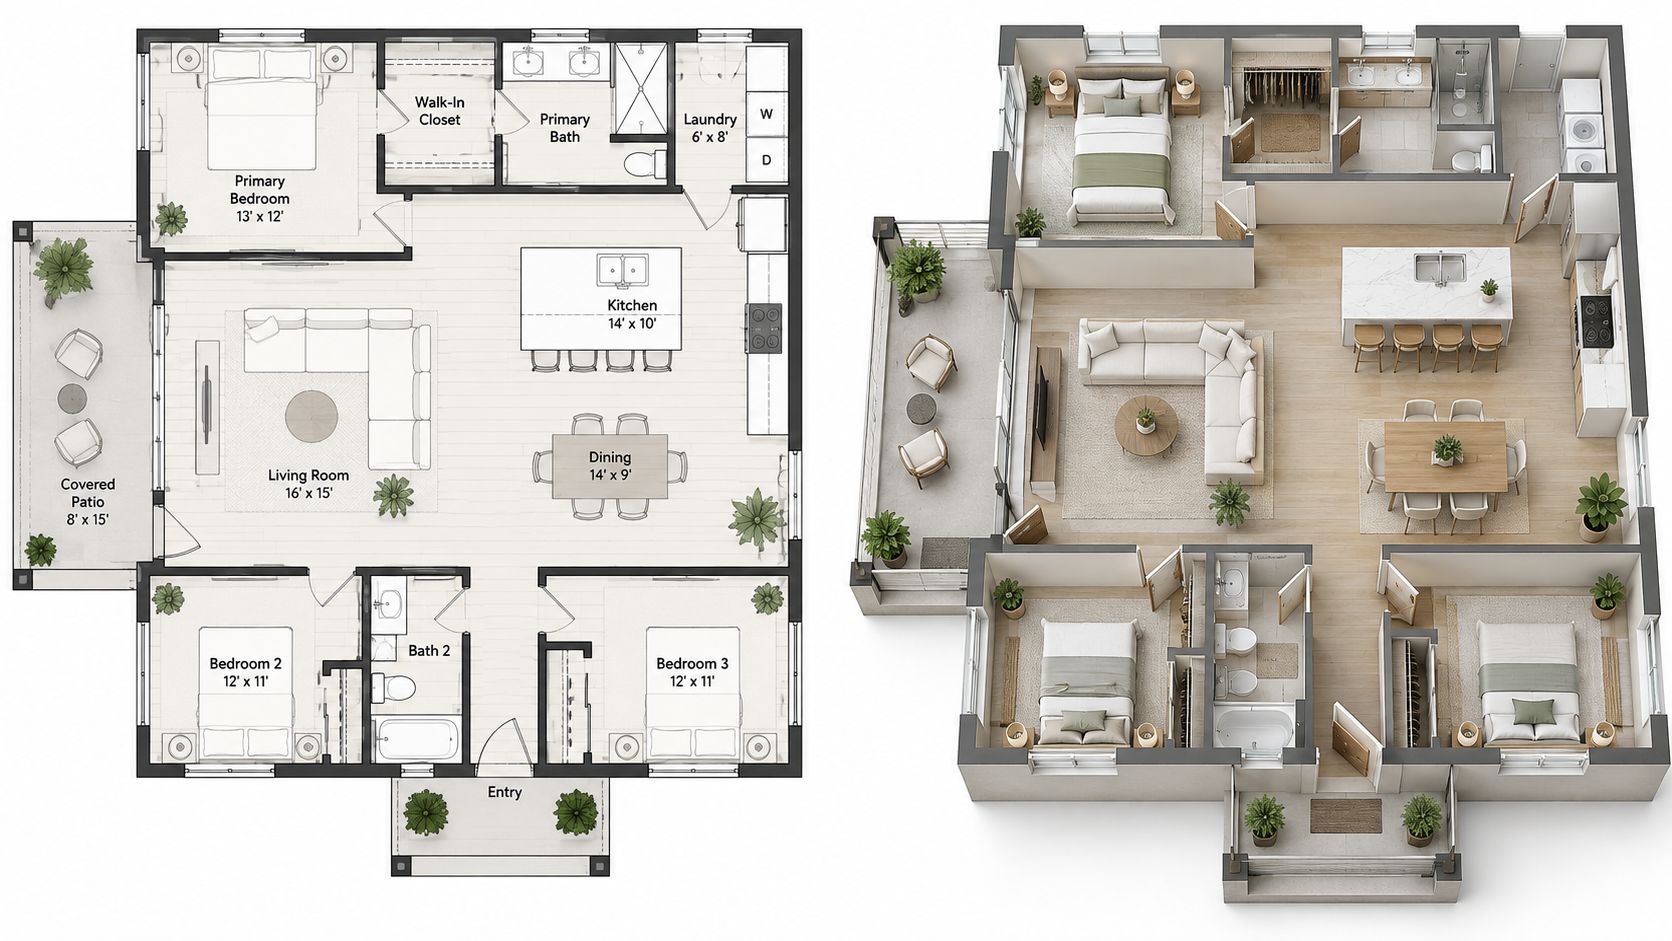
A static 3D view gives one clear read of layout and scale. A walkthrough video adds motion and helps a viewer feel the route through the home. Use the still image for a hero render, a brochure spread, or a quick spatial summary. Use motion when the sale depends on flow, sequence, and a more cinematic presentation.
Practical rule: if the plan is carrying the sale, a good 3D view is enough. If the space needs to be experienced, a walkthrough usually works better.
Expectations should stay grounded. Floor-plan-to-3D AI has moved from early shape grammar work and later layout methods to modern generative pipelines, which explains why current tools are strong at presentation but still need human review before client delivery. The model can infer a lot from a clean plan. It can also misread clutter, gaps, or weak linework, so the input has to be prepared before generation.
Preparing Your Floor Plan for Reliable AI Conversion
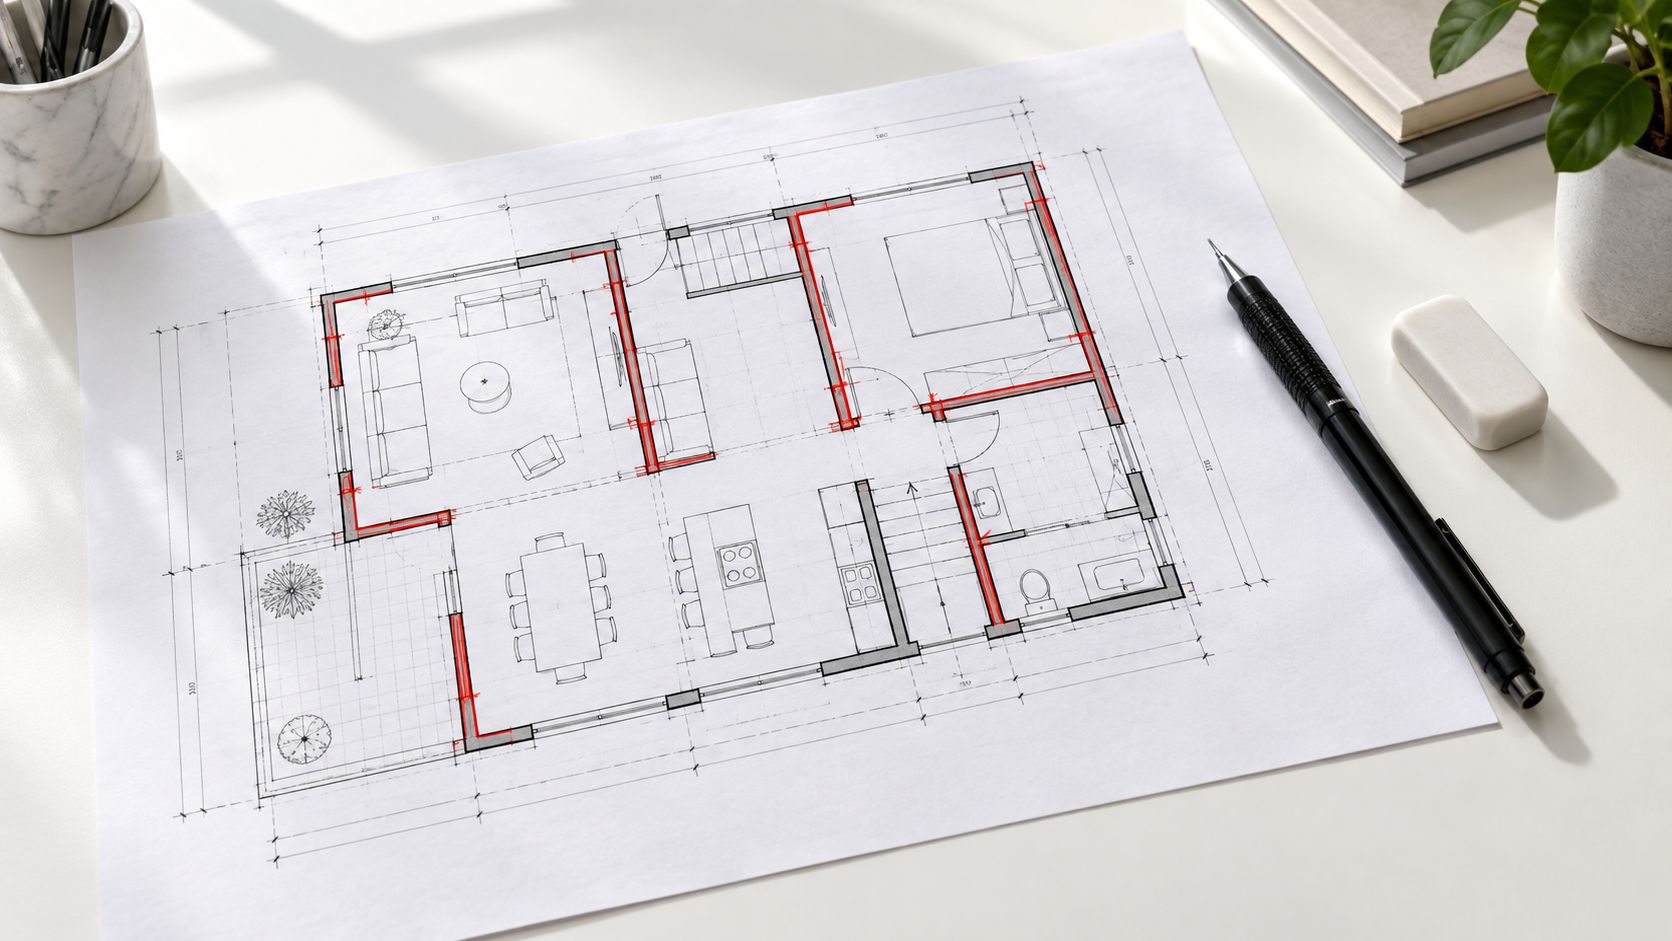
A floor plan only converts well when the model can read it without guessing. Clean linework matters more than a clever prompt, because wall detection depends on contrast, legibility, and closed shapes. Start with a straight-on overhead scan if you have one, then use a high-contrast PNG, JPG, or PDF instead of an angled phone photo.
Start with the cleanest source you have
Use the sharpest source available, a scan, export, or CAD file with clear edges and readable room boundaries. Common inputs include PNG, JPG, PDF, BMP, TIFF, DWG, and DXF, but format alone is not the issue. A clean overhead image usually performs better than a tilted desk photo, and a higher-resolution scan gives the model a better chance of tracing walls correctly. For real-estate work, the least distorted plan is usually the one to use.
Remove the things that confuse wall detection
Clutter pulls attention away from the geometry. Heavy title blocks, scale notes, overlapping callouts, and marketing graphics can all interfere with the room outline. Open walls, missing segments, and mixed levels are common failure points because the model is trying to close room boundaries from linework alone.
Run a quick pre-flight check before upload.
- Keep only one level visible: Separate ground and upper floors before conversion.
- Clear the clutter: Remove notes, legends, and extra markings sitting on top of the plan.
- Preserve the lines: Make sure wall edges, openings, and room boundaries stay visible end to end.
Clean input matters more than fancy output. If the linework is broken, the model has to guess, and guesses are where bad walls come from.
Scale still matters even if the output is only for presentation. The model reads wall lines, uses labeled dimensions when they exist, and otherwise infers proportion from the drawing. That is good enough for a visual asset, but it does not replace a review of the result before client delivery.
For rough architectural drawings, use Sketch to Render as the closest reference point.
How to Generate Your 3D Model in Nim
Open the Plan to 3D template at nim.video/templates/c/real-estate/planto-3-d, then upload the source plan the template requests. The workflow is simple enough, provide the input, generate the 3D view, review the result, then download it if that option is available on the page. The harder part happens before generation. The plan has to be clean enough for Nim to read it without guessing.

Use the template as a reconstruction pass, not a final proof
I treat the first output as a reconstruction pass. If the walls, openings, or room boundaries are unclear in the source, the model can produce a polished view that still misses the actual layout. That is why input quality matters more than the effect you get after rendering.
Clean plans usually give cleaner results. Scanned drawings, skewed phone photos, heavy annotation layers, and render-style images are more likely to confuse wall detection than a straight architectural plan with visible linework. If the source is messy, expect to review and correct the result by hand before you show it to a client.
Check the parts that matter to buyers
A good-looking render still needs a human review. Room names, door swings, window placement, and circulation should all match the plan you intended to convert. If any of those elements drift, the output can still work as a marketing asset, but it should not be treated as a faithful record of the property.
Use the generated file as a visual, then verify it against the source plan.
- Room names: Confirm that bedrooms, bathrooms, and living areas are labeled correctly.
- Openings: Check that doors and windows sit in the right places.
- Circulation: Make sure the route between rooms still makes sense.
- Use case fit: Keep the result for marketing, not construction approval.
For rough architectural drawings, Sketch to Render is the closest reference point.
For properties that need motion instead of a single still, the floor plan to video walkthrough option is the better fit. A static 3D view works best for fast layout reading and brochure use. A walkthrough video works better when the goal is camera movement and a stronger property story. Choose the format based on what the buyer needs to understand first, the layout or the experience.
A clean plan still does not make the output dimensionally perfect. Use Nim to speed up presentation work, then check the result before you send it to anyone outside your team.
Choosing Between a 3D View and a Walkthrough Video
A clean floor plan can still produce two very different outputs in Nim, and the choice should start with the job, not the format. A 3D view is the faster read when the buyer needs to grasp layout, room order, and scale at a glance. A walkthrough video fits better when the listing needs camera movement, pacing, and a stronger property story.
| Output Type | Best For | Viewer Experience |
|---|---|---|
| 3D View | Hero images, brochure spreads, fast layout explanation | One clear spatial read, easy to scan |
| Walkthrough Video | Social ads, listing promos, story-driven property marketing | Motion through rooms, more immersive feel |
A static render is easier to place in a brochure, a hero slot, or a listing gallery. It also gives you a cleaner result when the source plan is tidy but not perfect. Motion works better when you want the viewer to feel the route through the property instead of just reading the layout. For that path, the floor plan to video walkthrough and animated plan pages are the right references.
The trade-off is simple. A 3D view is quicker to review and easier to keep on message. A walkthrough video asks more from the input, because weak room geometry, unclear circulation, or missing openings show up faster once the camera starts moving. That is why input prep matters so much before you generate anything.
Nim can turn a plan into a presentation asset, but it still cannot fix a sloppy source file. If the drawing is hard for a person to read, it will usually be hard for the system to interpret cleanly too. That is also why a static 3D view often makes sense for listings that need fast clarity, while video is better when the goal is attention and flow.
A practical comparison with buyer-facing spatial visuals is the Willis Furniture augmented reality store, where the format helps people understand placement before they commit. The same rule applies here. Use the static view for orientation, use the walkthrough for experience.
Practical Tips for Real Estate Visuals That Convert
Once the 3D result exists, the job shifts from conversion to presentation. The fastest wins usually come from catching misreads, keeping the set consistent, and pairing the model with other listing visuals that tell the same spatial story. That matters because a polished render that contradicts the rest of the marketing materials creates confusion instead of confidence.
Review the obvious mistakes first
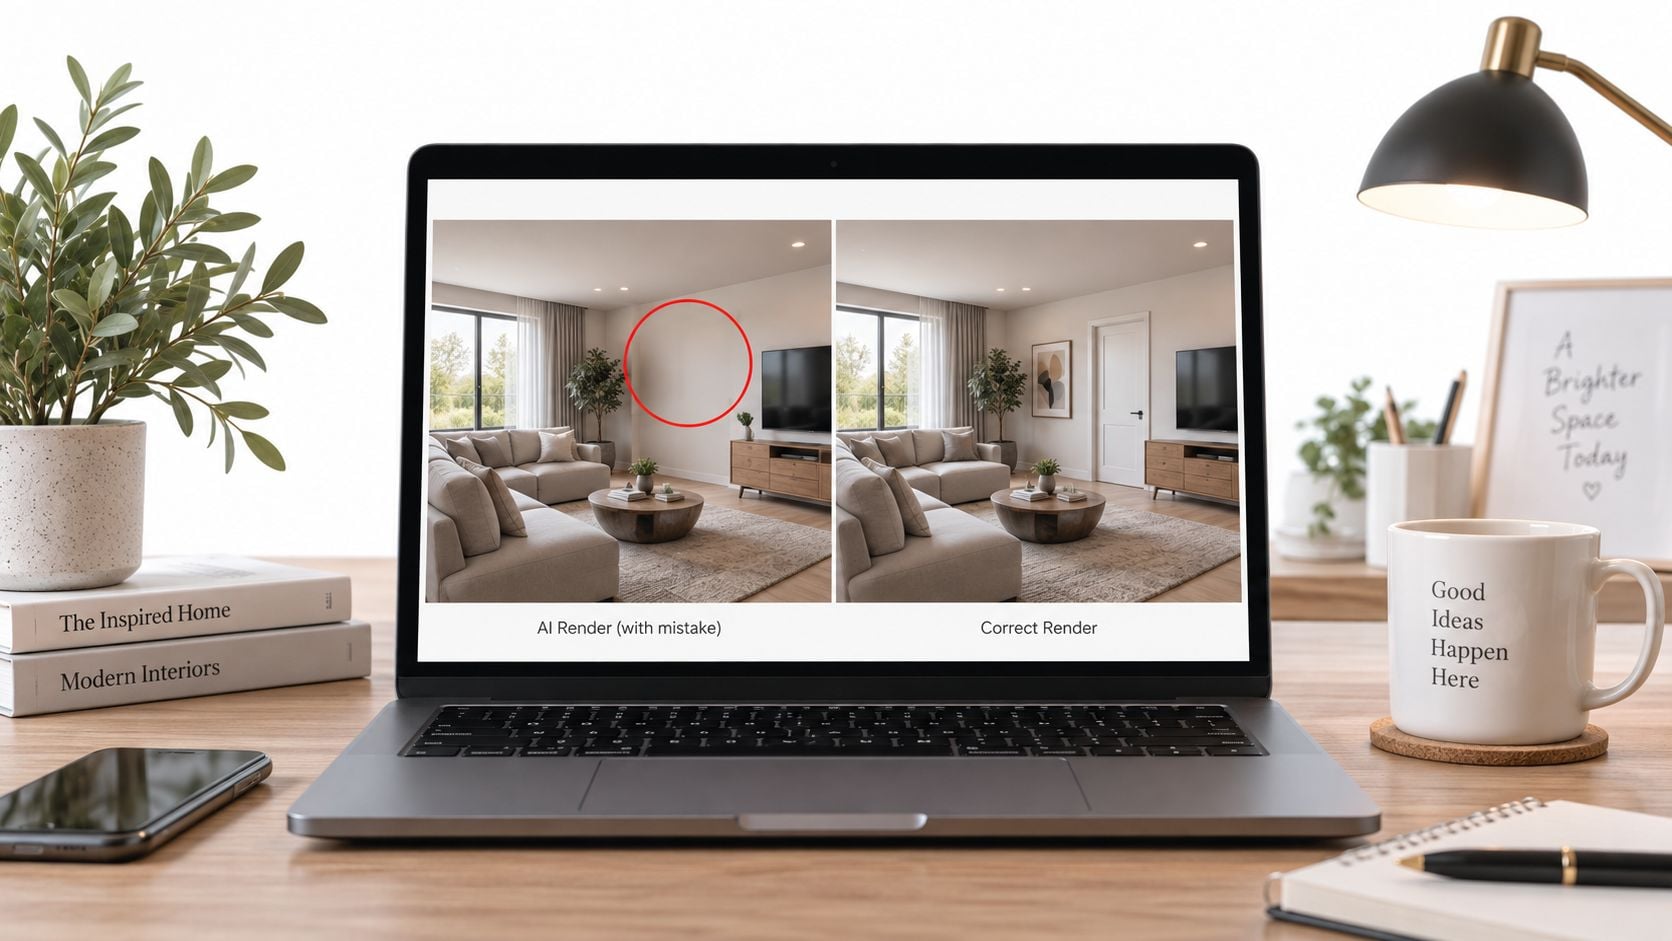
Most post-generation cleanup starts with the same checklist. Missing walls, wrong openings, and odd room joins are the mistakes that stand out in client-facing work. The fastest review is visual, not technical.
- Look for broken walls: Any gap in a corridor or perimeter wall should be fixed before delivery.
- Check door swings and openings: An opening in the wrong place changes how the room reads.
- Compare room flow: Walk the route mentally from entry to kitchen, then to the main living areas.
- Match the set: Keep the 3D view consistent with any other images used in the listing.
Use the model as part of a broader visual package
A 3D view works well as a thumbnail, a brochure panel, or the first image in a social post. A walkthrough clip carries more force when the listing needs momentum, while a furnished presentation can make empty rooms easier to understand. For that reason, the most useful follow-on workflow is often a room-focused one, and Nim's virtual staging resource fits naturally after a plan has already been turned into a spatial view.
That sequencing keeps the message consistent. First the viewer understands the shell, then they see how the room can live, then they move through it if motion is needed. The order matters because a sequence of mismatched visuals weakens the sale more than a plain one that's accurate.
Manual validation still comes first. The AI can draft the scene, but someone has to verify the openings, labels, and circulation before the file goes out.
Next Steps to Create Your 3D Model Today
The fastest path is still the most disciplined one. Start with a clean plan, open the Plan to 3D template, generate the view, review the walls and openings, then download the result only after it looks right. If the listing needs motion instead of a still, switch to a walkthrough after the 3D view is clean.
Treat the output as a presentation asset, not a construction document. That mindset keeps the workflow useful for listings, previews, and client approvals without promising more accuracy than the plan can support. If the source is messy, clean it first, then convert it once.
Nim gives real-estate teams a practical way to turn a 2D floor plan into a clean 3D visual, then carry that same asset into listing imagery or walkthrough-style content. If the next job is to show layout fast, open the template and test it on a clean plan first, then review the result before you publish. Visit Nim and start with the Plan to 3D workflow when you're ready to turn the drawing into something buyers can read.
- floor plan to 3d model ai
- plan to 3D Nim
- AI floor plan render
- real estate visuals
- 3D walkthrough video