10 Home Staging Tips for Better Property Visuals
Use these 10 home staging tips to prepare rooms, improve listing visuals, and choose the right Nim template for each image or video task.
By Nim
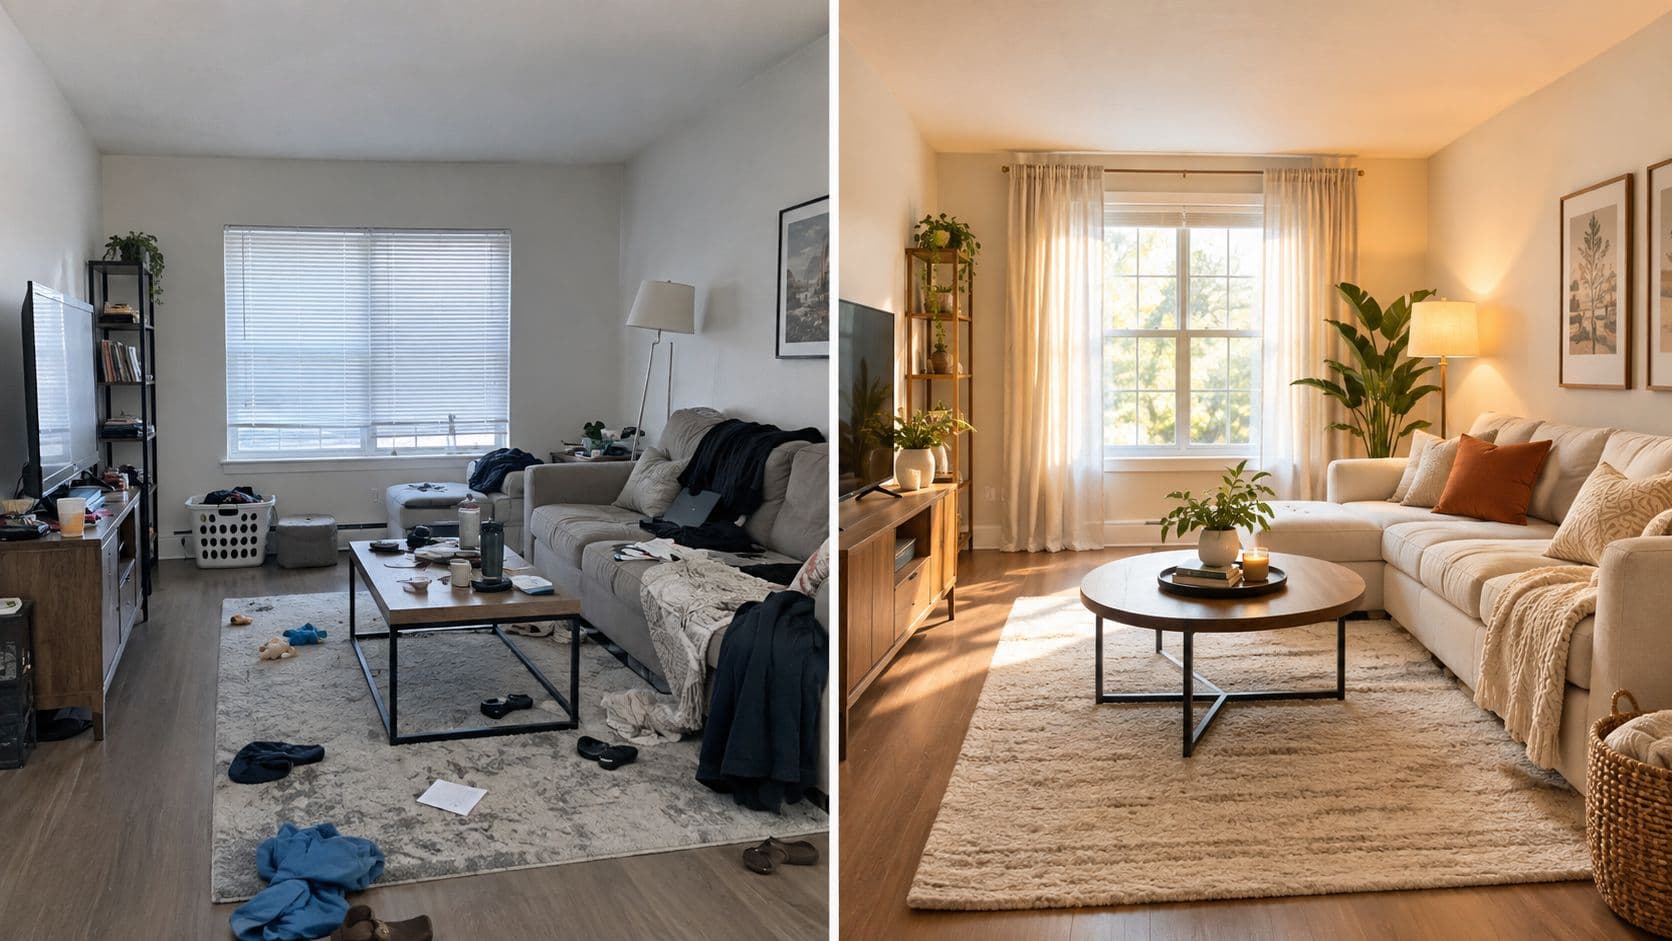
83% of buyers' agents say staging makes it easier for buyers to imagine a property as their future home, while 60% say it affects some buyers' views and 26% say it affects most buyers' views. The strongest home staging tips improve both the property itself and the images or videos used to market it.
The practical sequence starts with decluttering, cleaning, lighting, and clear room priorities before any marketing visual is created. This guide separates physical preparation from visualization, then pairs each improvement with the Nim template best suited to showing the result, including Virtual Staging, Room Declutter, Sunlight, and Day and Night.
That distinction matters because a generated visual should illustrate a possible presentation, not misrepresent the home. Sellers and agents should prepare the actual space first, capture a clean source image or suitable footage, and then use the relevant Nim workflow to explore a focused visual change. The process also complements broader home staging tips and tricks while keeping the emphasis on practical image creation.
NAR's 2025 Profile of Home Staging supports a visualization-first approach. The survey found that only 12% of buyers' agents reported no effect from staging, so the most useful preparation is the work that makes a room's purpose, scale, circulation, and lifestyle immediately understandable. Nim's Room Declutter template can help visualize that cleaner starting point from suitable property imagery.
1. Declutter and Remove Personal Items
Clutter competes with architecture. A crowded living room directs buyers toward furniture, photographs, collections, and storage problems instead of window placement, floor area, or movement through the room. The visual problem is competing information, so remove anything that weakens the room's purpose or hides its proportions.
Edit the space systematically. Remove furniture that does not serve the room's function, pack away family photographs and memorabilia, and store decorative collections outside the listing area. Extra seating, side tables, worn furniture, and small objects often create more noise than value. Use storage furniture elsewhere, and find the right storage furniture without leaving temporary piles in garages, hallways, or spare rooms.
Before anything goes back in the room, ask one question: does it explain the space or the life in it? Keep items that clarify function, support circulation, or reinforce a focal point. Photograph the cleared room accurately before personal belongings return, so the listing image records the intended presentation rather than a temporary reset.
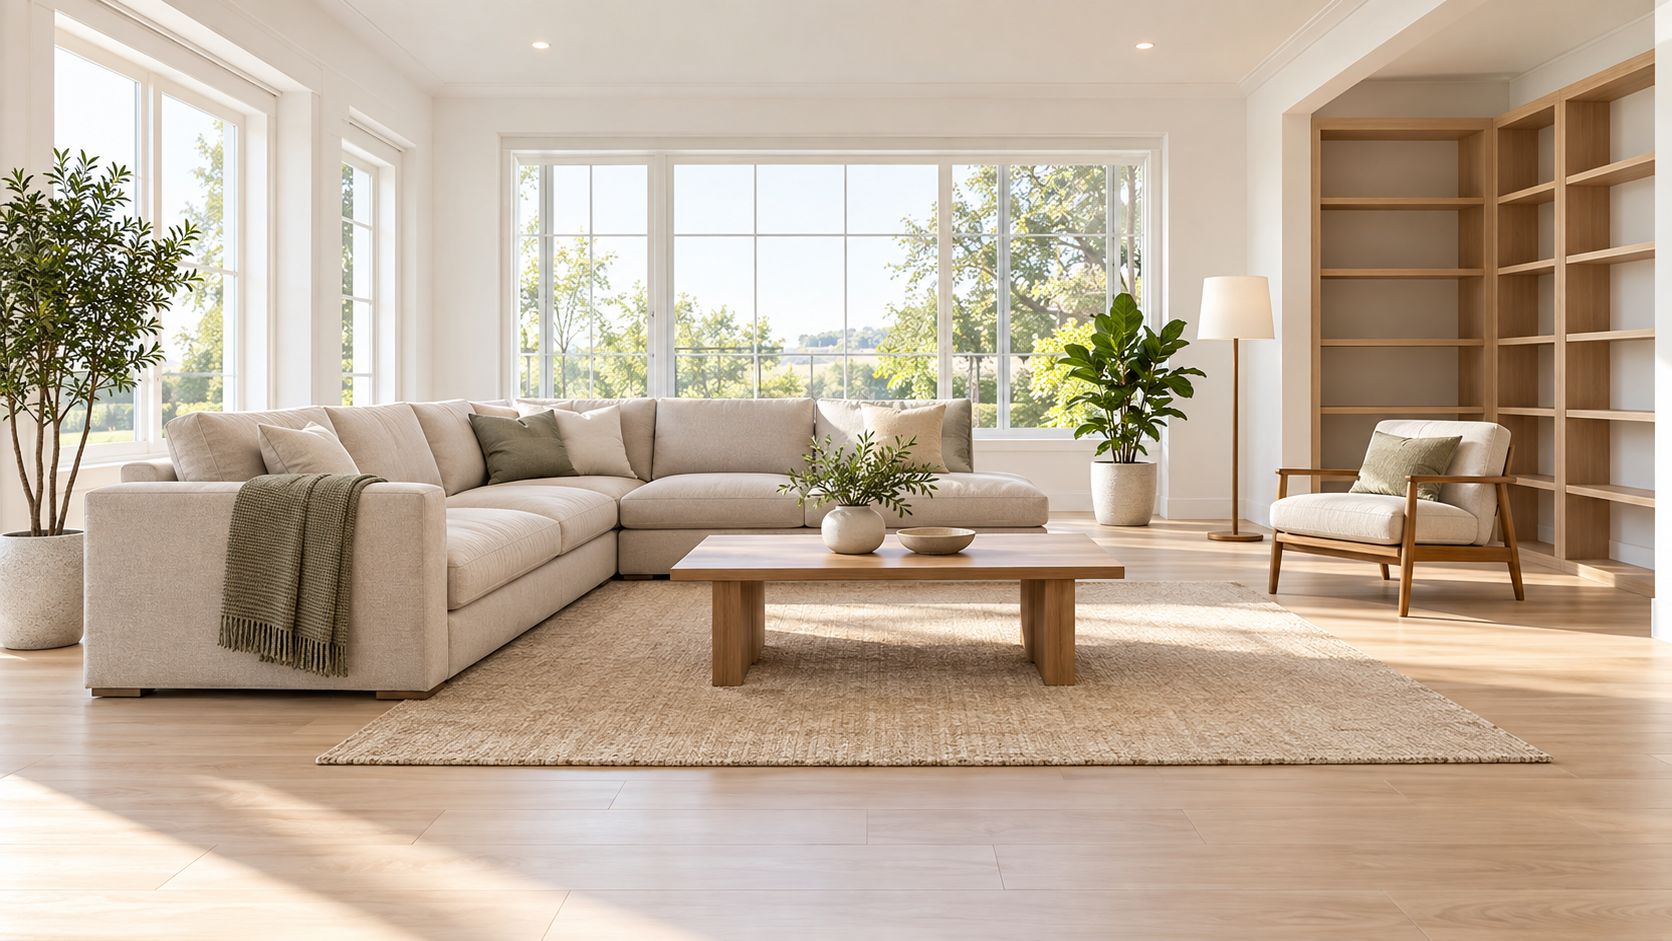
Match the visual task to the source
For a room that still looks busy, use Nim's Room Declutter template. Prepare a source image from a useful angle, with the complete room visible, major architectural features unobstructed, and temporary objects removed where possible. A clear frame gives the visual workflow enough context to show a cleaner presentation. It does not create a dimensionally accurate record of the property.
Practical rule: Decluttering should reveal the room's function before any virtual furniture or decoration is added.
Preserve necessary furniture and a readable floor plan. Strip away only what prevents buyers from projecting themselves into the room. Removing every sign of daily life can make the home feel sterile, while leaving too many personal objects keeps attention away from the space itself.
2. Deep Clean Every Surface and Corner
A clean room photographs differently from a merely tidy one. Dust on baseboards, fingerprints on doors, cloudy windows, marked grout, and neglected light fixtures become obvious when a listing image is enlarged on screen. Cleaning improves the visual problem of distracting surface detail before any image creation begins.
Cover both obvious and overlooked areas. Wash windows and mirrors, clean floors, baseboards, crown molding, cabinet fronts, appliances, tile, and grout. Check doorknobs, light switches, and railings immediately before photography and showings. Decks, patios, and driveways also shape the first impression buyers receive.
Schedule the deepest clean within the 48 hours before photography. Maintain it throughout the listing period with a short touch-up routine, especially in kitchens, bathrooms, entrances, and around windows. Book a second pass through hero rooms on showing days, when fingerprints and dust can return quickly.
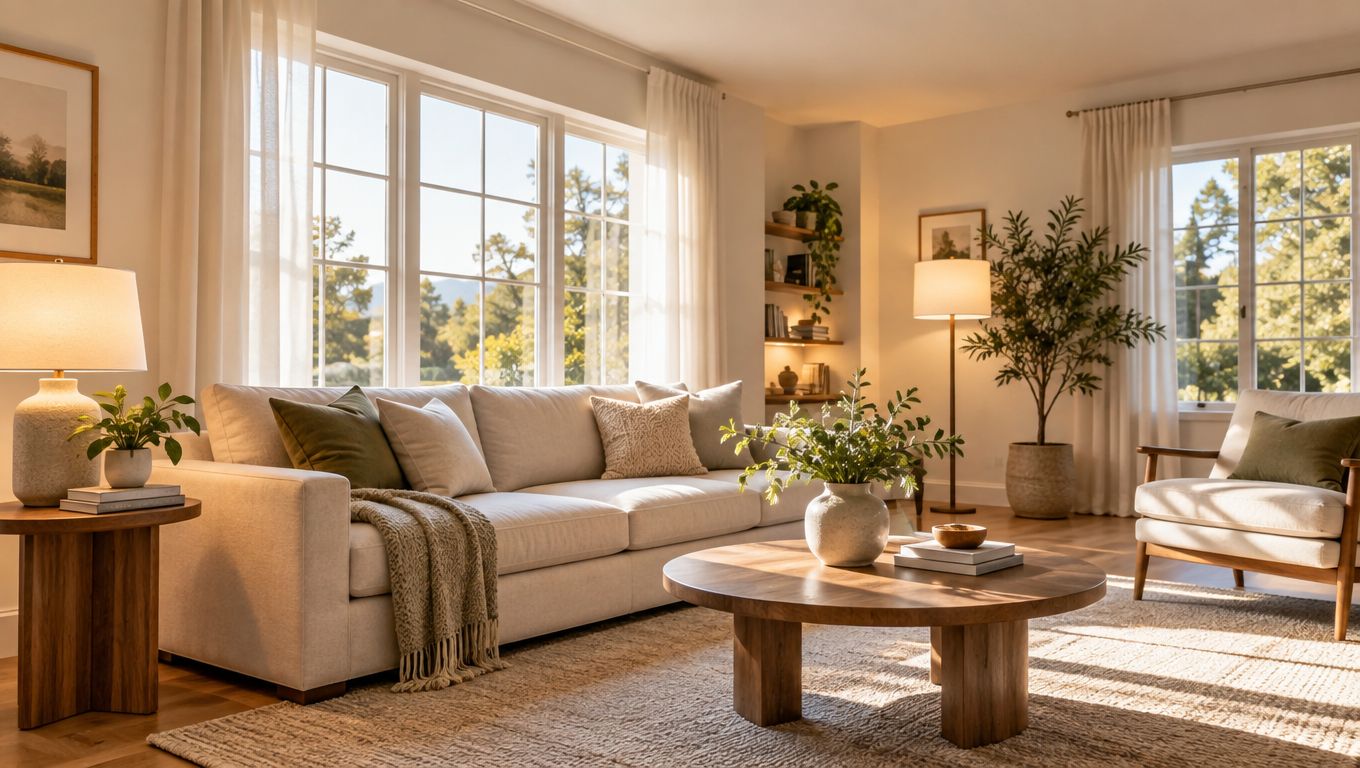
Clean before creating the visual
Use Nim's room-enhancement template only after the physical cleaning is complete. Prepare a source image with windows, mirrors, floors, fixtures, and major surfaces visible, evenly exposed, and free from avoidable reflections or temporary marks. That input gives the visual workflow a clearer foundation and reduces the chance that stains or dark corners appear to be permanent features.
A virtual enhancement cannot reliably correct a dirty source image. For secondary rooms, a focused surface clean may be enough. Give hero images the same preparation as an in-person showing, since buyers will inspect those frames closely.
Visible damage requires a different response. If a mark, damaged fixture, or worn finish remains in the actual room, address or disclose it in the listing rather than hiding it through generated imagery.
3. Optimize Lighting and Brighten Dark Spaces
Lighting changes how buyers read scale, color, and condition. Heavy curtains, dirty windows, blocked lamps, and uneven bulbs can make a well-proportioned room look cramped or unfinished.
Start with the property itself. Open blinds and curtains, clean the glass, replace failed bulbs, and remove window treatments that absorb too much daylight. Dark closets and corners may benefit from suitable battery-operated lighting, while exterior paths and entry points should remain visible during evening photography. Interior lights should be switched on when the room needs extra warmth or when daylight leaves an important area underexposed.
The Nim Sunlight template is relevant when the visual problem is a room that needs a clearer impression of daylight. A source image should show the actual windows, walls, ceiling, and major surfaces without obstructions. The result can help communicate an intended lighting atmosphere, but it shouldn't be used to imply that a room receives natural light it doesn't receive.
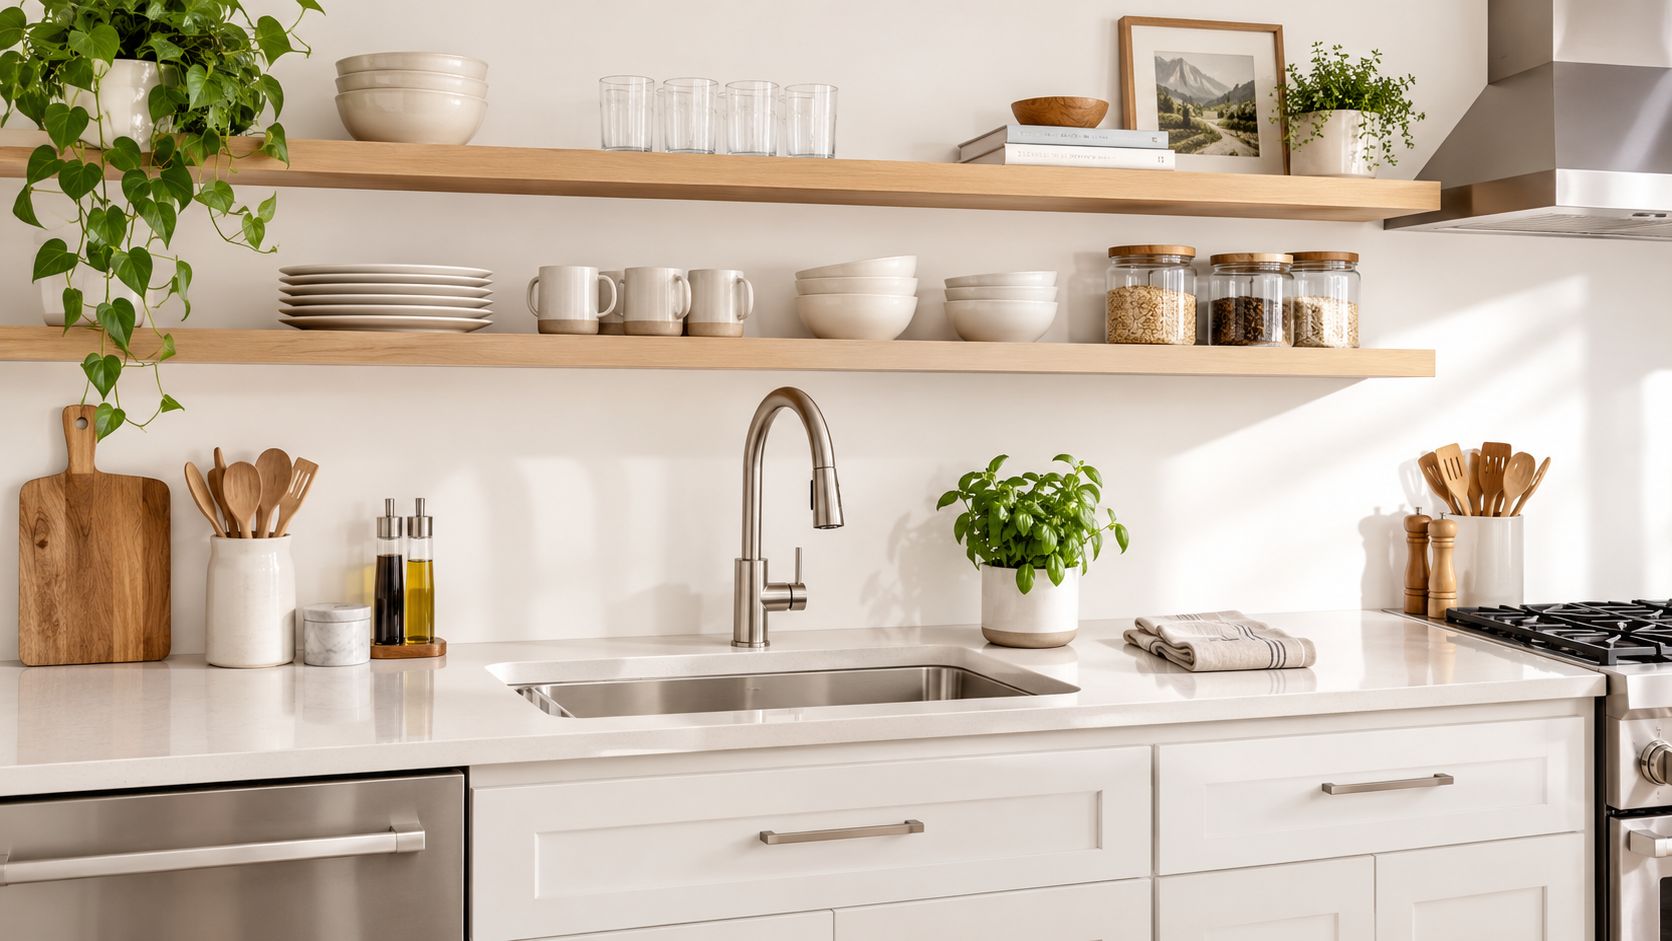
Choose brightness without losing accuracy
A brighter image isn't automatically a better image. Overexposure can erase texture, flatten cabinet details, and make paint colors appear inaccurate. Sellers should compare the generated concept with an accurate property photograph and retain the accurate version for any feature that affects a buyer's understanding of the home.
NAR reported that 31% of buyers' agents said buyers were more willing to walk through a home after seeing it online, as described in its report on staging, sale prices, and time on market. That finding makes the first visual important, but it doesn't justify changing the property's actual lighting conditions without clear context.
4. Neutralize Colors and Refresh Paint
Paint should support the architecture, not become the subject of the listing image. Strong personal colors, dated patterns, and dark finishes can dominate a photograph, making it harder for buyers to picture different furniture or décor.
Choose a palette that matches the room's daylight and existing materials. Soft white can look clean without the harshness of stark white. Warm beige, greige, or taupe can balance dark flooring and woodwork. Carrying one neutral color through connected rooms often strengthens visual flow in an open layout.
Prepare the whole visible frame, not only the main wall. Repaint scuffed trim, doors, baseboards, stairwells, and high-traffic areas so the room does not look partly finished. Durable paint suits surfaces that receive heavy use, but test the color on the actual wall first. Screens and artificial lighting can change how it appears.
Use visualization to plan, not conceal
Use Nim's interior-design color visualization template to compare neutral palettes before committing to physical work. Prepare a sharp source image showing the actual wall geometry, windows, flooring, trim, and fixed finishes. Remove temporary obstructions, but do not crop out surfaces that affect the color decision.
A virtual concept should show how paint changes the room, not disguise dated surfaces or invent renovations that have not happened. Compare the concept with an accurate property photograph before using it in listing materials.
Paint the surrounding walls neutral, but never paint over the feature buyers will remember. Quiet the room, not the architecture. A fireplace, original trim, exposed brick, or another distinctive element can remain visible while the surrounding colors become easier to interpret.
5. Arrange Furniture for Flow and Scale
Furniture should make circulation obvious. Buyers need to see where they enter, sit, work, eat, and continue to the next room without squeezing past oversized pieces or visual barriers.
Remove pieces that crowd the room, then orient the arrangement around its strongest feature, such as a fireplace, a view, or a large window. Keep sofas off the walls when the layout supports it, and use lighter, multifunctional pieces in smaller rooms instead of a full matching suite. A rug can define a seating zone, but it should relate to the furniture rather than sit beneath it as an isolated island.
In an open-plan room, walk the buyer's path yourself: if the sofa forces a detour between entry and kitchen, move it. The change can clarify a conversation area without buying new furniture. Check sightlines from the entry, seating, and principal windows before photographing the room.
Check layout with visual planning
Use the Nim 3D floor plan walkthrough guide to explain how spaces connect and test whether the proposed arrangement reads clearly. Prepare a clean floor plan or room footage that shows the existing layout, fixed features, door swings, and usable passageways. Keep dimensions and circulation accurate. A visual plan should clarify the property, not imply space the room does not have.
Scale needs a practical check. Too little furniture may make a home look larger while leaving buyers unsure how it functions. Too much hides floor area and narrows movement. Give every major piece a clear purpose, then stand at the doorway and confirm every primary pathway is visible before shooting.
6. Add Greenery and Fresh Florals for Life
Plants add softness without requiring personal memorabilia. A tall plant can fill an awkward corner, a modest arrangement can anchor a dining table, and a small plant can make a kitchen windowsill feel maintained rather than empty.
Placement should follow the room's visual hierarchy. Entryways, corners beside seating, and areas near natural light usually work better than scattered pots on every available surface. Planters should stay simple and neutral so the plant supports the room instead of competing with cabinetry, artwork, or views.
Fresh flowers need maintenance. Sellers should choose arrangements that remain presentable through the showing schedule and refresh them when petals wilt or water becomes cloudy. Plants should be watered before showings when appropriate, but excess moisture, damaged leaves, and crowded groupings create the opposite impression.
Build a repeatable image detail
A property photographer or marketing team can capture one wide room image and one closer detail that shows the greenery in context. The wider image explains the space, while the detail adds warmth without suggesting that a decorative object is a permanent feature.
Virtual Staging can illustrate a restrained plant or floral arrangement when the actual room needs a conceptual styling option. The source should remain uncluttered and accurately show the surfaces where the proposed item would sit. Generated décor should be labeled as illustrative, especially when the image is used alongside actual property photography.
7. Stage the Front Entry and Curb Appeal
The front entry sets the visual standard before buyers reach the bedroom or kitchen. A clean porch, readable hardware, maintained planting, and an open path make the listing image match the physical showing.
Solve the neglected-entry problem
Start with maintenance, not decoration. Trim overgrown bushes, remove dead branches, sweep or wash hard surfaces, clean the door, and replace worn house numbers or hardware. A black, dark blue, sage green, or charcoal door can define the entrance when it suits the façade. Match the exterior rather than following a trend.
For a dry-climate property, review practical curb appeal for desert homes before choosing plants. Water needs, mature size, and the condition of existing beds affect whether the concept remains credible.
Build a repeatable exterior image
Use Nim's entry-refresh template to test the visual problem you are solving: a weak focal point, an unclear path, or a bare threshold. Prepare a straight, well-lit source photo showing the approach, door, planting, hard surfaces, and neighboring context. Keep the camera position consistent so proposed planters, lanterns, or discreet uplighting can be judged against the actual setting.
Symmetrical planters can frame the door, while restrained lighting can improve visibility at dusk. Keep additions proportional, and do not let seasonal flowers or mature planting suggest work that has not been completed.
The source image should not add a porch, alter the façade, remove neighboring structures, or disguise unfinished landscaping. If the concept shows mature planting or seasonal flowers, caption the image as a styling proposal and keep a dated photo of the actual entry in the listing set.
8. Create Focal Points and Highlight Key Features
Every room needs a visual reason for the eye to settle. That reason might be a fireplace, a view, built-in shelving, a ceiling detail, a distinctive window, or a carefully placed piece of furniture.
Furniture should face the strongest feature instead of blocking it. In a bedroom, centering the bed on the most prominent wall can clarify the room's purpose. In a living room, seating can angle toward a fireplace or view. Simple artwork may frame a blank wall, but competing artwork, collections, and busy accessories should be removed when they distract from the architecture.
Lighting can reinforce texture and depth, especially around stone, wood, shelving, or architectural trim. Window styling should remain restrained so that the view is framed rather than covered.
Solve the distraction problem first
A useful scenario is a living room with a large window and a television placed on the same visual axis. If the screen dominates the listing image, a revised furniture arrangement may communicate the view more effectively than additional décor. The physical room should be adjusted before a generated image explores alternate styling.
Virtual staging is most useful here as a concepting tool for furniture orientation and restrained accessories. It shouldn't invent a fireplace, enlarge a window, or disguise a structural limitation. Buyers need a clear picture of what exists, not a polished substitute for inspection.
9. Stage Kitchens and Bathrooms for Buyer Impact
Kitchens and bathrooms receive close scrutiny because buyers look for cleanliness, maintenance, storage, and practical function. Countertops, cabinet fronts, sinks, mirrors, grout, fixtures, and exposed plumbing all appear in detail when the camera moves closer.
Clear most countertop items while retaining only objects that explain use, such as a coffee maker or a simple cutting board. Organize the cabinet beneath the sink because buyers may open it, and replace worn hardware when the change creates a cohesive finish across the room. Bathrooms usually benefit from clean neutral towels, an uncluttered shower, and a single restrained plant or accessory.
A small bathroom can look crowded when extra bottles, hooks, and storage items fill the frame. Removing those objects creates visual space, but it shouldn't hide a lack of storage or alter the room's permanent fixtures.
Use concepts for presentation decisions
The Nim virtual staging guide is relevant when a clean property image needs an illustrative furnishing or styling concept. The source should show the actual kitchen or bathroom with its fixed cabinetry, plumbing, tile, and layout visible. A generated result can help present a possible arrangement, but it isn't proof of renovation, material quality, dimensions, or current condition.
NAR's survey found that buyers' agents most often identified the living room as the most important room to stage at 37%, followed by the primary bedroom at 34% and the kitchen at 23%, while the guest bedroom ranked at 7%, according to coverage of the 2025 staging profile. Those figures support a constrained-budget approach: establish the main lifestyle spaces first, then use a clear visual treatment for secondary rooms.
10. Use Neutral Décor, Textures, and Layering for Sophistication
Neutral staging doesn't have to look flat. Depth comes from combining wood, metal, stone, glass, and textiles while keeping the palette controlled enough that the room's architecture remains easy to read.
Choose a small group of related neutral colors and repeat them across connected rooms. Throw pillows can vary in texture while staying within the same color family. A matte wall beside a reflective lamp, woven textile, or smooth tabletop creates visual contrast without introducing a distracting pattern. Artwork should be coordinated, hung consistently, and sized for the wall rather than selected as an afterthought.
Area rugs can anchor furniture groups and soften hard flooring, but a rug that is too small makes the arrangement look fragmented. Every accessory should have a purpose. If a vase, tray, blanket, or sculpture doesn't improve scale, texture, or function, it adds clutter.
Keep the listing image restrained
A real-world example is a neutral bedroom with white bedding, pale walls, and timber flooring. Without texture, the room can look unfinished. Adding a woven throw, a restrained rug, and one framed artwork may create depth, while adding multiple decorative objects could reduce the sense of space.
Generated imagery can help explore those styling choices, but the final marketing set should distinguish a conceptual look from the home's actual contents. Accurate photos remain essential for disclosure, comparison, and inspection. The best visual concept clarifies how the room could feel without suggesting that temporary décor is included in the sale.
Home Staging Tips: 10-Point Comparison
| Staging Task | Implementation complexity | Resource requirements | Expected outcomes | Ideal use cases | Key advantages |
|---|---|---|---|---|---|
| Declutter and Remove Personal Items | Low–Moderate; time and emotional effort | Boxes, temporary storage, time | Neutral, open-feeling rooms; broader appeal | Initial prep, before photos/virtual staging | High impact, low cost |
| Deep Clean Every Surface and Corner | Moderate–High; detailed work, may need pros | Cleaning supplies or professional cleaners, time | Spotless presentation; reduces maintenance concerns | Pre-showing and photography prep | Perceived value increase; inexpensive vs repairs |
| Optimize Lighting and Brighten Dark Spaces | Low–Moderate; adjust fixtures and placement | Lamps, bulbs, window cleaning, minor fixtures | Brighter, larger-looking rooms; improved photos | Dim rooms, improving photo/video quality | High visual impact; relatively low cost |
| Neutralize Colors and Refresh Paint | Moderate; multiple days for painting and drying | Paint, tools, possible professional painters | Cohesive neutral backdrop; higher buyer appeal | Rooms with bold/dark colors or visible wear | High ROI; unifies flow between rooms |
| Arrange Furniture for Flow and Scale | Moderate; physical labor and spatial planning | Existing furniture, moving help, rugs | Improved traffic flow; perceived spaciousness | Overcrowded or poorly laid out rooms | Immediate impact without new purchases |
| Add Greenery and Fresh Florals for Life | Low; placement and routine upkeep | Plants, vases, weekly replacements | Welcoming, lively atmosphere; better photos | Rooms needing color, softness, or freshness | Inexpensive; boosts emotional appeal |
| Stage the Front Entry and Curb Appeal | Moderate; exterior work and maintenance | Landscaping, paint, planters, pressure washing | Strong first impression; increased interest | Homes with weak exterior presentation | Highest ROI; impacts first listing photo |
| Create Focal Points and Highlight Key Features | Moderate; styling and targeted lighting | Accent pieces, directional lighting, styling time | Memorable rooms; directs buyer attention | Rooms with fireplaces, views, or architectural details | Enhances perceived sophistication |
| Stage Kitchens and Bathrooms for Buyer Impact | High; detailed staging and constant upkeep | Deep cleaning, hardware updates, styling items | Major influence on offers; signals functionality | Kitchens and baths under buyer scrutiny | Highest-ROI rooms; strong decision drivers |
| Use Neutral Décor, Textures, and Layering for Sophistication | Moderate; requires design eye and curation | Décor, textiles, artwork, styling expertise | Elevated, cohesive aesthetic; broad appeal | Higher-end listings or design-focused spaces | Perceived quality at relatively low cost |
Turn Staging Decisions Into Listing Assets
The most reliable staging workflow begins in the property, not in the image editor. Sellers and agents should remove distractions, clean the surfaces, correct practical lighting problems, and decide which rooms best explain the home's lifestyle. NAR reported that living rooms were staged by 91% of sellers' agents, primary bedrooms by 83%, and dining rooms by 69% in its 2025 survey, which supports concentrating preparation on spaces that shape first impressions and buyer interpretation. The figures come from a survey of REALTORS® conducted in February 2025, with 1,266 usable responses, rather than from a controlled experiment.
Room priority matters when time or budget is limited. Buyers' agents most often identified the living room, primary bedroom, and kitchen as the rooms with the greatest staging importance, while the guest bedroom ranked lower in the cited survey. That doesn't mean secondary rooms should be ignored. An awkward landing, empty office, narrow dining area, or unfinished basement may need a clear visual explanation because buyers can't easily infer its purpose from an empty photograph.
The strongest measurable evidence concerns perceived offer value and selling speed, but it shouldn't be presented as a guaranteed staging premium. In NAR's 2025 profile, 29% of sellers' agents said staging led to a 1% to 10% increase in the dollar value offered compared with similar unstaged homes. Separately, 49% said staging reduced the time a property spent on the market, including 30% who observed a slight reduction and 19% who observed a significant reduction. These are agent-reported observations, so they don't establish that staging alone caused a particular result.
A practical image workflow keeps physical and digital work separate:
- Prepare room: Declutter, clean, repair, arrange, and light the property before capture.
- Capture an accurate source: Use a clear room photograph, exterior image, floor plan, or suitable footage that shows fixed features and realistic proportions.
- Choose the matching Nim template: Use Room Declutter for visual cleanup, Sunlight for a daylight concept, Day and Night for contrasting atmosphere, or Virtual Staging for a focused furnishing concept.
- Review against the property: Check windows, doors, built-ins, flooring, fixtures, views, and circulation for accuracy.
- Label illustrative imagery: Keep generated concepts distinct from verified property photographs and never use them to conceal defects or invent features.
Nim's Day and Night template can help communicate how a space may be presented in different lighting conditions, while Virtual Staging can focus attention on a room that needs a clearer lifestyle explanation. Neither replaces accurate disclosure. A generated image is best treated as a planning or marketing illustration, especially when it changes furniture, décor, light, or atmosphere.
The next step is specific: select the room with the greatest visual problem, prepare a clean source image, and open Nim's Virtual Staging template to explore a focused concept. The result should support the listing assets, not stand in for them.
Nim provides web-based AI image and video creation tools, including templates for real-estate visualization, room decluttering, lighting concepts, and virtual staging. Property teams can use the relevant workflow to turn prepared room images into clearer illustrative assets, then review every result against the actual home. Visit Nim to choose the staging task that best matches the room requiring the clearest visual improvement.
- home staging tips
- real estate marketing
- virtual staging
- property photography
- Nim templates