How to Make Video of Pictures on Instagram with Nim
Step-by-step guide on how to make video of pictures on Instagram using Nim's image-to-video templates for clean, Reels-ready results.
By Nim
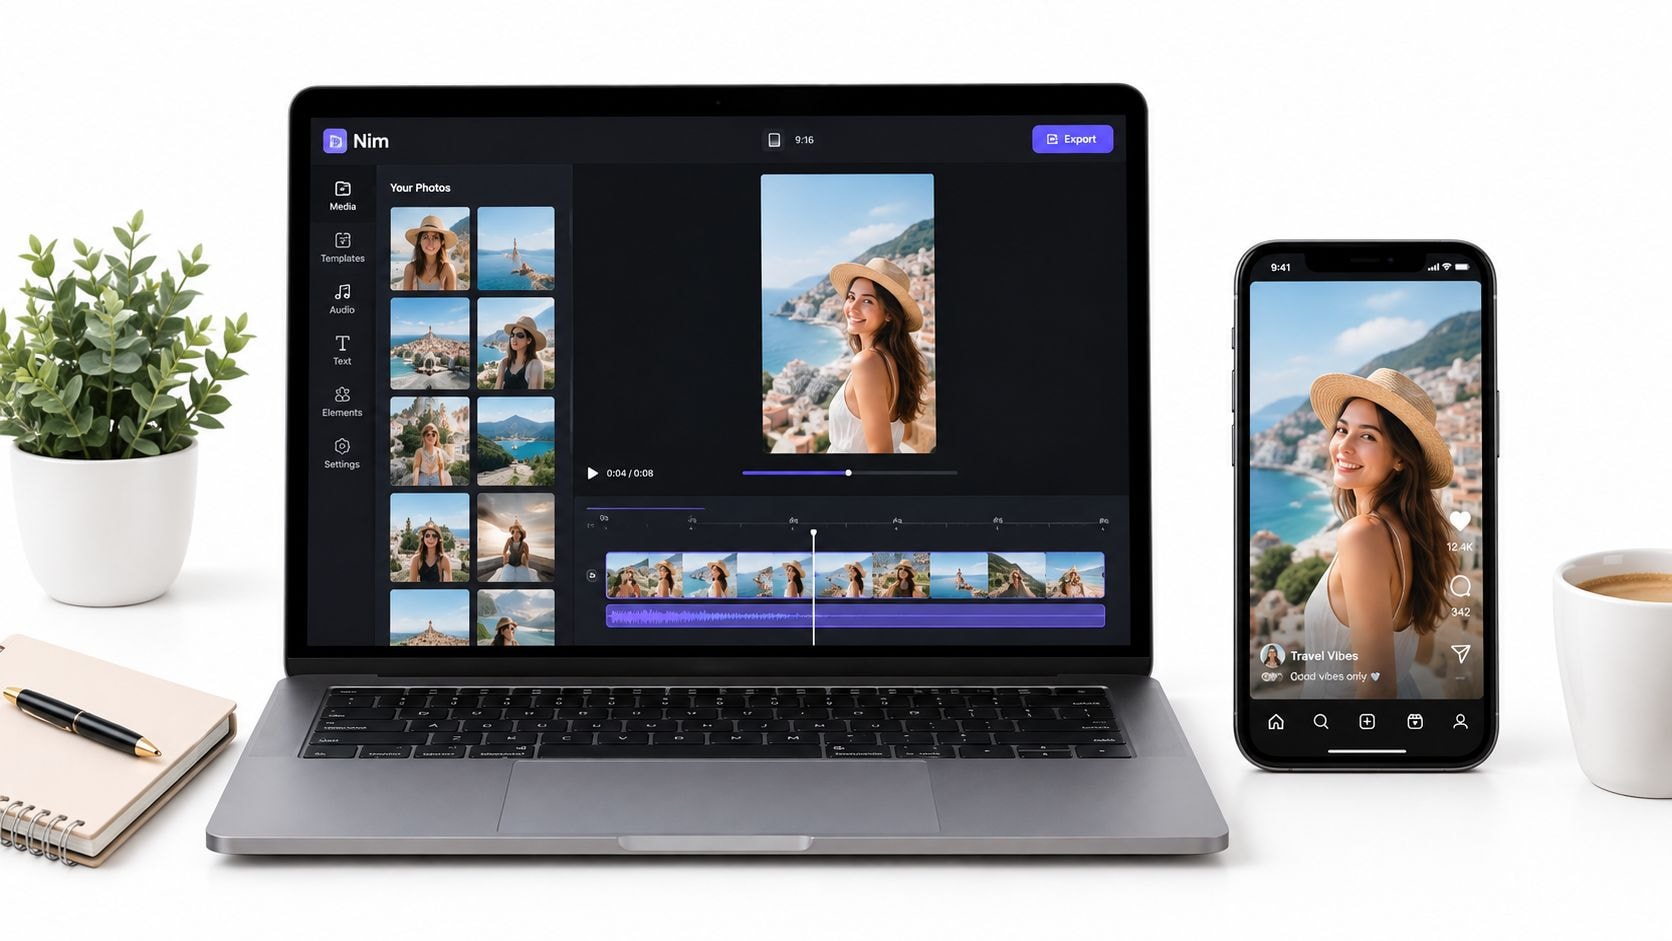
A folder of product photos, room images, or travel snapshots can become a finished Instagram Reel without filming new footage. The practical path is simple: prepare the stills, choose an image-to-video template in Nim, generate a motion clip, review the result, download it, and upload the finished video through Instagram Reels.
This approach answers how to make video of pictures on Instagram without treating the task as a basic slideshow. The stronger result comes from selecting a clear hero image, arranging the sequence intentionally, and using motion that supports the subject instead of distracting from it.
What You Are Actually Making When You Turn Pictures Into an Instagram Video
Suppose you have a folder of travel photos, product images, or property shots and want a Reel without recording new footage. The output is a small creative production: selected stills become a short looping motion clip, animated through a Nim template and exported as a vertical video for Instagram. The finished canvas uses a 9:16 aspect ratio, so the images, motion, text, and final frame all need to work inside that tall phone-screen format.
A focused clip often runs around 5 to 15 seconds. Its length is less important than its sequence. The opening should establish the subject, the middle should create movement, and the ending should give the viewer a reason to keep watching or replay the loop.
Before opening Nim, define the materials and direction:
- Three to 10 source photos, saved locally and ready to upload.
- A vertical delivery plan, with 9:16 reserved for Reels.
- A rough motion direction, such as a gentle zoom, a layered product reveal, or a fast collage.
- An optional music reference, if audio will be added during later editing or inside Instagram.
- Any text that should appear, such as a product benefit, property feature, or launch message.
This short brief keeps the project selective. Uploading every available image leaves the template to decide what matters, while a deliberate set gives each frame a role. Treat the photos like shots in a compact production: choose the hero image first, support it with a few useful views, then finish on a frame that can connect naturally back to the opening.
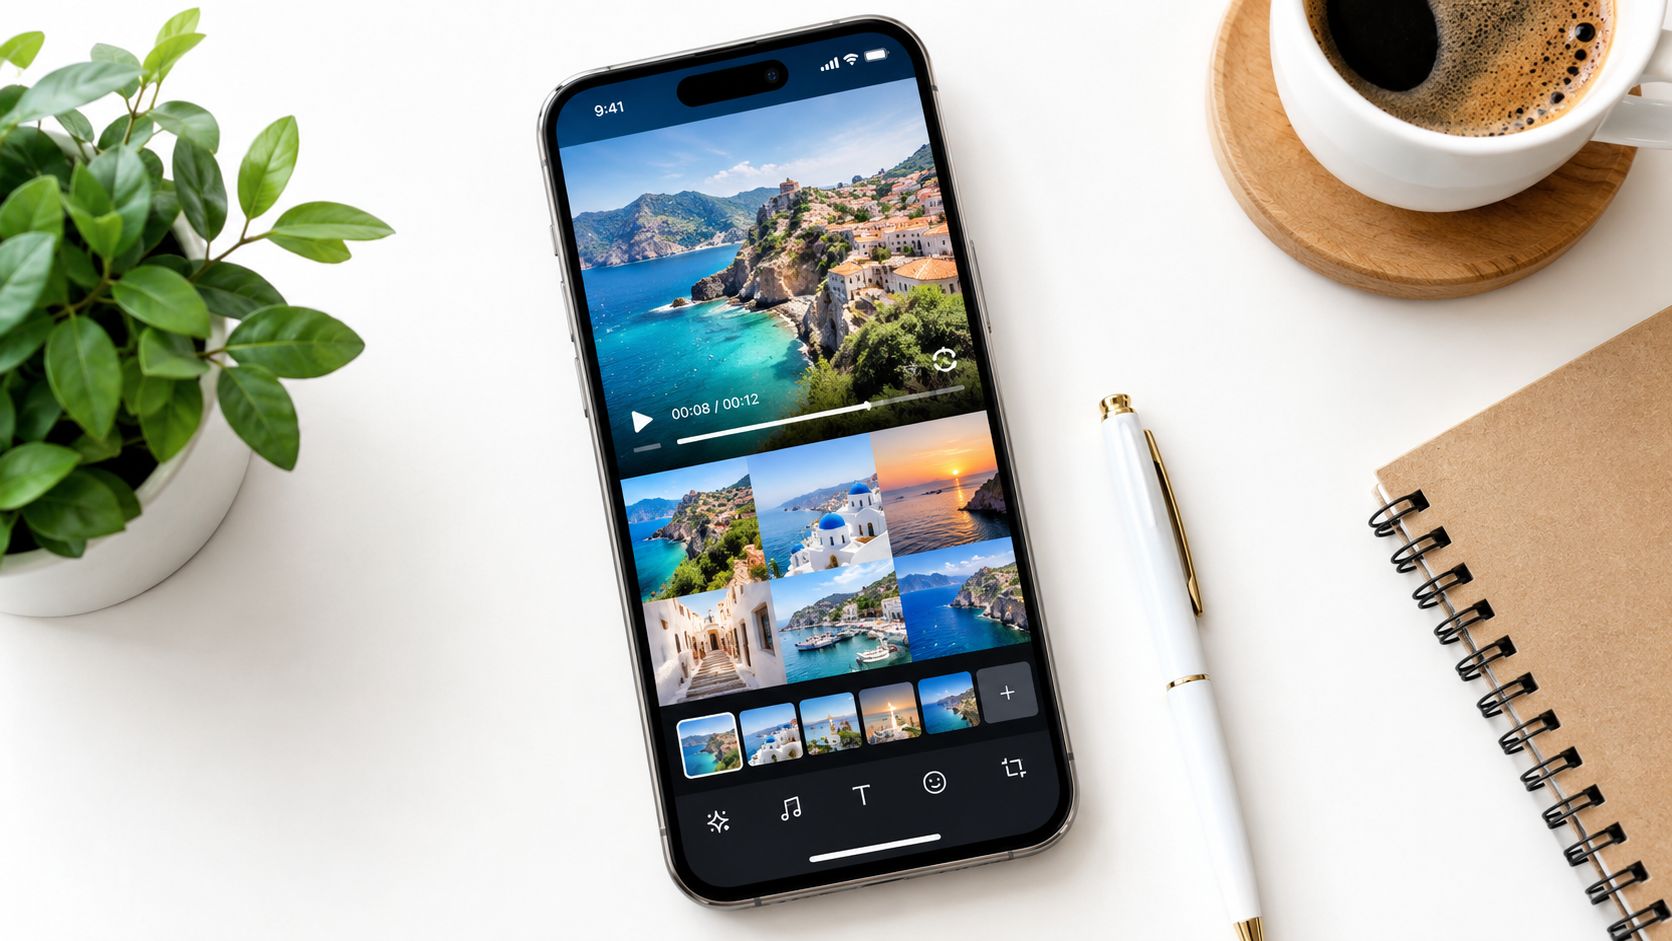
Instagram's large audience makes this format useful for product visuals, property promotions, and social advertising. Reels also receive substantial attention, so the vertical composition should be planned before animation rather than corrected after export. The Instagram user and platform coverage provides broader context on the service's audience and usage.
A photo sequence can also support a looping Story treatment, but that format follows different editing logic. See the Instagram Story Boomerang guide for that approach. For a Reel, the practical output remains a clean vertical video built from selected images, with motion that supports the subject instead of obscuring it.
Preparing Your Photos for a Vertical Reels Canvas
Before opening the video workflow, build a small shot list. Choose one hero shot, the image that explains the subject fastest, then add supporting photos that reveal useful details, benefits, or the final result. This gives the eventual clip a clear production order instead of leaving the template to decide which image leads.
Use the 9:16 preparation approach described in Section 1, then check each photo against the crop you need. For a product, a loose square image may show the whole package, but a vertical crop should keep the label and product edges visible, leaving enough space around them for motion. For a property, a wide interior photo may include both the windows and seating area, while a vertical crop may need to favor the seating area and one strong architectural feature. Crop before upload so the generated clip starts with intentional framing.
Build visual consistency before animation
The images can differ while still belonging to one sequence. Review these points:
- Lighting: Adjust unusually dark or bright frames so one image does not look disconnected.
- Resolution: Keep the source set sharp and consistent. Each photo should have at least 1080 pixels on its long edge to reduce softness in the final render.
- Focal position: Keep the main subject in a similar area across the sequence, especially when the template adds movement.
- Color: Reduce clear shifts in white balance, saturation, or contrast.
- Composition: Remove cluttered frames that motion could make more distracting.
A quick before-and-after check helps. If the original product photo places the item near the lower edge, recrop it so the package sits comfortably inside the vertical frame. If the original property image gives equal space to several rooms, select the crop that presents one room clearly rather than shrinking every feature into view.
Rename files in the intended sequence, using a clear order such as 01-hero, 02-detail, and 03-result. Keep the prepared images in one local folder. The order should read like a compact production, moving from the broad subject to details, benefits, or a final result, then ending on an image that can connect naturally back to the opening.
Picking the Right Image-to-Video Template
A successful Instagram photo video starts with the right production choice. Select a few hero shots, choose a template that can animate them clearly, then check that the result fits Nim's vertical Reel canvas. Open the Nim templates gallery and compare each example with your image set. For a product-focused project, the E-commerce animated collage template gives you a practical starting point. It arranges several product photos into one moving sequence instead of treating them as unrelated slides.
Match the motion treatment to the visual job:
- A minimal pan keeps a face or single object readable while adding gentle movement.
- A sweeping zoom gives wide scenery, interiors, or property views a clear sense of entry.
- Layered movement works with flat-lays, packaging details, and photos that separate the foreground from the background.
- A collage treatment connects related product images into one branded sequence.
Use the template's displayed input list as your checklist. It may request one reference image, several images, a motion description, or another specific field. Provide only the inputs shown for that template. If a motion prompt is available, write the action in plain language, such as “slow camera push toward the product label” or “gentle movement across the interior from the windows to the seating area.” The prompt should preserve the subject's role while adding motion, much like directing a camera operator toward the part of a scene that matters.
Before generating, inspect the preview in the intended vertical layout. Nim's template preview should leave the subject comfortably inside a 9:16 frame, with no important label, face, or architectural line pressed against an edge. Check the expected duration too. A template can look attractive in isolation yet feel unsuitable if its movement is too busy for the selected photos.
| Template Type | Best Photo Set | Motion Style | Typical Duration |
|---|---|---|---|
| Animated collage | Product collections and campaign stills | Layered arrangement and movement | Short social clip |
| Living timelapse | Construction stages or changing scenes | Progressive visual change | Short sequence |
| Parallax photo reel | Images with clear foreground and background | Depth-based motion | Short social clip |
| Ken Burns slideshow | Landscapes, interiors, and portraits | Pan and zoom | Short sequence |
For more complex branded motion, studying how motion graphics companies organize hierarchy and movement can clarify why some elements should stay still. Product-focused examples are also available in Nim's guide to product video animation. Keep the first run focused: one template, one visual direction, and a clear review point before adding more effects.
Running the Input, Generate, and Review Flow
A clean result starts with a simple handoff: your selected photos provide the visual material, the template adds movement, and the first generated clip shows whether those choices work together. Treat this pass like a small production run. You are testing the hero image, motion direction, and vertical presentation before spending time on refinements.
Submit the source material
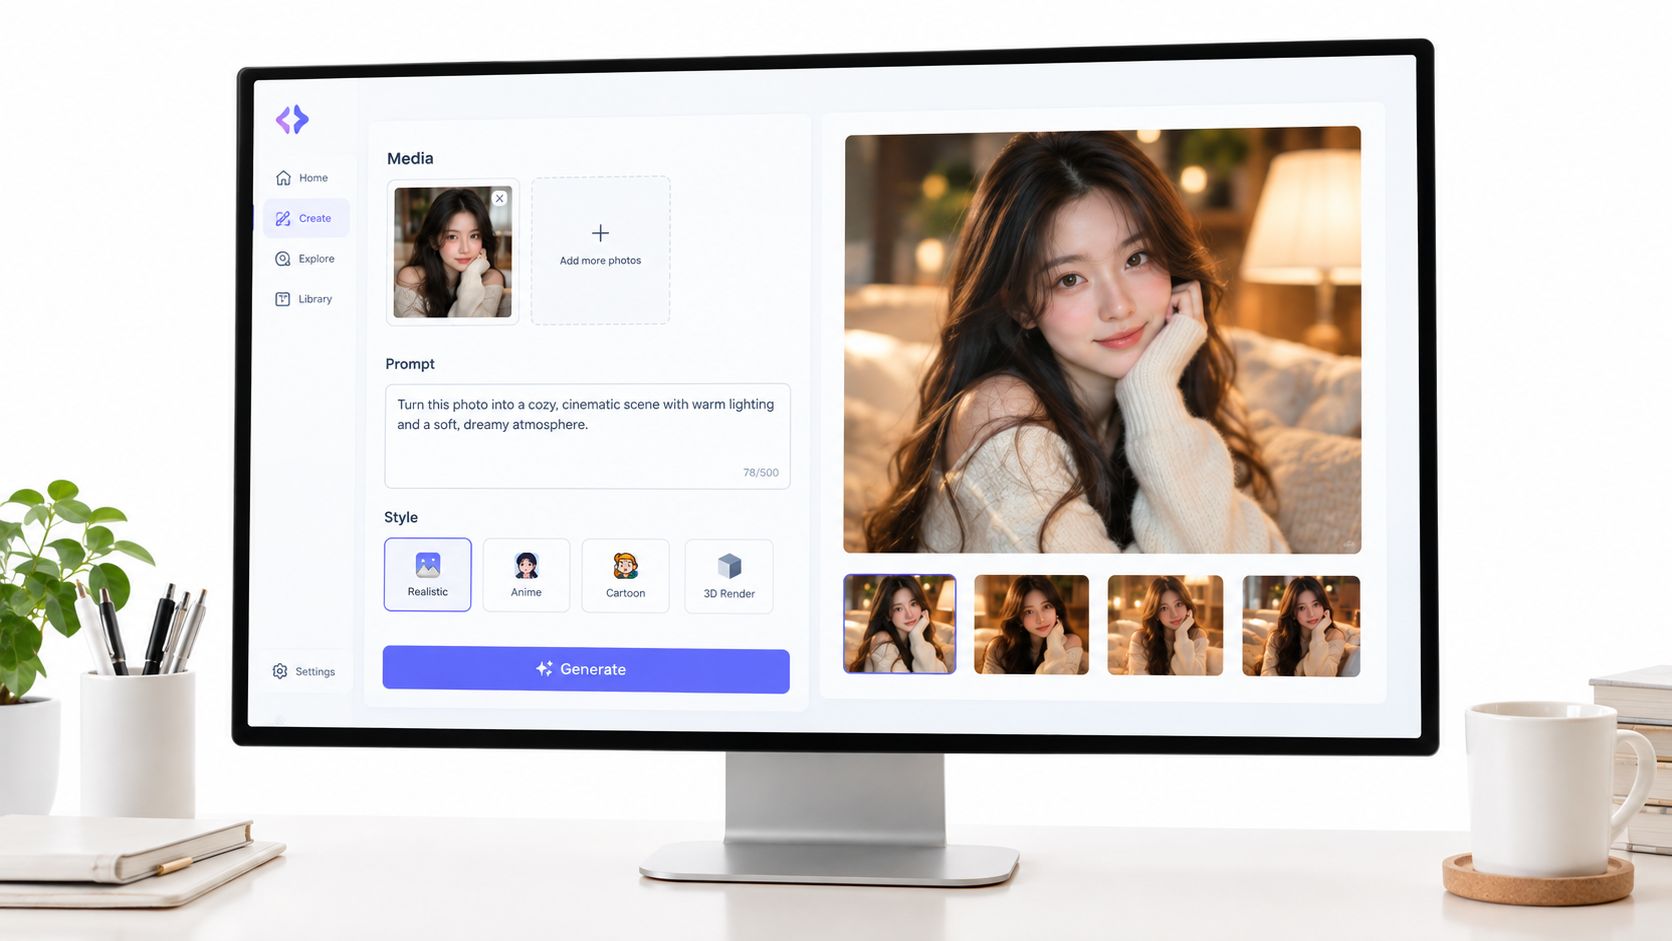
Open the chosen template and use its visible media input to add the prepared photo. If it accepts several images, upload the selected set in the order planned for the Reel. If a prompt field appears, describe the movement and identify what viewers must notice first.
Practical rule: Describe what should move, how it should move, and what must remain clear.
For a product sequence, request a slow reveal with steady framing so the packaging stays readable. For a room image, ask for restrained camera movement that keeps the main furniture and architectural lines visible. The instruction should guide the uploaded picture, not replace it with an unrelated scene.
Generate the first preview
Submit the available inputs through the template's generation flow and wait for the initial clip. Controls vary by template, so change only fields that appear on screen. If you need a broader starting point, browse the Nim create-video template category for an image-to-video option that matches the intended visual direction.
The first render is a test, not a finished release. Review it as a phone viewer would, asking:
- Does the subject remain visible during the movement?
- Does each image stay recognizable without warping?
- Does the motion suit the photo instead of distracting from it?
- Does the sequence read clearly on a vertical screen?
- Does it open with the strongest image?
Each answer points to a specific adjustment. A weak opening usually means choosing a stronger hero image or changing the image order. Unwanted motion calls for clearer wording in the prompt, if one is available. A distorted subject may need a cleaner source photo or a gentler movement direction.
The review turns a stack of stills into a deliberate short production. Decide whether to keep the result, revise the original input, or generate another preview. Do not assume that an unseen timeline, audio control, or layout setting exists. The template's visible inputs are the dependable basis for the next pass.
Refining the Clip and Exporting for Instagram
The second review is a delivery check. Watch the preview at phone size, focusing on what a viewer must notice rather than on the editing interface. A product label that slips out of frame points to excessive movement or a poorly positioned crop. If a room's defining feature vanishes, reduce the motion or adjust its direction.
Check the vertical composition
Use the preview to examine three parts of the clip:
- Safe framing: Keep text, faces, and product details inside the visible 9:16 composition.
- Movement timing: Let viewers understand each image before the motion changes or the next frame appears.
- Visual continuity: Check that brightness, color, and subject placement feel consistent from one photo to the next.
Treat the frame like a window. The subject should stay inside it while the images move behind it. A cleaner crop, a stronger hero image, or a more specific motion description often fixes the problem at its source. Regenerate when the preview has a clear defect. If the clip reads well, export it instead of changing it without a reason.
Match the delivery file to Reels
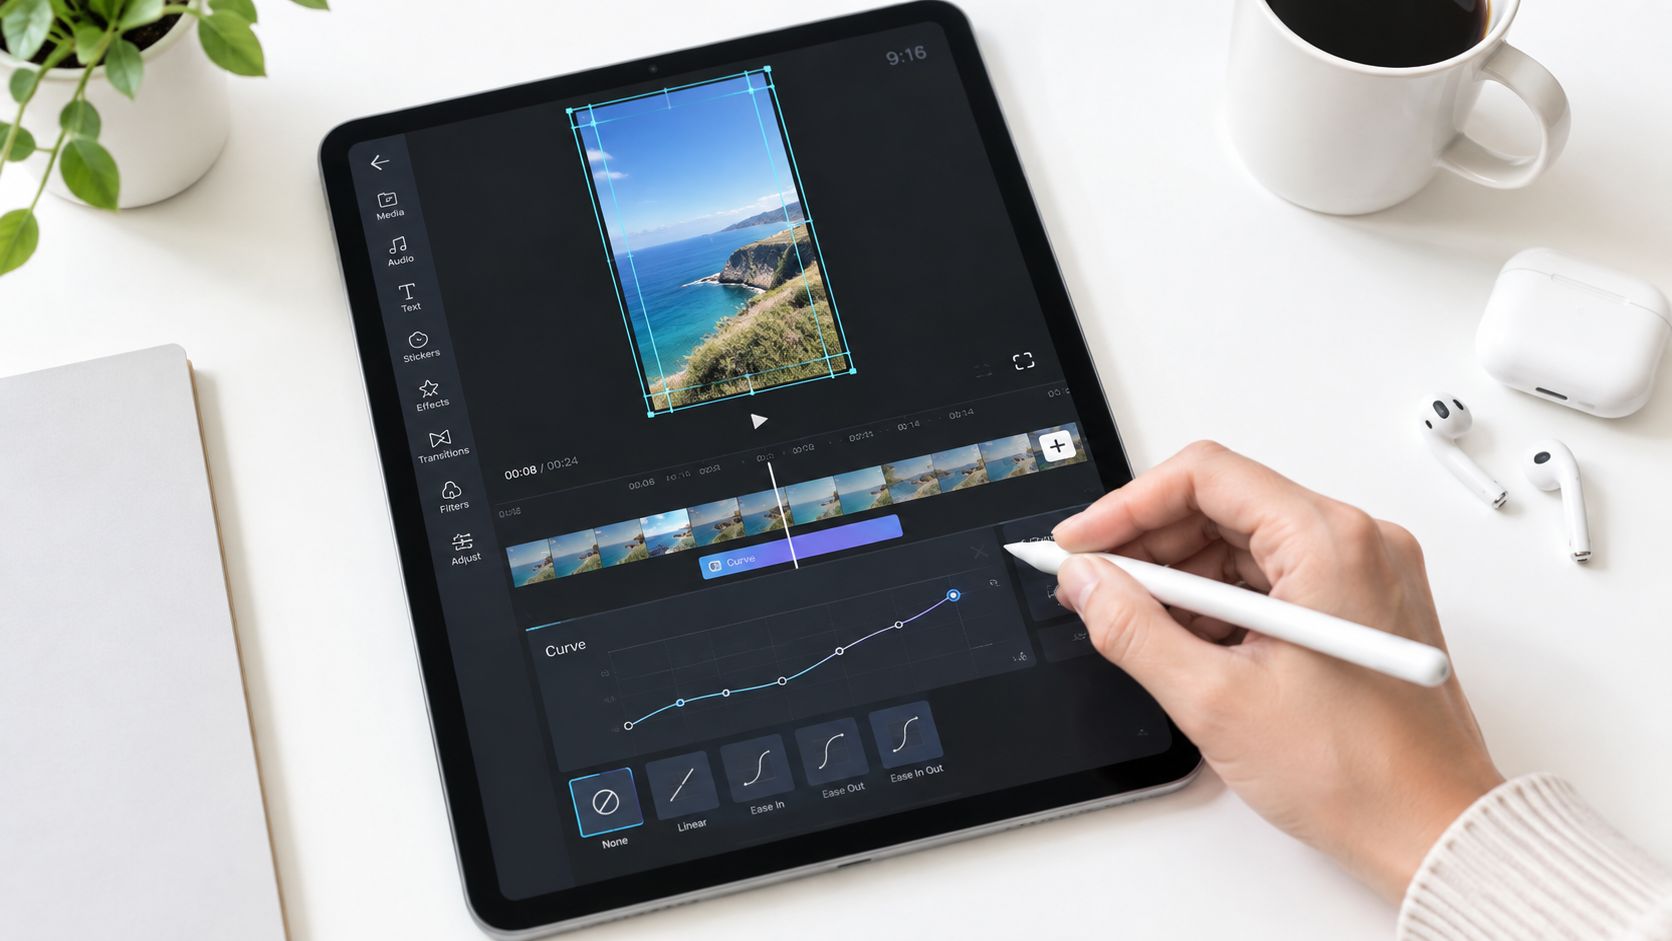
Set the production canvas to 1080 × 1920 pixels and a 9:16 aspect ratio for a vertical Reel. Export the generated clip in a widely compatible video format, such as an MP4 with H.264 video and AAC audio, when those options are available. This gives the still images a clean vertical frame and reduces surprises during upload.
Keep a photo-based Reel focused and easy to replay. A short sequence should give each hero shot enough time to register, while transitions should support the story rather than compete with it. Check the opening, the final frame, and any text at phone size before downloading.
Nim's generated clip can receive optional finishing touches in another editor if the visible template output needs them. Trimming, captions, or audio can be added there. For the audio step, see this guide to add sound to video clips. If an image needs more surrounding space for the vertical frame, Nim's guide to adding backgrounds to videos explains that adjustment. Export only after the subject, pacing, and frame remain clear together.
Uploading, Repurposing, and Your Next Step in Nim
Your Reel is ready to publish after one last phone-screen check. Open the exported MP4 from your device gallery, choose the Reels posting path, and inspect the cover before sharing. Instagram's video-first format suits a clean vertical sequence. Meta reported more than 200 billion Reels plays per day in 2023, while later coverage also reported more than 4.5 billion daily reshares, according to Reels statistics coverage.
Use this checklist to protect the work during upload:
- Choose the cover: Pick the hero frame, or another still that explains the Reel at a glance.
- Write the caption: Tell viewers what they are seeing and identify the next action.
- Add alt text: Describe the product, room, scene, or visual sequence for people using screen-access features.
- Add context: Include a relevant location tag or account association when it supports the post.
- Check the first seconds: Confirm that the opening still works after Instagram's interface elements appear.
- Reuse the source set: Turn the prepared images into a follow-up Story or another short post instead of rebuilding the asset.
Treat the upload as the final handoff in a small production process. The selected hero shots become the visual entry point, the template supplies motion, and the exported vertical clip carries that story into Instagram. A recognizable opening and clear sequencing can help product launches, property showcases, and other shareable posts communicate quickly.
The repeatable workflow is prepare, pick, generate, refine, export, and post. Keep the inputs organized for the next project: a local folder of selected photos, a vertical framing plan, a motion direction, and optional text or audio references. The Nim templates gallery provides another starting point when a different photo set calls for a new image-to-video treatment.
Nim provides template-based image and video creation for turning prepared stills into short motion assets, including product visuals, promotional clips, and social content. Visit Nim to choose an image-to-video template and repeat the prepare, generate, review, and download workflow with your next set of pictures.
- video from photos
- picture video maker
- nim video
- photo reel
- make video with pictures