Make a Polaroid Picture: Nim Routes and Steps
Nim has no verified Polaroid template. Learn how to make a Polaroid picture from a Nim source image and finish the instant-photo frame outside Nim.
By Nim
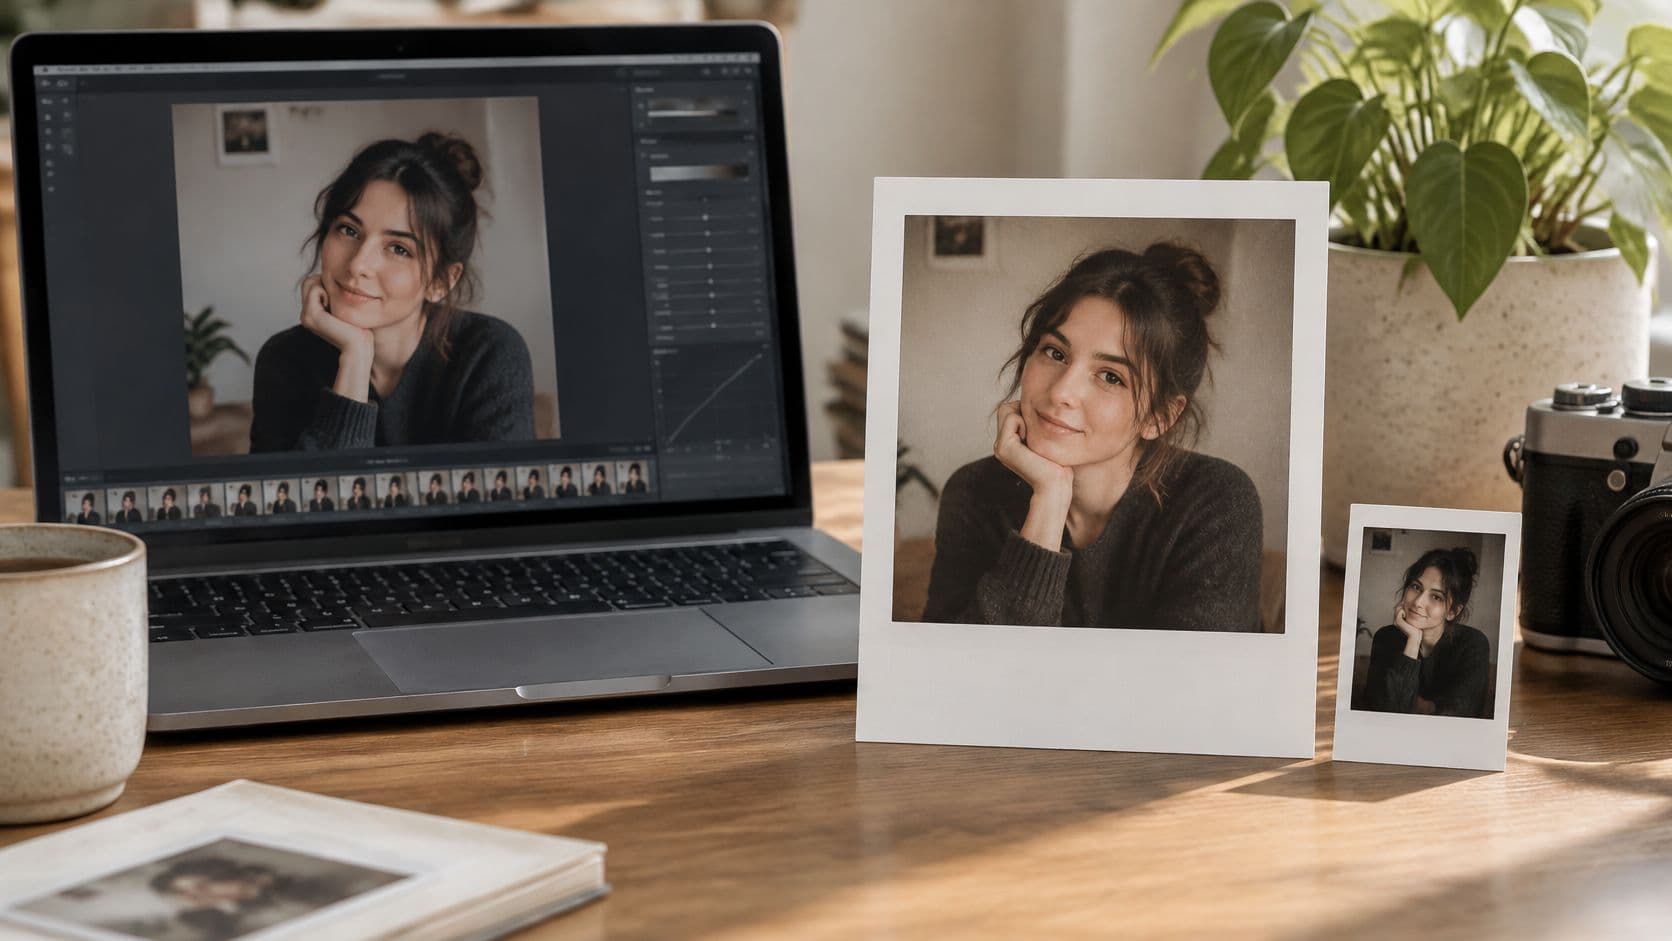
A white border is the least important part of a convincing Polaroid-style image. The recognizable look comes from muted color, soft contrast, and small imperfections created by a physical print process. Getting those traits right matters more than adding a frame to an untouched photo. Nim can prepare the source image, but it doesn't create real instant film.
Nim Has No Polaroid Template, So Choose a Route
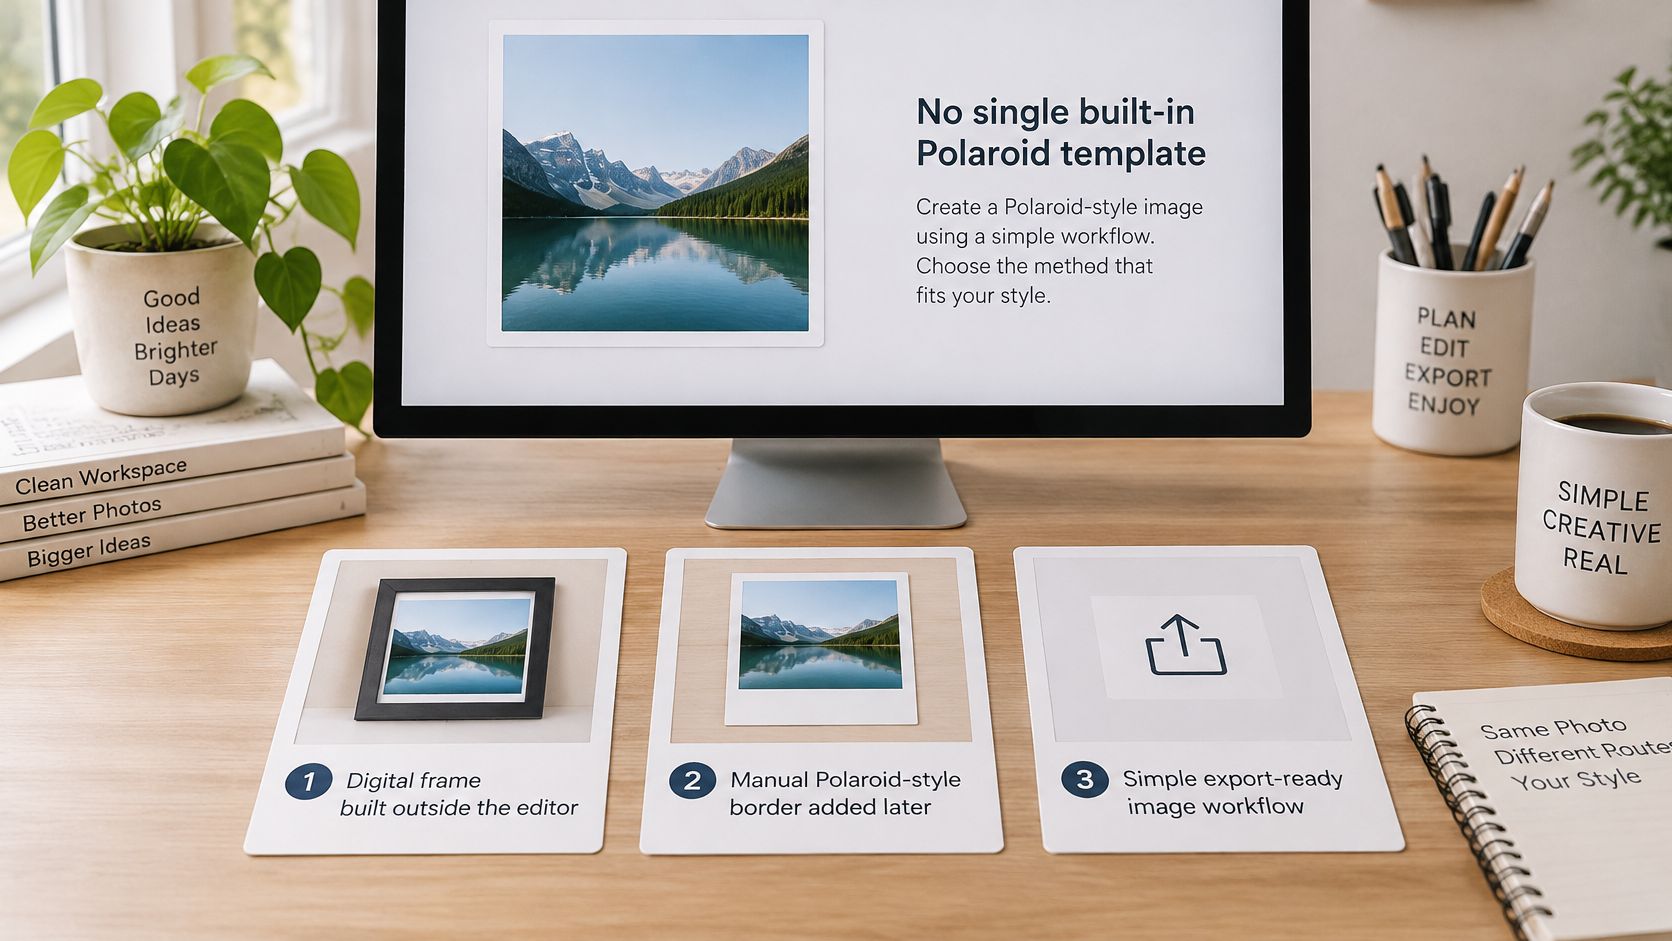
Nim's reference directory has no verified dedicated Polaroid template, so there is no one-click way to make a Polaroid picture in Nim. Readers often arrive expecting that template; the three routes below separate what Nim can prepare from what an image editor, scanner, or instant camera must finish.
Routes to a Polaroid picture
| Route | Result | Where Nim fits | You need |
|---|---|---|---|
| Digital frame outside Nim | Shareable digital image with an instant-photo border | Source preparation with Image Enhancer or Background replace | A prepared source image and any image editor |
| Scan of a real Polaroid | Digitized print with authentic film texture | None | A developed print and a scanner or the Polaroid app |
| Real instant camera | Physical print developed in the camera | None | An instant camera and compatible film |
Nim fits only the first route, and only for source preparation. The Image Enhancer template handles cleanup, while the Background replace template addresses a distracting background before framing begins elsewhere.
For an authentic digital file, the Polaroid education blog recommends scanning developed pictures through its app to retain analog texture in digital form. That route keeps the chemical print in the chain; a framed file starts from a prepared digital image instead.
Treat the digital frame as a finished asset built from that prepared source: clean the photo in Nim, move it to an editor for the border and grade, then export the shareable image. The print routes remain the reference point for real instant texture and physical output.
What Gives a Picture the Polaroid Look
Real instant film is a multilayer chemical imaging system, not a filter. A technical description of instant film structure and dye diffusion explains that separate light-sensitive silver-halide layers for blue, green, and red sit above complementary yellow, magenta, and cyan dye-forming layers. After exposure, rollers spread an alkaline developer across the sheet, dye diffuses where the corresponding silver-halide image wasn't exposed, and a timing layer later neutralizes the remaining alkali and stops the reaction.
That chemistry produces gentle color shifts, uneven tonal transitions, and a slightly imperfect surface. A single heavy filter usually misses those traits or erases useful detail. A layered digital approximation works better because each trait can stay subtle.
Polaroid traits and digital approximations
| Trait | Real cause | Digital approach |
|---|---|---|
| Warm or muted color | Dye layers and developer chemistry | Apply a gentle color grade after the image is prepared |
| Soft contrast and limited highlights | Chemically limited tonal range | Lower contrast slightly and avoid pure white highlights |
| Cool shadows or yellow-red cast | Development temperature | Add a subtle tint and keep product color accurate |
| Wide white bottom border | Instant print format | Add a frame in an external editor |
| Soft edges and fine grain | Print surface and handling | Add light grain at low strength |
How Each Trait Should Be Handled
Warm or muted color should look restrained, not orange. Keep skin, packaging, and recognizable brand colors close to the original, then warm the overall image only enough to suggest the dye layers.
Soft contrast means highlights roll off instead of clipping to stark white. Lower contrast slightly and check bright areas against the source. Crushed blacks or blown highlights look more like a damaged exposure than an instant print.
Temperature tint needs the lightest touch. Cool shadows suggest one development condition and a yellow-red bias suggests another, but a strong cast quickly makes product color unreliable.
The subject has to stay clear and recognizable. A Polaroid imitation fails when styling hides the thing being shown.
The wide bottom border provides instant recognition, while light grain prevents edges from looking digitally sterile. Grain shouldn't soften facial features, text, or product details. For portraits that need a film-inspired starting point before framing, the color film photoset template is the closest relevant Nim category destination.
Prepare Your Source Image in Nim
Source preparation determines whether the finished asset looks deliberate or merely filtered. The strongest input has one clear subject, usable light, and a simple background. A busy source rarely improves once a border, tint, and grain are added because every later effect makes weak composition harder to fix.
Choose an Image That Can Carry the Frame
Start with the photo intended for framing and check that the subject remains obvious at small size. Product edges, faces, and key details shouldn't sit tight against the crop because the print border will make the image area feel smaller. Extra space around the subject gives more freedom during framing.
Low-resolution or noisy images need caution. Enhancement can improve presentation, but it can't guarantee detail that wasn't captured. For physical printing projects, the same principle applies to guidance on how to reduce photo noise before blanket printing, since enlarged output exposes softness and compression artifacts quickly.
Run the Preparation Steps
-
Choose the source photo. Confirm that the subject is the clear focus and that important detail won't be lost inside a smaller framed area. A centered product, portrait, property detail, or event moment usually works better than a wide scene with several competing subjects.
-
Open the Image Enhancer template. Use the Image Enhancer template, provide the image the template requests, and compare the result with the original for detail and color. Reject a result that changes facial features, packaging text, or product color in a way that creates cleanup work later.
-
Replace a distracting background only when needed. Open the Background replace template and provide the input it requests. This step suits cluttered product or portrait backgrounds, but it's unnecessary when the original setting supports the subject.
-
Save the version intended for framing. Treat that file as the approved core image. Border, tint, contrast, and grain belong to the later editor stage, so the saved Nim result should already look accurate without those effects.
-
Keep the original file unchanged. Retaining the source makes it possible to rerun a step or compare color after tinting. That comparison is especially important for apparel, food, cosmetics, and packaged goods.
Practical rule: Approve the unframed image first. A border cannot rescue weak focus, poor subject separation, or inaccurate color.
Limits to Keep Straight
Neither template adds a Polaroid frame. Neither should be described as reproducing film development.
Don't assume specific output sizes, limits, or settings beyond what the template shows. Work from the input requested on the template page and review the actual result rather than relying on a generic upload and generate routine. Templates differ, and unsupported assumptions create avoidable errors.
Color deserves a final check before export from the preparation stage. Nim's guide to color correct photos is relevant when the source has a cast that shouldn't be confused with the deliberate warm or cool tint added later. Correct accidental color problems first, then add stylistic color only after the frame stage begins.
The prepared image is now the input for the frame step. It should be clean, legible, and faithful enough that any later color shift reads as a chosen Polaroid treatment rather than an error.
Add the Instant-Photo Frame Outside Nim
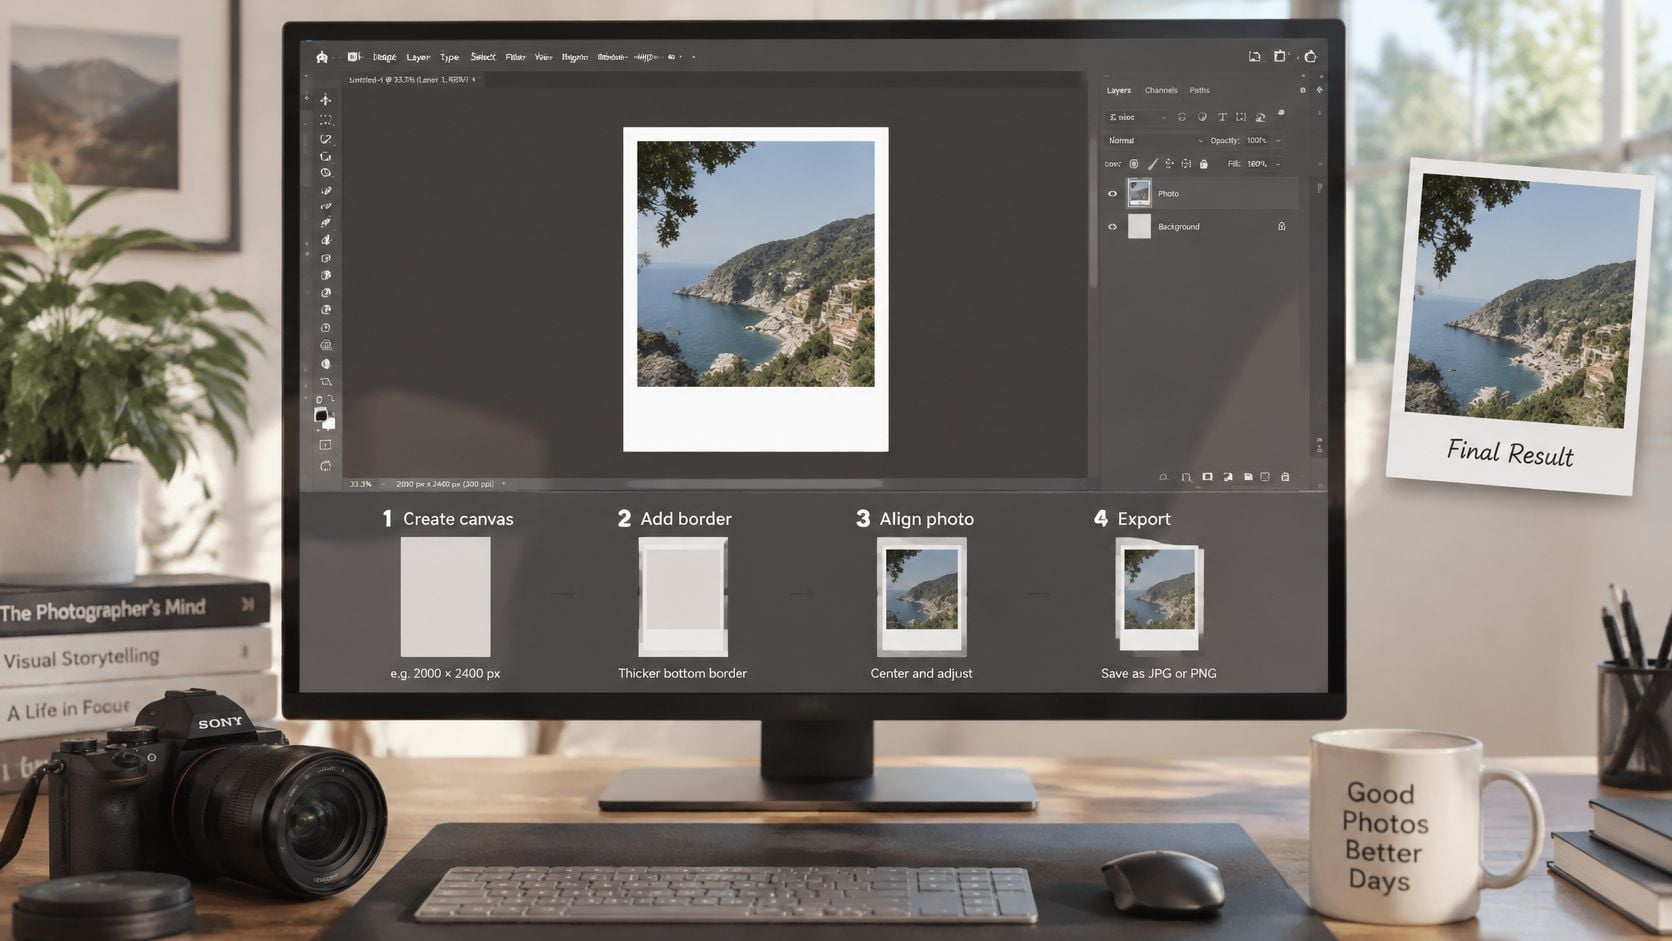
The frame belongs in an image editor already in use, outside Nim. Nim prepared the source image, but it doesn't supply the instant-photo border or the finishing treatment.
-
Create a canvas with an uneven border. Make the bottom border wider than the top and side borders so the image sits like a print. That wider strip is the most recognizable layout element, so equal margins usually look like a generic photo frame.
-
Place the prepared image in the upper area. Keep faces, product edges, and text clear of the border. Cropping too tightly makes the composition feel squeezed once the white surround is visible.
-
Apply a small temperature tint. Current Polaroid film guidance identifies approximately 13 to 28°C (55 to 82°F) as the useful operating range, with temperatures below 13°C tending toward weaker contrast and cyan or blue coloration and temperatures above 28°C pushing color toward yellow or red. Use cyan shadows for a cold-development suggestion or a mild yellow-red bias for heat, but keep either effect subtle.
-
Lower contrast slightly. Soften harsh whites and compare highlights against the original. Pure white image areas can visually merge with the border and flatten the print effect.
-
Add light grain at low strength. Check the subject at full view after applying it. Grain should suggest a print surface, not obscure skin detail, fabric texture, ingredients, or packaging.
-
Export a new file and compare it side by side with the original. Look specifically at product color, facial detail, and highlight separation. Keeping the framed version separate preserves a clean source for revisions.
Keep Commercial Color Honest
The tint is an aesthetic layer after the core image, not a replacement for accurate product color. Apparel, packaging, and food need tighter restraint than a personal portrait or event graphic. If a red package turns orange or a white garment turns cream, the effect has gone too far.
A real print develops through chemistry inside the camera. The digital version is a stylized copy and should be labeled that way in client, marketplace, or campaign contexts where authenticity could be misunderstood.
Fixing Common Polaroid Look Problems
The most common failure looks like a plain filter because only the color changed. Adding more color won't solve that. The missing pieces are usually the border and tonal softening.
Polaroid look problems and fixes
| Problem | Likely cause | Fix |
|---|---|---|
| Looks like a plain filter | Only color changed, with no border or tonal change | Add the frame and lower contrast |
| Product color looks wrong | Tint applied too strongly | Reduce the tint and compare with the original |
| Subject crowded by the border | Border takes too much image area | Crop the source before framing |
| Edges look too clean | No texture applied | Add light grain at low strength |
| Background distracts | Clutter in the source image | Run the source through the Background replace template first |
Border, tint, contrast, and grain are single-pass editor fixes. They don't require a new Nim result.
A cluttered background or weak subject belongs earlier in the workflow. Rerun source preparation with Background replace or Image Enhancer before framing again. Say a product photo develops a strong yellow cast after tinting. Reducing the tint to a fraction of its first strength and comparing package color against the original is the right fix, not adding blue until the whole image turns muddy.
Effects rarely rescue a weak source. A clear subject matters more than another filter.
Scan or Shoot a Real Polaroid Instead
A real instant print follows a different process. After the shutter closes, the photograph passes between rollers that rupture a reagent pod and spread chemistry across the image. Development happens through that integrated chemistry rather than a separate darkroom sequence.
Handle a Developing Print Carefully
Don't shake or physically manipulate the print while it develops. Its chemistry is still moving through the film structure, so bending or pressing it can interfere with the result.
Keep the ejected print shielded from strong light for the initial period, then let it develop face down for the time specified on the film package. Color and black-and-white products can require different times, so the package instruction controls the wait.
Temperature also affects the finished print. The useful development range is about 13 to 28 degrees Celsius (55 to 82 degrees Fahrenheit). Below that range, prints tend toward weaker contrast, cyan or blue color, and apparent overexposure. Above it, color can shift toward yellow or red.
Digitize a Finished Print
Scan a developed print on a scanner or through Polaroid's app when a reusable digital file is needed. A scanner gives controlled capture of the physical object, while app scanning is better suited to quick sharing and preserving visible analog texture in digital form.
Handle the print by its border where possible and keep the scan straight so the frame doesn't need corrective cropping. Nim plays no role in shooting, developing, or scanning the physical print.
Choose Your Route and Start Your Image
Choose the digital frame route for a shareable asset, a scan for real texture from an owned print, and a physical camera when the print itself is the product. Each route produces a different object, so the decision should be based on the final use rather than nostalgia alone.
- Digital frame: Best for listings, social posts, and ads built from an existing product, portrait, property, or event image.
- Scan: Best when a developed print already exists and its genuine surface and color behavior matter.
- Instant camera: Best when a physical print is required and film unpredictability is acceptable, since Polaroid's explanation of film-pack operation describes development inside the camera after rollers rupture a reagent pod and spread its chemistry across the image.
For the digital route, pick the source image, clean it up with Image Enhancer if needed, replace a distracting background, and finish the frame in an editor outside Nim. Present the result as an illustration, never as real film.
Visit Nim to prepare a product, portrait, property, or event image with the Image Enhancer or Background replace template before adding the Polaroid-style frame elsewhere. Start with one clear source image, review the result against the original, and build a consistent set of digital assets without claiming chemical film authenticity.
- make a polaroid picture
- polaroid effect
- instant photo look
- Nim image workflow
- AI photo frame