Create Virtual Staging Photos for Listings
Learn how to create virtual staging photos for real estate listings using Nim. Follow this practical workflow to furnish empty rooms and boost buyer interest.
By Nim
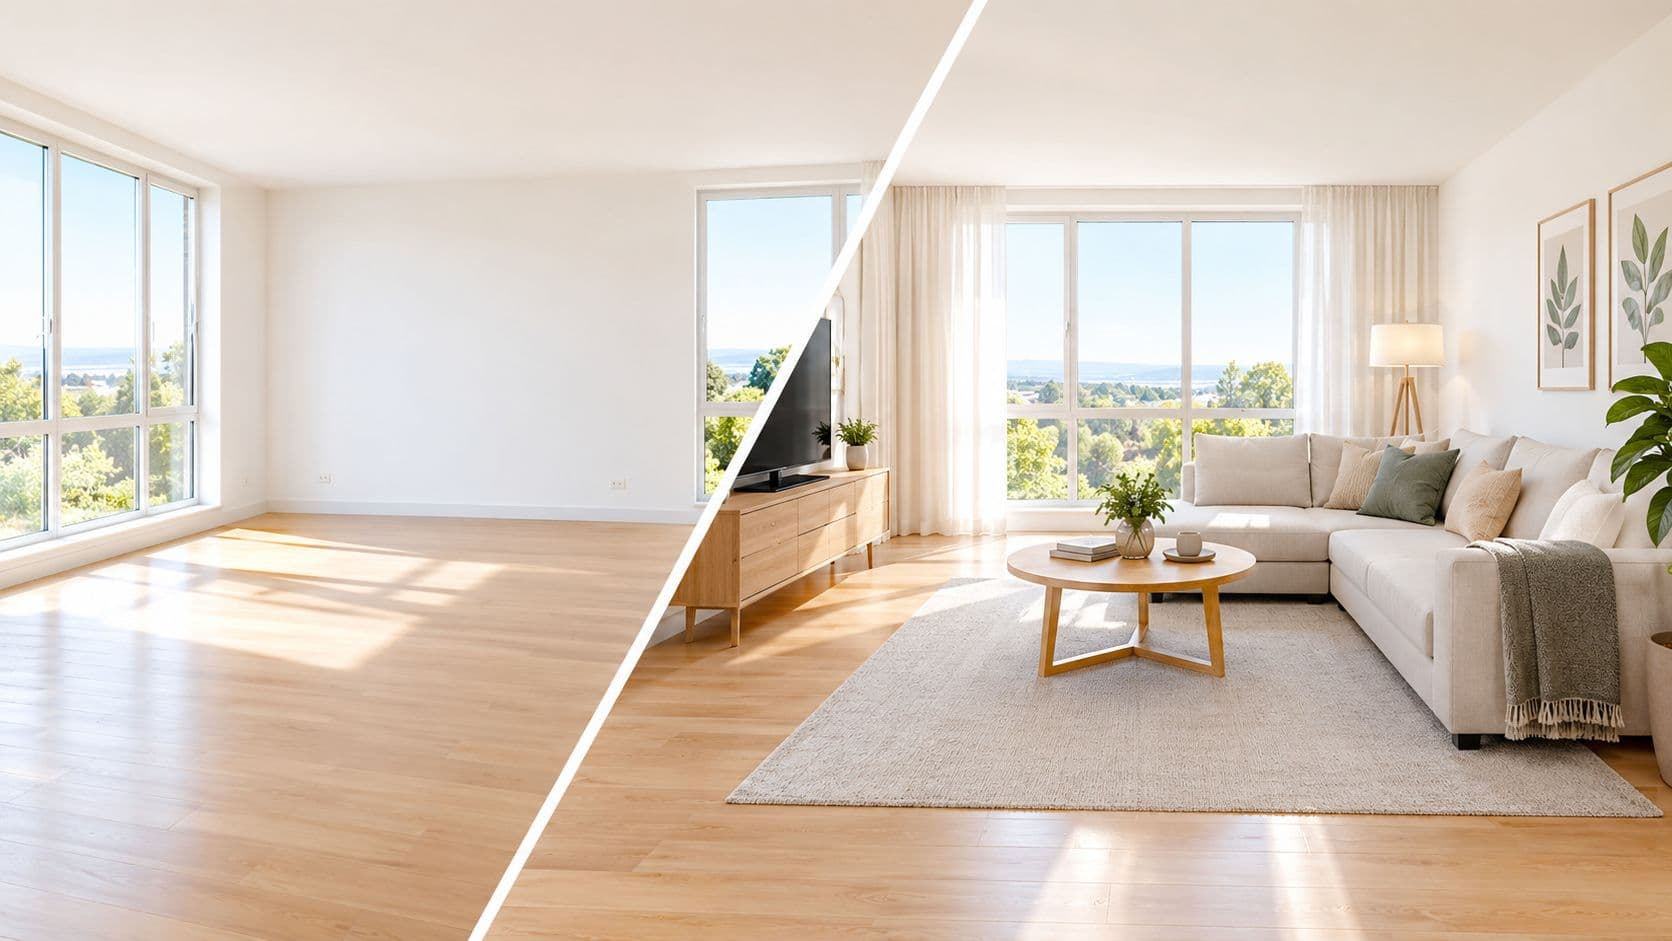
An empty room can look larger in person than it does on a listing page. Online, however, buyers see a flat photograph surrounded by competing properties, and a vacant space often gives them little help in understanding its purpose. Virtual staging photos solve that presentation problem by adding movable furniture and décor while leaving the underlying property unchanged.
The reliable approach is not to make a room look perfect at any cost. It is to create a useful visualization, preserve the original photograph, inspect the generated image for physical errors, and disclose the alteration clearly. That combination helps a listing communicate potential without turning an illustrative image into a misleading property record.
Why Virtual Staging Photos Drive Property Interest
Property discovery starts with visual screening. Buyers and agents compare photographs before deciding which listings deserve closer attention, so an empty living room, bedroom, or dining area must communicate its scale and possible use without relying on a physical walkthrough.
The National Association of Realtors' 2023 Profile of Home Staging found that 81% of buyers' agents believed staging made it easier for buyers to visualize a property as a future home. The same profile reported that listing photos were rated “much more” or “more” important by 77% of buyers' agents, compared with 74% for videos and 42% for virtual tours. These figures describe staging and listing media overall, not a guaranteed result from digitally furnished images alone, but they explain why image preparation deserves careful attention. (NAR staging statistics and ROI context)
A staged room gives the viewer reference points. A sofa can show how much usable floor remains, a bed can clarify the likely bedroom arrangement, and a dining table can help separate a combined living and dining area. The image still needs to represent the actual room accurately, but contextual furniture gives buyers a way to interpret it.
The screening stage matters
Industry reporting on a 2025 NAR staging report described a median of 20 homes viewed virtually compared with 8 homes toured in person among buyers whose agents reported an expectation about the search process. The comparable figures in the 2021 report were 15 homes viewed virtually and 10 toured in person. The same 2025 reporting stated that 88% of sellers' agents considered listing photos “much more” or “more” important to clients, ahead of videos at 47% and physical staging at 43%. (2025 NAR staging report coverage)
The practical conclusion is narrower than “staging sells every home faster.” Virtual staging photos support the early comparison process. For broader preparation advice, agents can also consult these home staging tips for Orlando sellers, especially when deciding which rooms need physical decluttering before photography.
Preparing Your Source Room Photograph
A generated result can only work with the visual information in the source image. If the camera is tilted, the floor is mostly hidden, or a doorway is cropped, the staging process has less reliable geometry to follow and may place furniture in ways that look attractive but cannot work in the actual room.
Start with a fixed architectural reference
The room photograph should be treated as the part that must remain stable. A straight, uncluttered view usually gives the generator a better basis for placing furniture than a dramatic angle or heavily cropped composition.
Before submitting an image, the property marketer should check:
- Camera position: Keep the viewpoint level and as straight as practical. A tilted camera can make walls and floor depth appear distorted.
- Room boundaries: Include the visible floor, walls, ceiling line where possible, doors, windows, fireplaces, and built-in fixtures.
- Lighting: Use a consistent lighting condition. Mixed bulb colors, blown-out windows, or deep shadows can create conflicts between the original room and inserted objects.
- Clutter: Remove loose items that should not appear in the final visualization. Clear counters, floors, and major surfaces so the intended furniture placement remains readable.
- Permanent features: Keep windows, doors, floors, walls, cabinets, fixtures, and visible defects in the source. These are not decorative elements to be casually replaced.
- Composition: Photograph the room's likely focal point. For a bedroom, the wall where a headboard could sit should remain visible. For a living room, the image should show enough floor and circulation space to assess furniture fit.
A clean source doesn't mean the room must be physically empty in every situation. It means the image must clearly distinguish the existing architecture from temporary objects that should be removed or replaced during the staging process.
Avoid images that force guesswork
A wide view can help, but an excessively wide or distorted lens may exaggerate room dimensions. A high camera angle can reduce visible floor depth, while a low or tilted angle can make furniture placement difficult. The photographer should favor a stable, horizontal composition over a dramatic image that hides the room's geometry.
If the team later wants to animate a still property image for a presentation, the guide to animating a photo addresses a separate visual task. Animation shouldn't be used to distract from a weak source photograph or conceal an alteration in the room.
Generating Staged Images With the Nim Template
The practical workflow is deliberately simple: prepare the room photograph, open the dedicated Virtual Staging template, provide the image requested by the template, generate the visualization, and review it against the original. The important work happens before and after generation, because the output is a marketing illustration rather than a measured reconstruction.
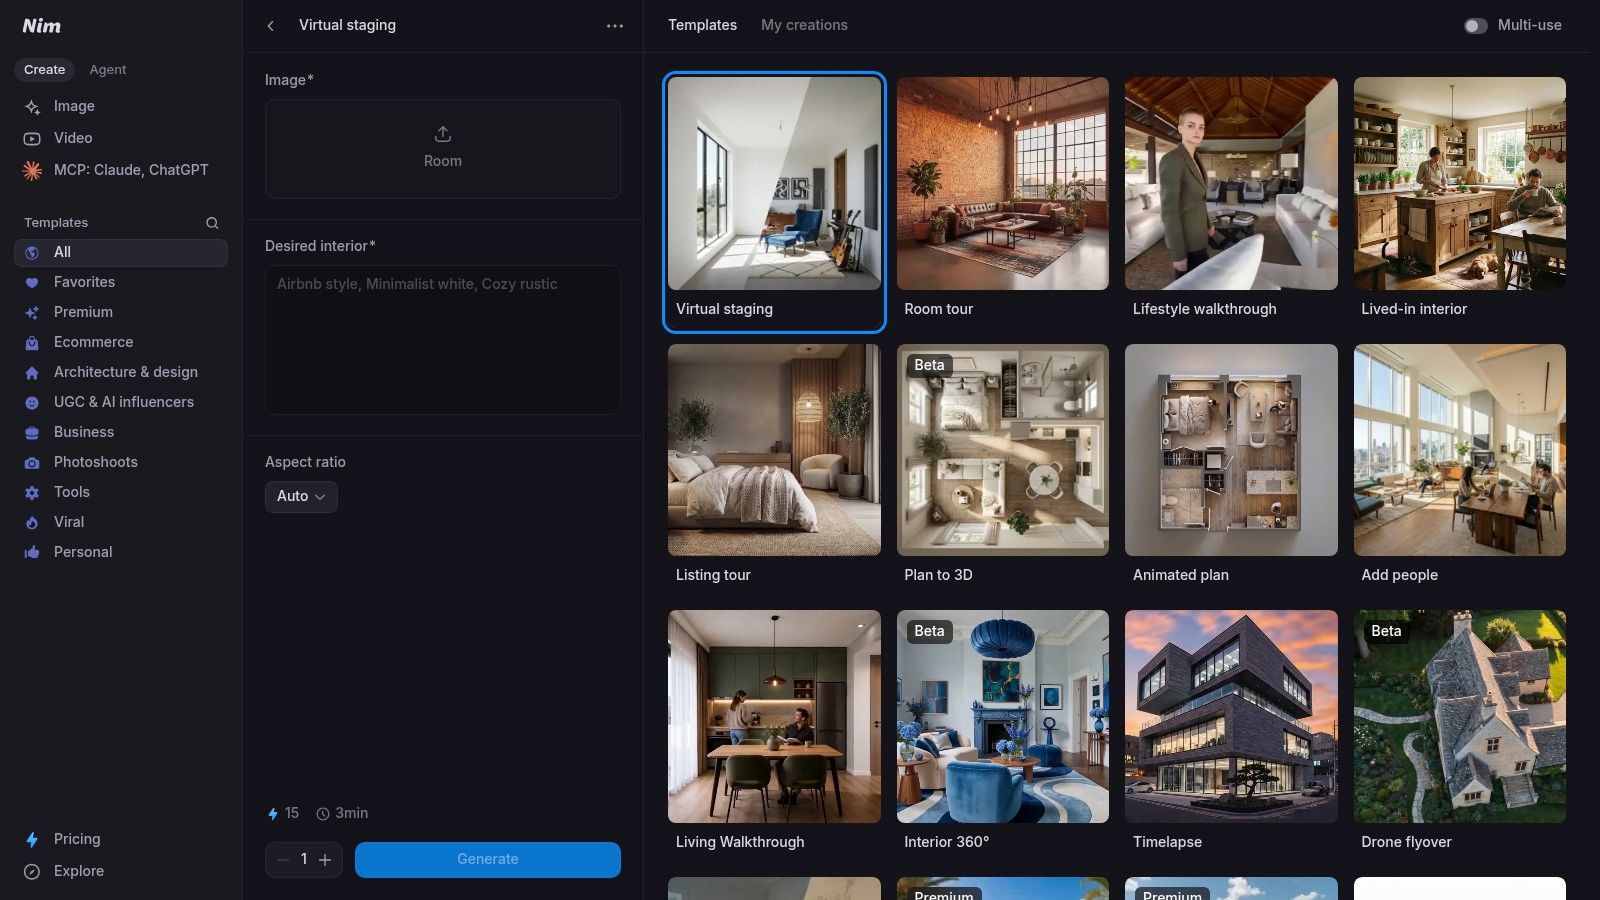
Use a controlled input
The property marketer should select the strongest available room photograph, not just the newest file. A useful input shows enough of the room to place furniture, keeps architectural edges visible, and avoids objects that could be mistaken for permanent features.
The template's requested input should be followed as displayed. The workflow shouldn't assume controls, style menus, file limits, batch options, or export settings that aren't confirmed by the template. Where the template asks for a property image and any additional information, the submission should describe the intended visual result without asking the generated image to prove dimensions or alter the building.
A concise staging direction might identify a restrained living-room arrangement, such as seating oriented toward the existing fireplace while keeping the doorway and window clear. The direction should concern movable furniture and décor. It shouldn't request a wider window, a different floor, a removed structural column, or a more attractive exterior view.
Compare before approving
After generation, the original and staged files should be opened side by side. The comparison should focus first on what must not have changed:
- Architecture: Confirm that walls, openings, windows, doors, floors, ceilings, and built-in elements remain consistent.
- Condition: Check that stains, cracks, damaged flooring, exposed services, or other visible defects haven't been erased or disguised.
- Furniture placement: Look for pieces that intersect walls, float above the floor, overlap openings, or occupy an impossible circulation route.
- Visual consistency: Check whether inserted lighting and shadows agree with the source image.
- File management: Retain the original unedited photograph with the approved visualization. Both files may be needed for listing records, client review, or disclosure.
The final image can help a buyer understand possible use, but it can't establish a room's exact measurements. It also can't verify that the pictured furniture exists, will remain with the property, or fits through the actual doorway. Once approved, the staged visualization can be downloaded according to the available template workflow and stored with the source asset, its room context, and the disclosure wording selected for the listing.
Quality Control and Scale Verification
Photorealism is not proof of physical accuracy. A generated sofa can have convincing fabric, reflections, and shadows while being too large for the room, blocking a passage, or sitting at the wrong perspective.
A quality-control review should happen at 100% image size, not only in a small listing preview. The reviewer needs to inspect object edges, contact shadows, door clearances, and the relationship between furniture and fixed architectural references.
Check proportion against the room
Common reference points can expose scale errors. An approximately 80-inch door height, an approximately 36-inch countertop height, and visible baseboards can help a reviewer judge whether an inserted bed, table, or chair is proportionate. These are sanity checks, not substitutes for a survey or measured plan.
The review should ask practical questions:
- Can people move through the room? A sofa should not seal off the only route to a door, and dining chairs need plausible space for movement.
- Do openings remain usable? Windows and doors should stay visible and accessible, not merely appear behind furniture.
- Does the furniture touch the floor? Floating legs, inconsistent contact shadows, and objects sunk into flooring are common signs of a weak result.
- Does perspective agree? The inserted furniture should follow the same vanishing direction and camera viewpoint as the room.
- Does the light make sense? Shadows should respond to the source photograph rather than point in conflicting directions.
- Have permanent features changed? A new fixture, modified wall, altered floor, or different view moves beyond ordinary movable-item staging and requires much stricter scrutiny.
Practical rule: If the output makes a condition or structural claim that the source photograph doesn't support, reject it.
A staged image may show one plausible arrangement, but it shouldn't be used to infer exact room dimensions. When a client needs dimensionally accurate spatial information, a separate plan-based workflow is more appropriate, such as a floor plan to 3D model workflow. That type of deliverable serves a different purpose from a furnished listing photograph.
The best output isn't necessarily the most decorated one. It is the one that adds context without compromising circulation, scale, perspective, or the visible facts of the property.
Disclosure Rules and Maintaining Buyer Trust
Transparent disclosure is part of image production, not an afterthought. Buyers can reasonably assume that an attractive listing photograph records the property as it exists unless the listing clearly says otherwise.
The National Association of REALTORS® Code of Ethics requires REALTORS® to avoid exaggerating, misrepresenting, or concealing pertinent property facts under Article 2, and to present a “true picture” in advertising under Article 12. (NAR guidance on accurate real-estate images)
Keep the edit within defensible limits
Adding movable furniture and décor can illustrate possible use. Altering walls, floors, fixtures, landscaping, exterior features, views, or visible defects can change the factual impression of the property and create a materially different expectation.
A clear workflow should preserve the unedited source, label the staged image conspicuously, and make the original accessible where the applicable listing rules require it. California guidance summarized for digitally altered listing images calls for an alteration statement on or adjacent to the image and access to the original through a link, URL, or QR code. Local MLS requirements may add further conditions. (California disclosure guidance for altered listing images)
New York consumer-protection authorities also warned in 2025 that AI-generated real-estate images can create accuracy, authenticity, and false-advertising risks when buyers can't distinguish an enhanced image from a factual depiction. (New York consumer-protection warning)
The safest label states what the viewer needs to know: the image has been virtually staged and furniture or décor may not be present. Because rules differ by jurisdiction, the listing team should confirm the applicable MLS and local requirements before publication.
Nim offers a dedicated virtual staging workflow for turning a prepared room photograph into a furnished marketing visualization, while the original image remains the compliance reference. Visit Nim to open estate creation tools and prepare a clearly disclosed staging asset for the next listing.
- virtual staging photos
- real estate photography
- AI staging
- property marketing
- Nim workflow