Add Hair to Photo: Practical AI Editing Guide
Learn how to add hair to photo edits using AI tools. Covers source prep, workflow steps, realistic checks, and Nim portrait template options.
By Nim
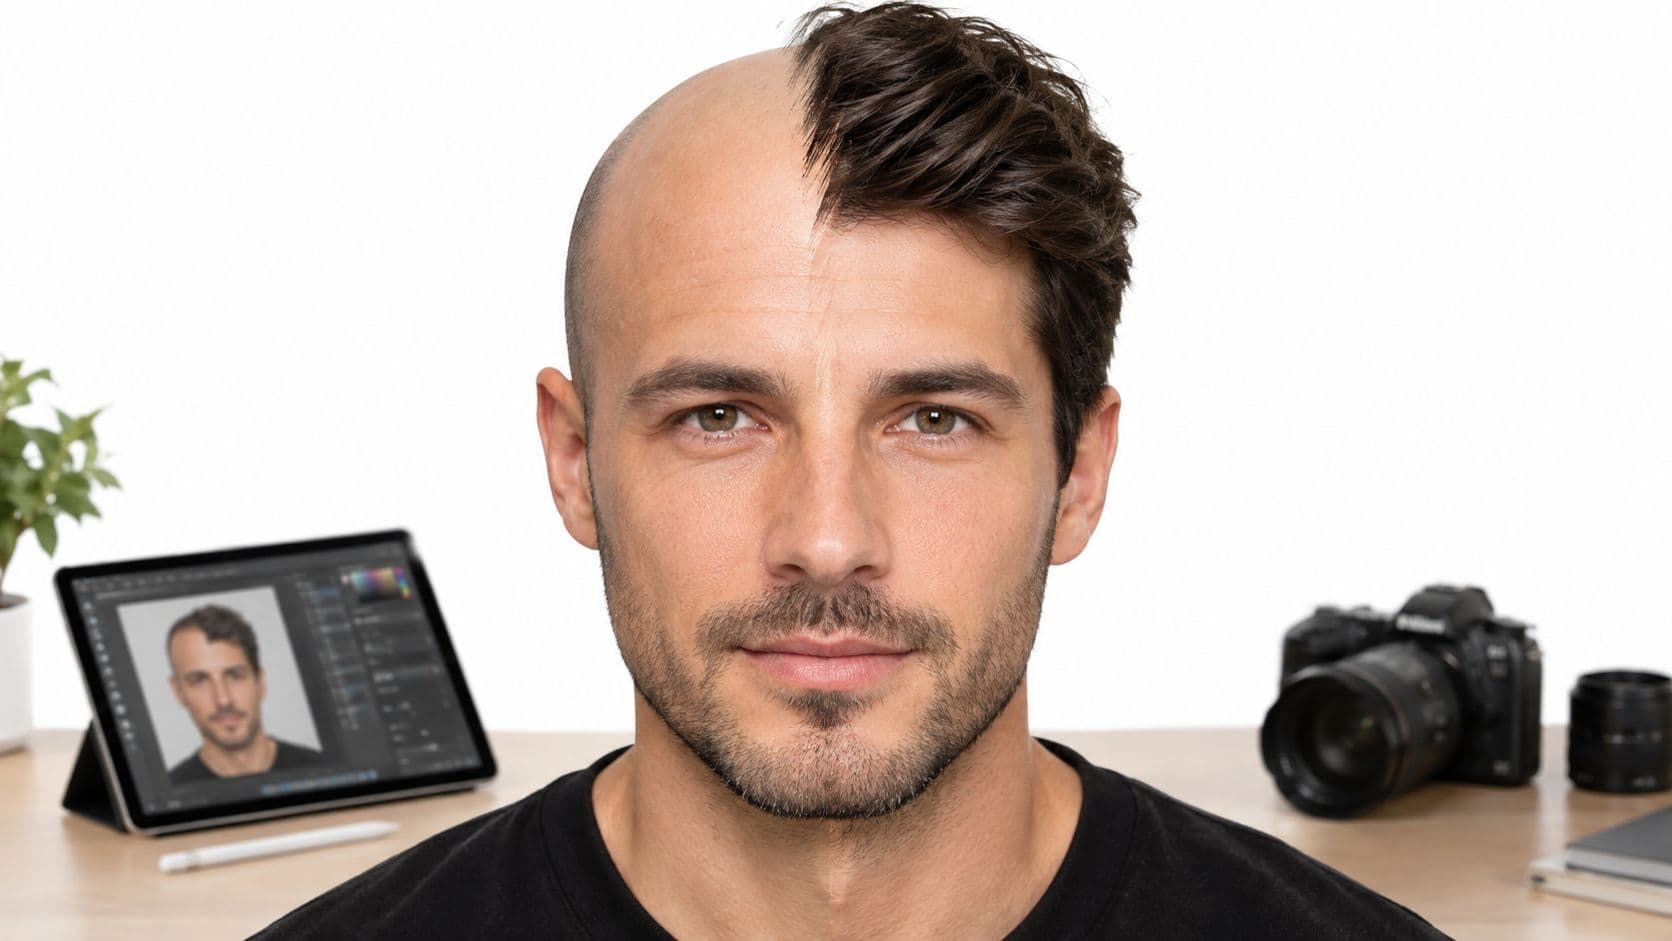
Typing a one line request for beautiful hair doesn't fix a portrait. Most failed attempts to add hair to photo break at the forehead, temples, ears, and neck, where skin, shadow, and background meet. A better result depends on three controls, a clean source image, a workflow that protects the face, and close inspection after generation.
Why One Prompt Will Not Fix Your Hair Edit
The popular advice treats hair as a decoration that can be described into existence. That assumption ignores geometry. Hair has to sit on a specific head shape, follow a believable hairline, cover or reveal ears correctly, cast root shadows, and match the light already falling on cheeks and shoulders.
A longer prompt can't recover information that isn't visible in the source. An obscured hairline, heavy shadow, hat overlap, low resolution edge, or busy background forces a model to invent boundaries. Invention at an edge is exactly where halos, duplicated strands, and hair spilling onto clothing appear.
The wider editing shift
The task sits inside a broader move toward semantic editing. One analysis reported that AI powered features were used in 41% of edits in January 2025, rising to 74% by April 2026, in a 2025 to 2026 analysis of photo editing activity. The same reporting tracked fully AI based sessions increasing from 18% to 39% and fully manual sessions falling from 23% to 12%, with hybrid sessions reaching 35%.
Those figures don't measure hair edits specifically. They explain the expectation behind the search. Readers now expect localized changes that preserve identity and background, not a completely regenerated portrait.
Practical rule: Treat add hair to photo as controlled portrait transformation, not general image generation.
There's also a product honesty point. Nim doesn't have a verified template documented specifically for adding hair. The closest route inside Nim is a portrait generation workflow used carefully, while a true localized hair replacement usually needs a selection based editor. Keeping that distinction clear prevents wasted generations and false expectations.
Preparing a Portrait That Is Ready for a Hair Edit
Preparation carries more weight than prompt wording. A strong source portrait gives any system visible boundaries to respect, while a weak source forces guesswork at the scalp and shoulders.
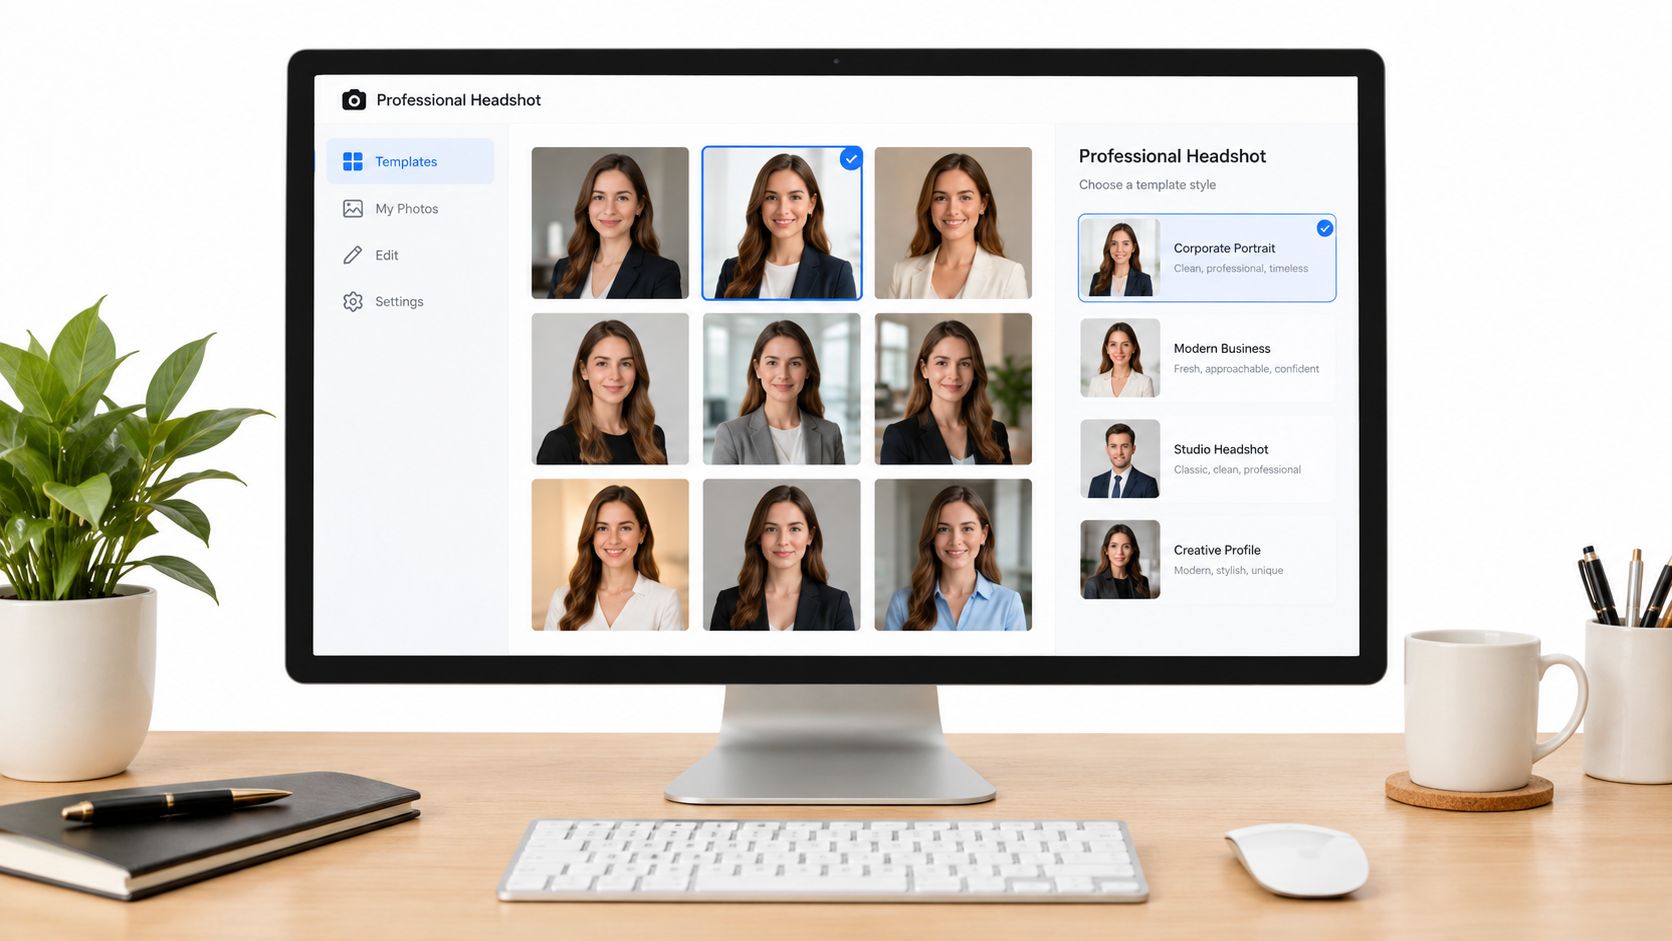
Input checklist before generation
- Pose: Choose a clear front facing or three quarter portrait with the chin, forehead, and both sides of the head readable.
- Resolution: Use the highest resolution original available, because flyaway strands and temple transitions disappear in compressed files.
- Lighting: Prefer relatively even light across the face and hair area, without one side falling into deep shadow.
- Obstructions: Avoid hats, hands over the head, and hair accessories that hide the intended hairline. Treat glasses and earrings near the edit zone with caution.
- Background: Select a background that separates cleanly from the head and shoulders, so stray strands stay visible during review.
Research supports that caution about inputs. One controllable hair experiment trained on 10,413 images after removing severe hat occlusion and large pose deviations, using 256×256 inputs, in a controllable hair benchmark study. That filtering matters. Benchmarks exclude difficult cases that consumer portraits often include, so benchmark quality shouldn't be read as a guaranteed success rate.
A clean source doesn't guarantee realism, but a compromised source makes realism much harder to judge.
For a headshot focused outcome, preparation overlaps with the guidance in a professional headshot AI workflow. Keep the untouched original alongside every generation. Side by side comparison catches identity drift that a polished single image can hide.
Working Inside Nim for Portrait Generation
A portrait template can change hair, but it does not make a hair-only edit. Nim's verified directory includes Professional headshot and Corporate portrait for portrait-oriented work. Neither is confirmed as a dedicated add-hair tool, and neither documents a hair mask, localized inpainting control, or a hair-specific prompt field.
That distinction sets expectations. A Nim portrait workflow can attempt a regenerated image in which the hairstyle changes along with other portrait details. It cannot promise to isolate the hair while keeping every other pixel untouched.
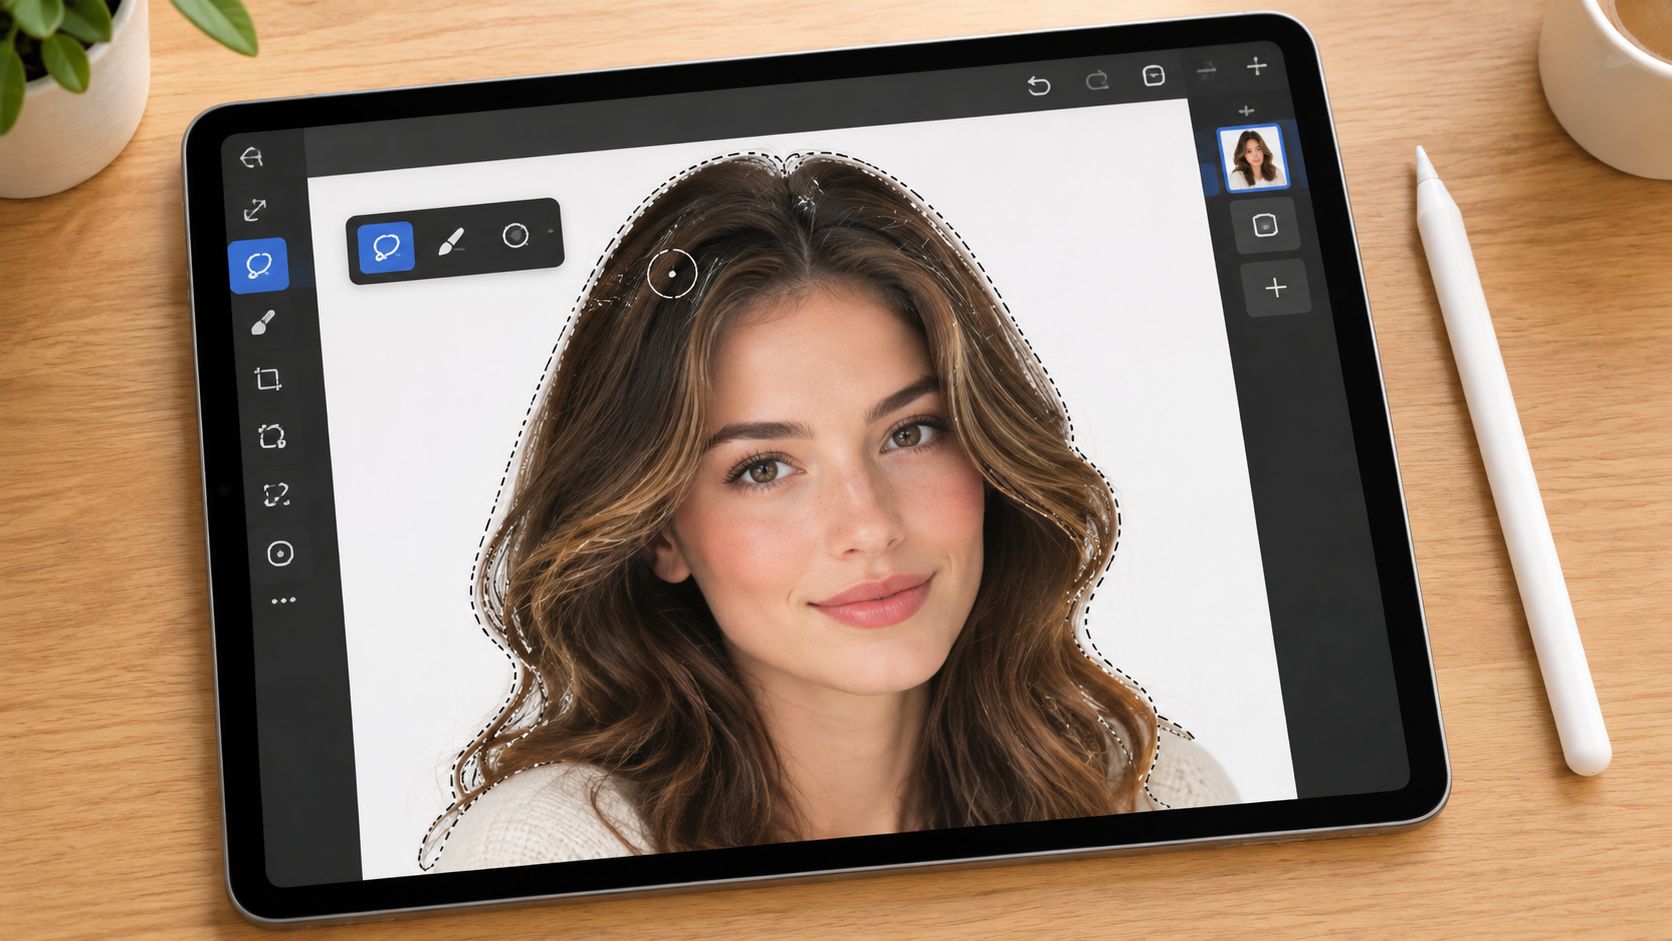
Start by opening the relevant portrait template and checking which inputs it offers. Add the prepared portrait as requested, then provide a description only if the template supports one. Keep that description focused on the hairstyle's length, color, texture, and coverage.
For example, short black textured hair, realistic strands, consistent with side lighting gives the generation clearer direction than a vague request for nice hair. Adjust one quality at a time, such as density or texture, so you can tell what changed between results.
Review each generation against the original before downloading. Look closely at the hairline, face contour, ears, and background. A polished result can still miss the brief if the face, lighting, or skin tone shifts more than intended.
The trade-off is control. Regeneration may create a coherent new look for a profile or creative concept, but it can also alter facial features. If the job requires changing only a defined hair region, use a dedicated masking workflow instead.
A Selection-Based Workflow Outside Nim
For a localized hair edit, define the region before generating. Selection-based editing confines the change to the chosen area, reducing the chance that eyes, ears, or background details will be redrawn. It offers more control than full portrait regeneration, though loose strands and uneven boundaries can still produce visible errors.
Use a selection tool to mark the hair area, then apply the editor's generative fill to that selection. A documented Generative Fill selection workflow illustrates the process. Some editors place generated content on a separate layer, making it easier to compare the result with the original and revise or remove the edit.
Two prompt modes with different jobs
- Empty prompt: Use it to extend an existing edge or fill a small gap using nearby image details.
- Descriptive prompt: Use it to request a targeted change in length, color, texture, or style.
For example, natural medium length brown hair with soft waves, matching the existing light direction describes both appearance and lighting. Keep the selection tight: including eyes, forehead, ears, or background can invite unwanted changes outside the hair.
A reference image can guide style, texture, or color, either alone or alongside written instructions, as described in the Generative Fill reference image guidance. Use the prompt to explain how that reference should adapt to the subject, rather than expecting the reference to match the portrait automatically.
Editor note: Keep the original file open while working. Choose the variation that fits the subject's head shape and lighting, not simply the one with the most dramatic hair. Nim has no verified hair-specific template, so use a dedicated selection-based editor when the change must stay within a defined region.
Boundary and Lighting Checks That Catch Most Failures

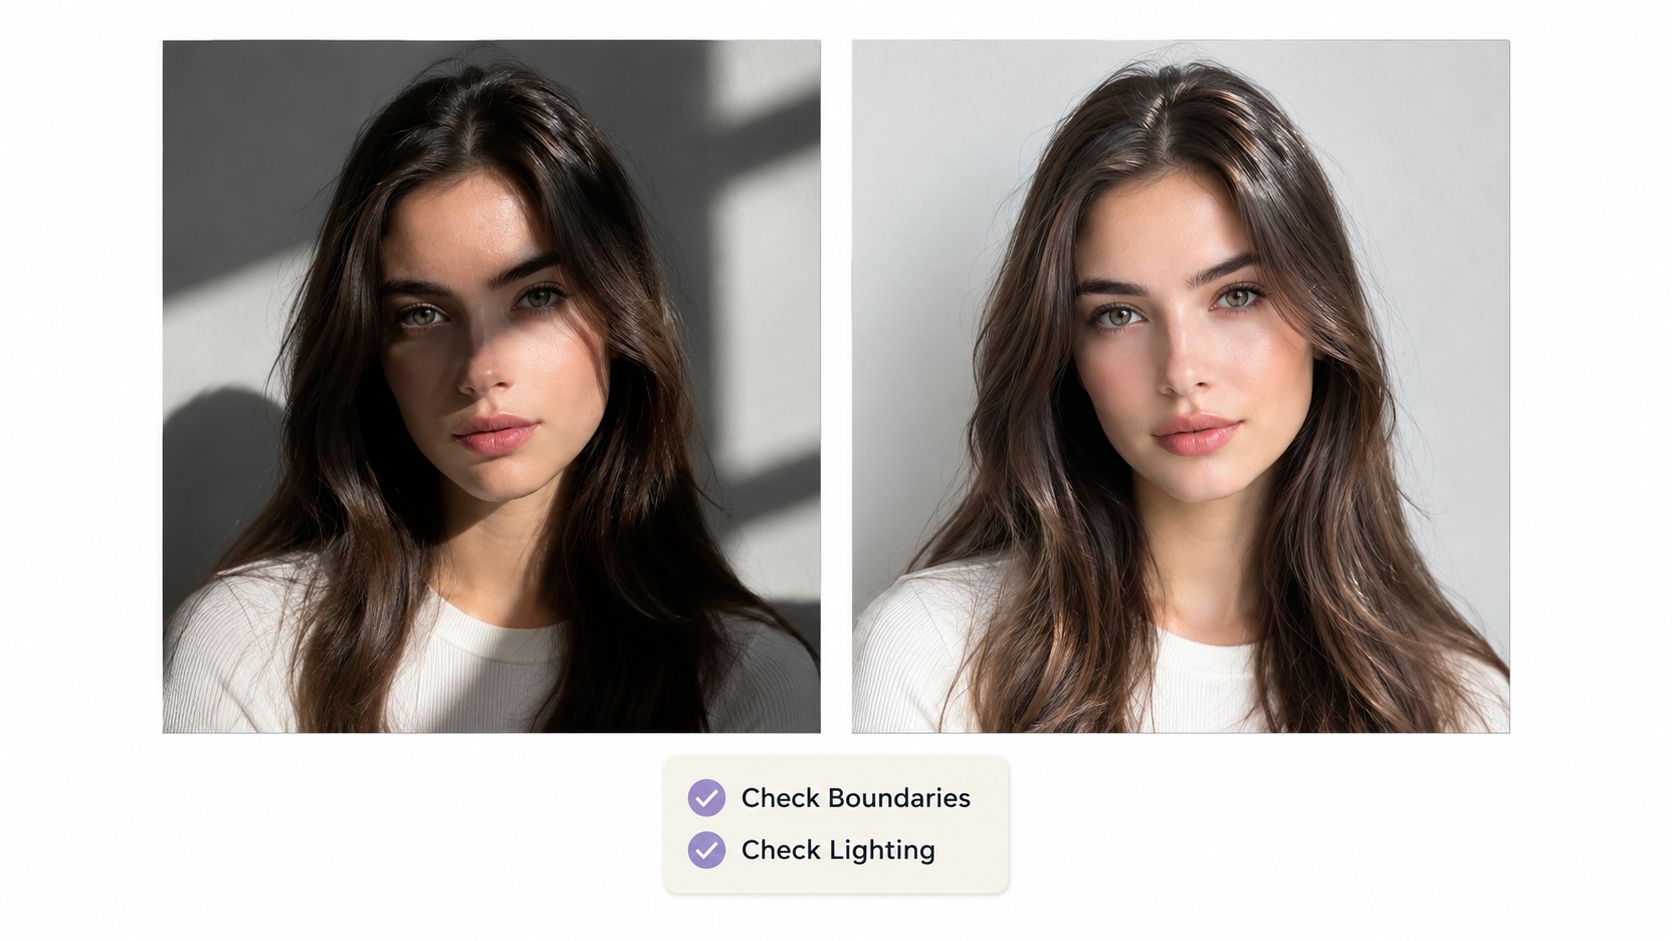
A hair edit can look convincing at fit-to-screen size and still fail at the edges. Inspect at 100% magnification, where pale fringes, cut-off strands, and mask errors show up against skin or a light background.
Start with the hairline and temples. The transition into skin should follow the forehead naturally, with density building gradually rather than forming a hard edge. Then check the ears and cheeks for doubled features, hair covering an area that should remain visible, or a light outline around dark strands. At the scalp, inspect the roots, parting, and contact shadows.
Long hair needs a different check: follow it down across the shoulders and clothing. Strands should keep their shape over fabric and end cleanly at collars. Along the outer silhouette, look for repeated strand patterns, smeared edges, or color spill into the background.
A clean silhouette does not guarantee believable strand flow. A strand-based hair transfer study reported a hair silhouette IoU of 0.75, while orientation error remained 32.6°. That gap matters in practice: hair may fit the head outline yet still flow against its natural direction. Identity preservation and similarity outside the hair also deserve attention, since an attractive result can subtly change the person's face.
Check the light separately. Highlights on the hair should agree with those on the nose and cheekbones. Root shadows should sit where hair meets the forehead, not appear as a uniform dark band. Use guidance on color-correcting photos to assess mismatches between hair, skin, and background, but color correction cannot repair a broken hairline.
Regenerate when the edit changes identity, contradicts the portrait's lighting, or leaves edges that need extensive repair. For smaller flaws, local cleanup may be enough; extensive boundary damage is a sign the generation needs another pass.
Matching Reference Style to the Subject
A reference hairstyle can make an edit less believable if its photographic conditions conflict with the portrait. Before generation, compare pose, camera angle, lighting direction, hair color, and apparent focal length. Nim has no verified hair-specific template, so its portrait workflow can attempt a style match, while precise placement may call for a dedicated masking tool.
| Check | Compatible sign | Warning sign |
|---|---|---|
| Pose | Similar head turn and tilt | Profile reference for a front-facing portrait |
| Lighting | Highlights fall from the same side | Backlit reference for flat indoor light |
| Scale | Similar head size in frame | Tight crop matched to a distant portrait |
| Occlusion | Ears and shoulders handled similarly | Reference hair hides features visible on the subject |
When these details differ, the model has to invent how hair sits around hidden or exposed features. That can produce asymmetrical hairlines, duplicated strands, or shadows that do not fit the scene. Treat the reference as guidance for appearance, not a guarantee of exact transfer. A generated preview still needs inspection against the source portrait.
Research benchmarks measure overall image quality, but they do not predict whether a specific edit will suit a portrait with a different pose or lighting. For practical decisions, compare the reference and source directly, then simplify the requested style if their conditions conflict.
Physical styling follows the same logic. A salon guide for extension consultations reflects how suitability is assessed before adding length or volume. Apply that discipline to digital references: choose a style that fits the subject and image, rather than forcing a close match from an incompatible example. A simpler text description can give the generation more room to fit the portrait.
Representation, Consent, and Realistic Expectations
A technically polished hair edit can still misrepresent the person. Hair carries cultural meaning, and protective or natural styles should not be treated as interchangeable textures. Locs, twists, braids, coils, wigs, edges, and parting each have distinct structure and presentation.
A 2025 experiment reported that among four hairstyles tested, braids were the only style not associated with intelligence, according to reporting on AI evaluations of Black women's hairstyles. Keep that finding in view when reviewing generated results. A portrait workflow in Nim can attempt a regenerated headshot, but it does not provide a verified hair-specific template. For precise, localized changes, use a selection-based editor to control the affected area.
Review before publishing
- Structure: Check that braids, twists, locs, or coils retain the requested pattern, parting, and scale.
- Identity: Look for altered facial features, changed skin tone, or unintended straightening.
- Intent: Reject generic styling that replaces the subject's chosen presentation with a stereotype.
- Consent: Get permission before changing and publishing a real person's appearance, particularly for ads and profiles.
- Honesty: Do not present an edited hairstyle as proof of someone's actual appearance or as a genuine before-and-after result.
Changing a face raises similar consent concerns. Guidance on how to change a face on a photo belongs in that conversation. For commercial use, check the current terms for the specific product version, region, account, and model. Editing capability alone does not grant publication rights, and terms can change.
A convincing edit still needs to respect the person and their culture. If the result changes identity or misrepresents a style, it is not ready to publish.
- add hair to photo
- AI photo editing
- portrait retouching
- hair generation
- headshot workflow