How to Create an AI Talking Photo in Nim
Learn how to create an AI talking photo in Nim. Follow this practical guide to prep your portrait, sync audio, and generate realistic lip-synced videos.
By Nim
A still portrait can look polished in a design file and still fail as an AI talking photo. The face may be too small, the mouth may be covered, or the speech track may use sounds the animation system handles poorly. The reliable workflow is simple: prepare the image and audio carefully, open Nim's lip sync template, provide the inputs, generate the clip, review the mouth, and download the usable result.
Understanding the AI Talking Photo Workflow
A polished portrait can still produce an unusable talking clip if the input does not support clear facial tracking. The system reads the speech track, estimates mouth shapes for spoken sounds, and maps those movements onto the visible face. The result should communicate a spoken message with controlled facial motion, rather than imitate a music performance or exaggerated cartoon.
An AI singing photo follows musical timing and may emphasize rhythm, expression, and theatrical movement. A talking photo depends more heavily on intelligibility, phoneme timing, and language alignment. Nim's lip sync template fits spoken presenters, product explainers, creator-style clips, and short narrated messages.
Reliable production follows four stages:
- Input: verify the portrait, face visibility, audio clarity, and language match before upload.
- Generate: submit the checked inputs through the template.
- Review: inspect mouth timing, pronunciation, and visible facial artifacts.
- Download: keep the render only after it passes a practical viewing check.
The category became widely recognizable in 2021, when Avatarify helped popularize the viral “Mai-hi-ha” effect. Nim's lip sync template carries the workflow into practical production, turning a still portrait and speech track into a lip-synced video without requiring a separate animation tool. For a broader explanation of related image-to-video methods, see how image-to-video AI works.
The same workflow supports short commercial assets. A marketer can pair a spoken portrait with product visuals, while a property professional can place a narrated headshot beside interiors or floor plans. Teams building a wider launch asset can combine Nim's talking-photo output with other Nim templates and a SaaS video teaser generator to shape the surrounding product story. Keep the roles clear: the talking-photo render carries the spoken presence, while supporting scenes provide context.
Preparing Your Source Image and Audio Inputs
A usable talking-photo render is usually determined before the generation page opens. Production failures often start with a portrait the system cannot read or an audio track with unclear timing. Run a pre-upload QA check instead of treating source preparation as cosmetic polishing.
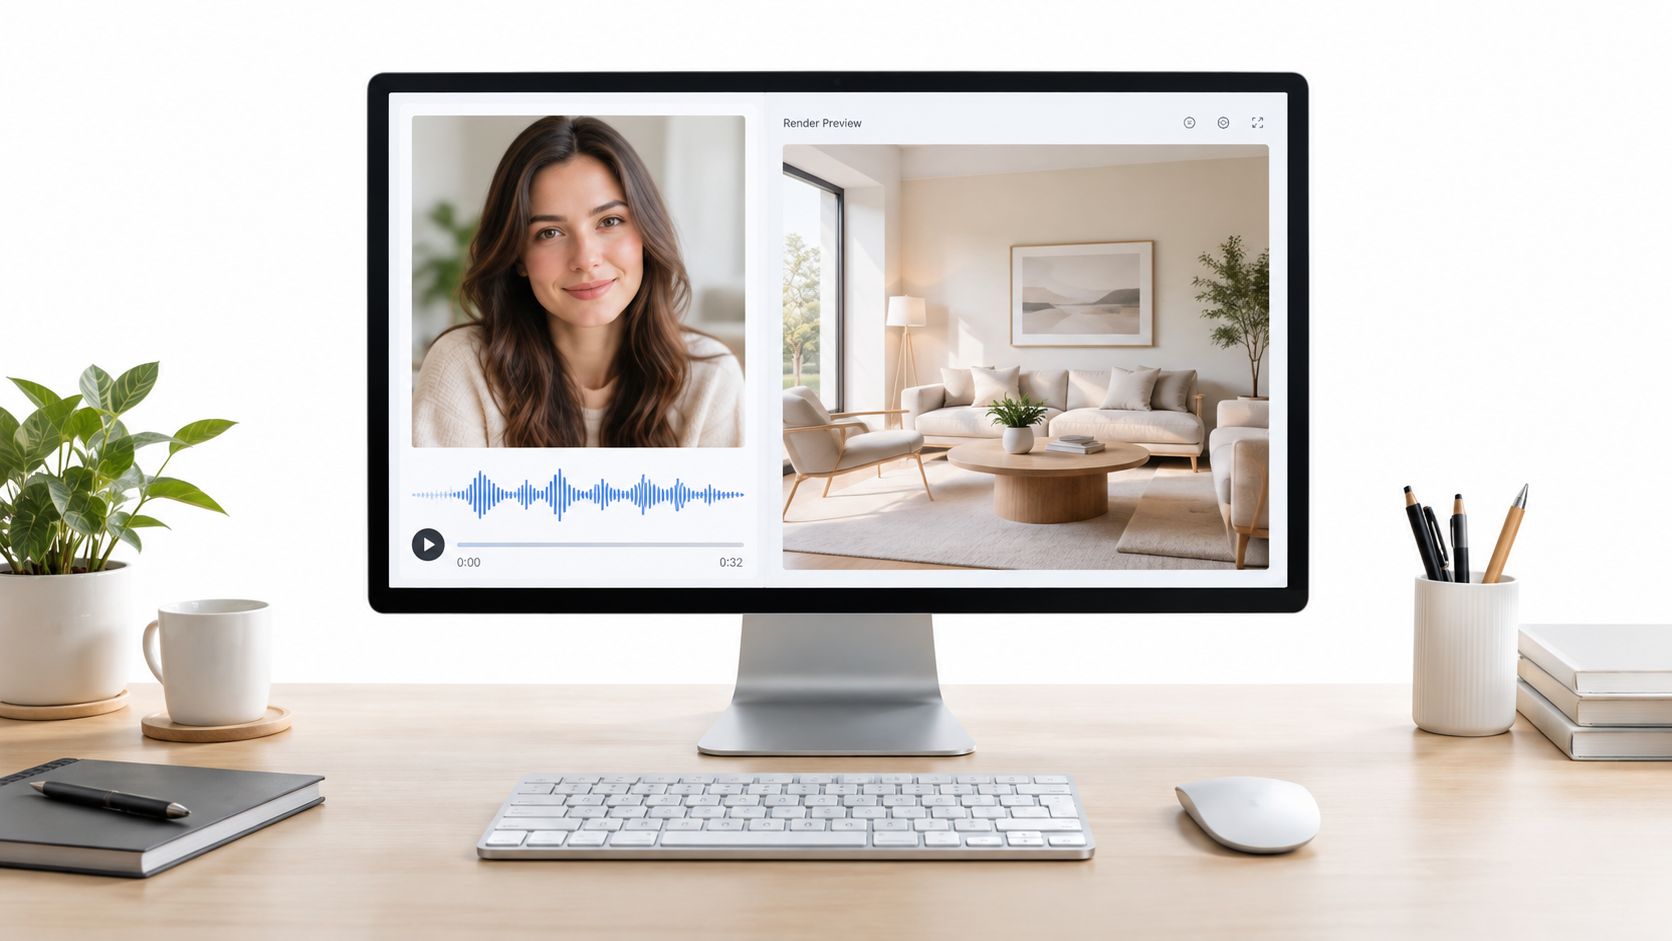
Image checks
Use a single, front-facing portrait with one visible face. Keep the face large enough for the eyes and mouth to remain clearly visible, while leaving the full head inside the frame. A waist-up composition, neutral background, and visible teeth give the animation system a clearer signal for lip-sync estimation.
Choose a sharp, evenly lit image with limited retouching. The head should be mostly still, and the expression should face forward. Profile views, extreme angles, and action poses leave less reliable facial information for the animation.
Avoid source images with:
- Small faces: distant portraits provide too little mouth detail.
- Fast implied movement: action poses and sharply turned heads make facial alignment harder.
- Obstructions: hands, microphones, hair, masks, or other objects crossing the mouth can create visible errors.
- Heavy filters: extreme retouching can remove texture needed for natural facial motion.
- Multiple people: the system may not have a clear target face.
Check the crop at the intended viewing size. If the mouth becomes difficult to inspect when the image is reduced, select a closer portrait before uploading. This simple check catches many weak inputs earlier than a failed render.
Audio checks
The speech track should be clean, intelligible, and final before generation. Record in a quiet space, remove distracting background noise where possible, and keep the delivery natural. Match the audio language to the language expected by the mouth-generation process. Depending on the workflow, teams may use prepared narration, uploaded audio, or a direct recording.
For voice creation or script preparation, review top text to speech tools 2026 and choose an output that preserves clear pronunciation and natural pauses. Check the Nim lip sync template for the exact accepted image and audio formats before uploading, since requirements can vary by template.
Listen for clipped words, long accidental silences, uneven volume, and pronunciation that could confuse mouth movement. Keep the audio unchanged after rendering. Even a small timing edit can make the generated lip movement no longer match the supplied speech.
For musical content, use the dedicated AI singing photo guide rather than treating a melody as ordinary spoken narration. Singing introduces different timing and mouth-shape demands, so it needs a workflow suited to that input.
Generating the Lip Sync Video in Nim
Once the portrait and audio have passed inspection, keep the Nim workflow focused. Start with the requested image or video input and the final speech track, then generate one controlled test render. The quality of that render depends more on input discipline than on repeated clicks.
A clean execution sequence
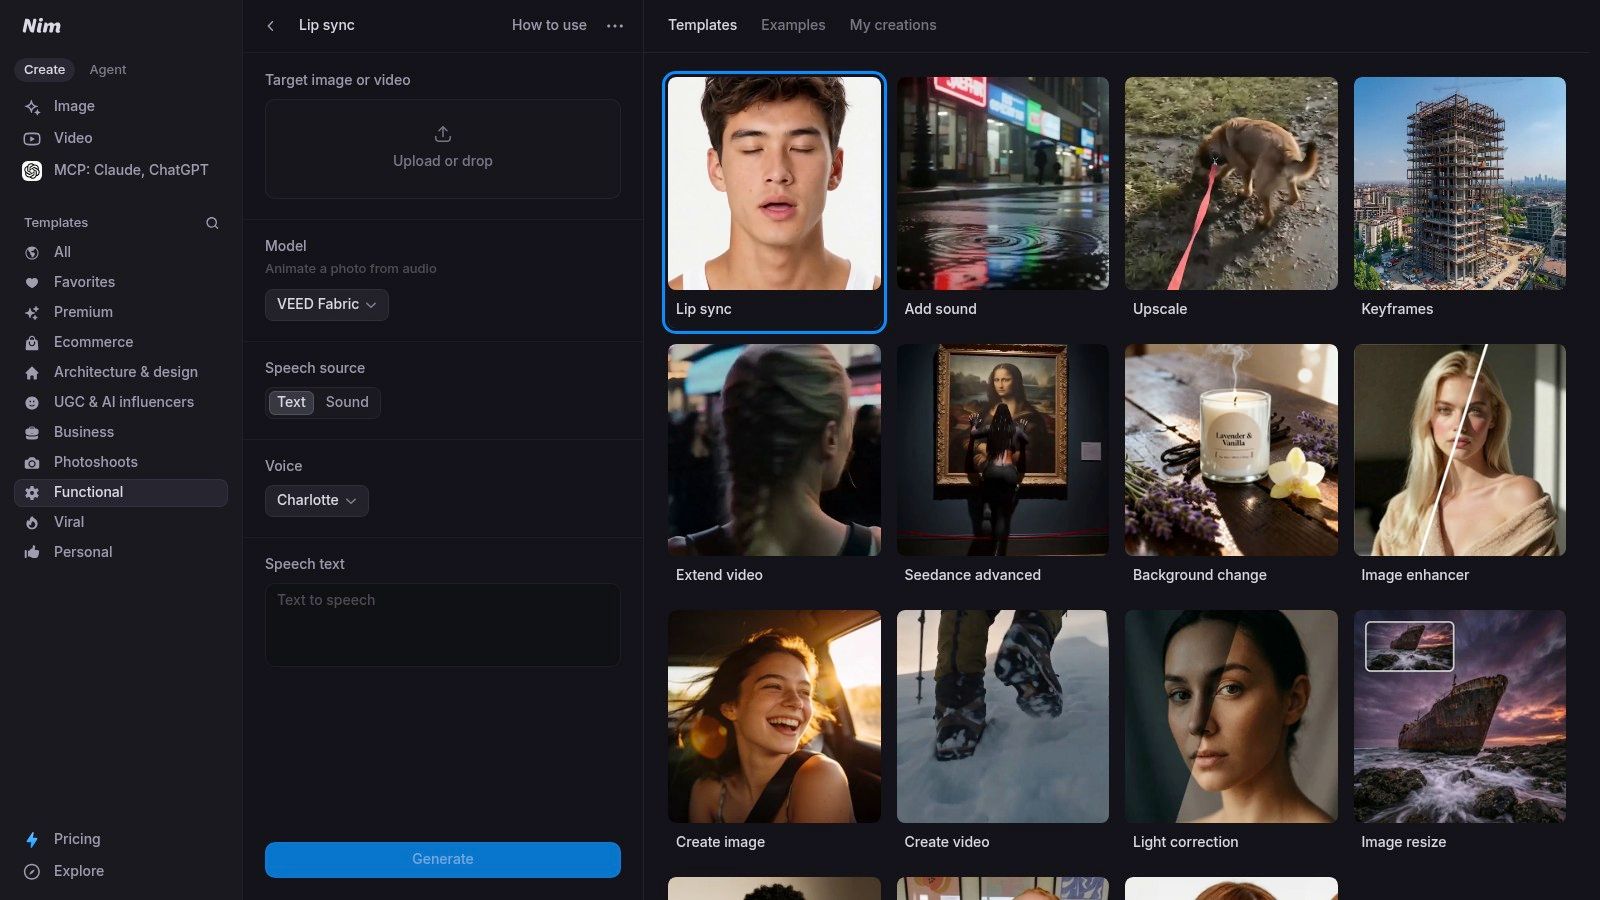
1. Open the template. Use the lip sync workflow for audio-led facial animation. Confirm the available input fields before uploading, so the visual and audio match the selected setup.
2. Provide the prepared visual. Upload the portrait that passed the framing check. Use a video input only when the intended result needs an existing moving source. For a classic talking-photo clip, a well-framed still image keeps the workflow easier to assess.
3. Add the speech audio. Use the final, intelligible voice track. Listen once more for clipped words, accidental pauses, uneven volume, and pronunciation that could produce unclear mouth movement. Do not plan to replace or retime the audio after generation, because the animation follows the supplied track.
4. Generate the clip. Let Nim create the talking result from the selected visual and speech. Treat the first output as a review render, not an automatic publishing asset.
5. Inspect before downloading. Watch the mouth at normal playback speed, then check the eyes, jaw, face edges, and any obstruction near the lips. Look for delayed mouth movement, frozen expressions, warped features, or movements that do not match the spoken language. If the render fails, correct the source image or audio before trying again.
The production work happens before upload. A clear face, stable framing, clean speech, and matching language give the animation process usable inputs. Nim's talking object workflow applies the same input-discipline approach to inanimate subjects. For teams assessing how visible facial movement relates to spoken language, this speechreading step by step reference offers useful background.
Keep the first script short enough to review quickly. A compact test reveals whether the face, voice, and language combination is working before the clip enters a larger advertisement or creator-led sequence. Once the mouth timing and facial movement pass review, download the result and continue with the campaign's editing or publishing process.
Navigating Multilingual Lip Sync Challenges
A talking photo can look convincing in English and fail in another language. The difference often appears before rendering, in the script, recording, and face setup. Treat each language version as a separate production asset, not as a simple audio replacement.
Lip movement follows the timing and shape of the recorded speech. Translated lines may change syllable length, consonant placement, vowel shapes, pauses, and emphasis. Replacing the original track after animation therefore creates a new synchronization problem. Lip-sync accuracy also varies across languages, so use the multilingual lip-sync analysis as background, not as a promise of performance.
Why translation can fail visually
Start with the final target language and wording. Then record or select the voice that will appear in the finished clip. Before uploading, confirm that the audio is clear, free from clipping and long distracting pauses, and spoken naturally enough for the mouth movements to follow.
Use this sequence for each language:
- Finalize the language first. Lock the translated script, pronunciation, and voice before rendering.
- Check the source image. Keep the face well framed, clearly visible, and free from objects covering the mouth.
- Test a short sample. Use a representative sentence with normal phrasing, names, and difficult sounds.
- Keep the audio fixed. Do not trim, redub, or replace the track after generating the animation.
- Review language-specific sounds. Watch rapid consonant changes, unfamiliar names, dense wording, and phrases with unusual pauses.
- Approve each version separately. A clean English render says nothing about the quality of an Arabic, Hindi, Mandarin, or Yoruba version.
Synchronization quality separates a usable talking photo from an unconvincing one. Review the sample at normal speed, then replay it at quarter speed without audio to catch delayed mouth shapes, stiff jaw movement, or expressions that drift from the speech.
Production rule: Render and approve every language independently, even when the portrait remains unchanged.
Only scale the campaign after the exact image, voice, language, and script combination passes review. This sample-led workflow catches failures before paid media, localization, or a larger content package depends on the result.
Ethical Considerations and Commercial Use
A technically convincing talking photo can create a trust problem when viewers mistake generated footage for an authentic recording. The same workflow that supports a product introduction or narrated property clip can also create consent and disclosure risks. Public concern about deepfakes remains high, which makes consent, disclosure, and context part of production quality rather than optional extras.
Consent comes before animation
Use a portrait only when the person owns it or has granted clear permission for the intended use. A publicly available face is not automatically cleared for synthetic speech, advertising, customer support, or property marketing. Confirm the permitted channel, audience, duration, and purpose before uploading the image.
Apply the same standard to voice input. If the audio imitates a recognizable person, the production team needs permission appropriate to the context and distribution. A generated clip should not suggest that someone delivered words they never approved. Keep the approval record with the project files so the commercial team can verify the asset before release.
Disclosure protects the viewer
A talking photo can support legitimate uses, including:
- Spokesperson introductions: explain a product or service without filming a new take.
- Product explainers: combine a narrated portrait with product scenes.
- Real-estate narration: introduce a listing while showing interiors or plans.
- Customer-support content: provide short, clearly labeled guidance from an authorized representative.
- Creator-led ads: animate an approved creator image for a defined campaign.
The output should not be presented as evidence of a real event, person, property condition, or spoken statement. A generated portrait is an interpretation produced from supplied inputs. Label the clip where viewers could otherwise read it as documentary footage, an unscripted endorsement, or a direct recording.
Commercial teams should also check approval, privacy, advertising, and platform policies before publishing. Keep claims aligned with the approved script, and do not let a polished render imply facts the source material does not support.
Nim can provide the generation workflow, but responsibility for consent, claims, disclosure, and distribution remains with the team using the asset. Treat those checks as release criteria, then scale only the image, voice, and script combinations that have passed review.
Reviewing and Validating Your Final Render
Downloading the clip is not the end of quality control. A talking photo may look acceptable at normal speed while showing mouth drift, missing facial detail, or timing errors under closer review.
The silent quarter-speed check
Play the render at quarter speed with the sound off and inspect the mouth alone. Without the voice, you can judge whether the lips open, close, and change shape in time with the implied speech. This technique removes the persuasive effect of the voice and lets the reviewer see whether the animation matches the speech pattern. For more troubleshooting context, see this lip-sync troubleshooting guidance.
Check for these defects:
- Drift: mouth movement gradually falls behind or moves ahead.
- Occlusion: teeth, lips, or nearby facial detail disappear unnaturally.
- Timing errors: the mouth opens during a pause or closes before a word ends.
- Small-face instability: movement becomes vague because the source face is too distant.
- Language mismatch: the animation looks plausible but forms the wrong utterance because the audio language does not match the expected phoneme pattern.
- Head artifacts: the face or head shifts beyond what the portrait supports.
A release checklist
Before publishing, confirm that the portrait contains one clear face, the speech is understandable, and the mouth follows the audio throughout the clip. Listen once with sound on, then repeat the silent quarter-speed inspection.
If the render fails, change one input at a time. A closer portrait can restore mouth detail. Cleaner audio can improve timing. A corrected language track can fix plausible-looking but incorrect articulation. Reusing the same flawed image and audio only produces another version of the same problem.
Final check: If the mouth looks wrong without sound, the clip is not ready, regardless of how convincing the voice feels.
Review this carefully before using the asset in an ad, a UGC-style product clip, or a public-facing explanation. Viewers often notice facial defects immediately, even when they cannot explain why the clip feels wrong.
Nim provides a focused lip sync workflow for turning a prepared portrait and speech track into a talking video. Prepare a close, unobstructed image, generate the clip, and apply the silent quarter-speed mouth check before downloading the result. Visit Nim to start with the lip sync template and build a reviewed AI talking photo for a product, presenter, or narrated property asset.
- ai talking photo
- lip sync video
- animate portrait
- nim video
- talking avatar