Construction Timelapse Video: Plan, Shoot & Edit a Guide
Build a construction timelapse video from planning to export. Covers camera selection, interval strategies, post-production, and Nim AI templates
By Nim
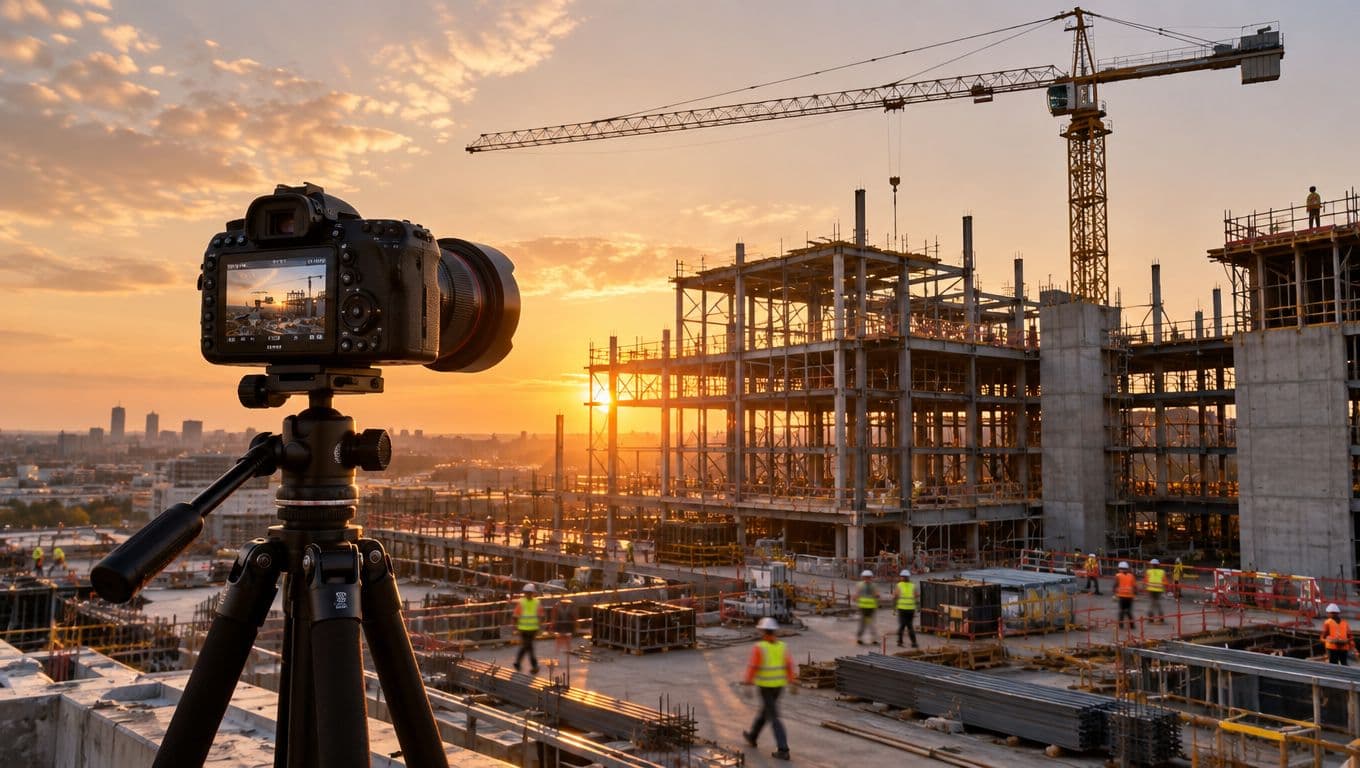
A project manager may have months of site photos, a few drone clips, and a deadline for a client presentation next week. The footage exists, but it doesn't yet explain the build. A useful construction timelapse video turns scattered visual records into a clear sequence of excavation, structure, services, finishes, and completion.
The practical answer is to plan capture by project phase, not to choose one interval and leave it running indefinitely. A fixed camera, stable power, remote monitoring, disciplined file storage, and a separate promotional edit will produce a result that looks good without sacrificing the evidence contained in the original image archive.
Why Most Construction Timelapse Videos Underdeliver
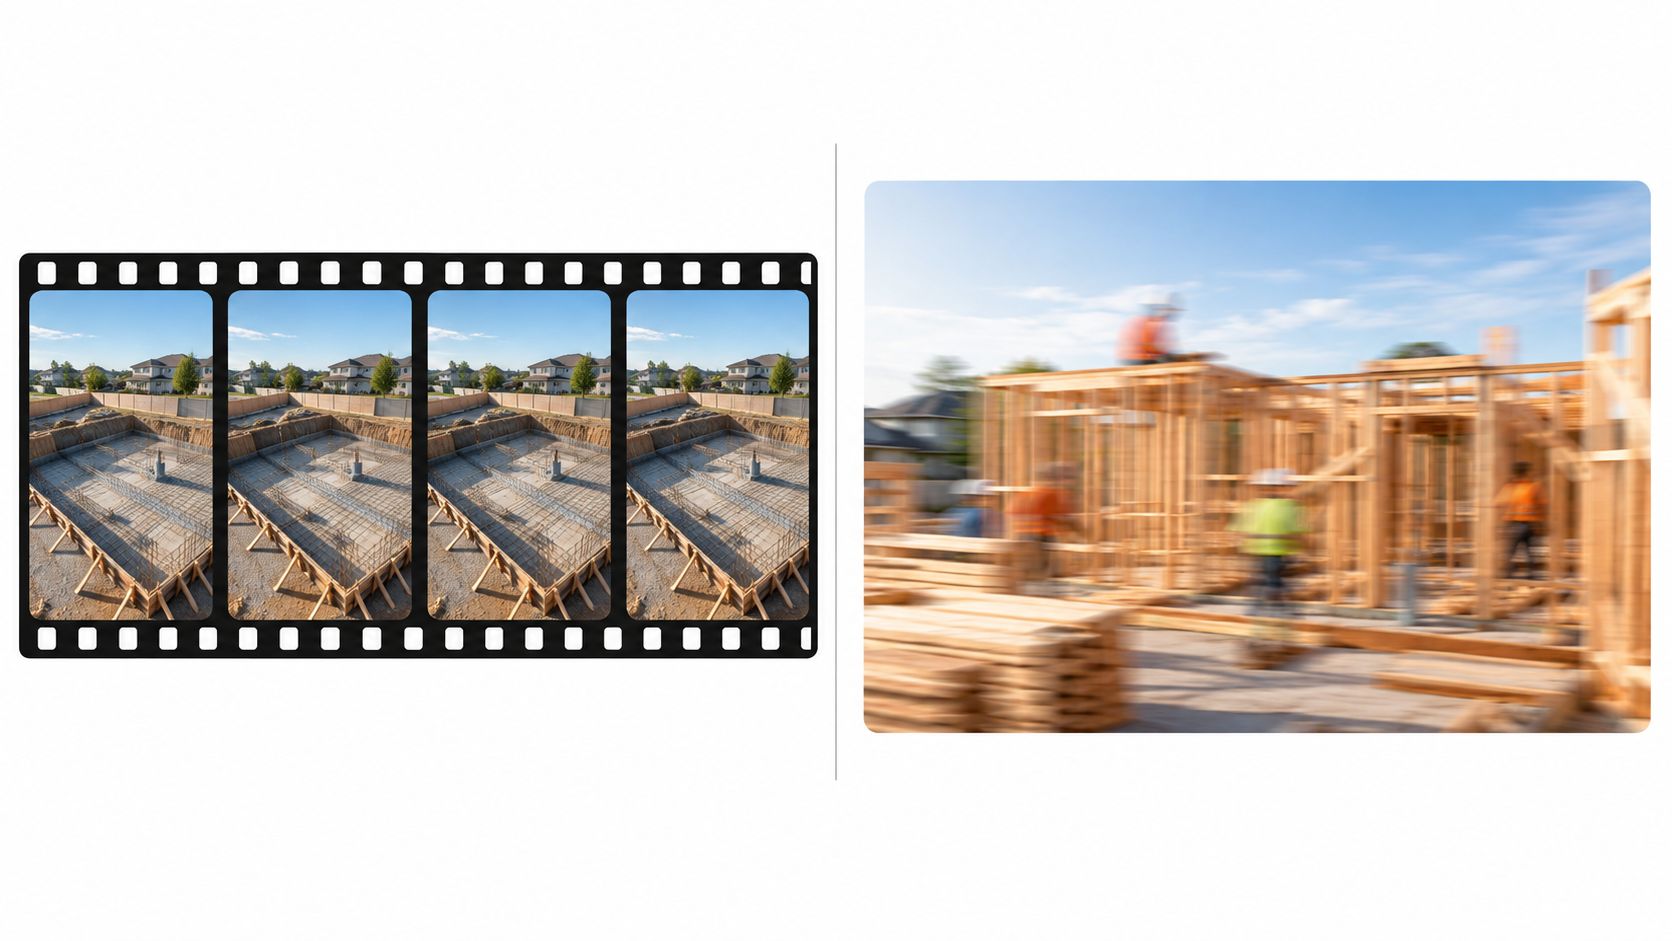
The most common mistake happens on the first day. A team chooses one interval, frames the site, and never changes either decision. That setting may produce almost identical images during slow foundation work, then turn active framing into a jumpy blur when crews, cranes, and materials move quickly.
A useful timelapse has two jobs. It must provide consistent visual coverage tied to real milestones, and it must turn that coverage into a sequence people can watch. A polished recap without a reliable archive is weak documentation. An untouched archive without a readable story is difficult for clients, investors, and the public to understand.
Start with milestones, not effects
Before selecting equipment, list the checkpoints that define the build. Foundation completion, prefabricated-element assembly, utility installation, and roof construction are useful markers because they connect the images to actual work progress. Guidance on documenting construction progress recommends identifying these milestones before filming, rather than treating the camera as a decorative recording device. Construction progress documentation guidance explains why these checkpoints help teams verify schedule movement and identify unexpected delays.
The same principle applies to large developments. Autodesk examples referenced by the U.S. Census Bureau include the $1.4 billion Chase Center, built over two years, the four-year, $1.5 billion Goethals Bridge replacement, and One Bennett Park, a three-year skyscraper build represented in under a minute. The U.S. Census Bureau's construction time data provides the relevant context for why timelapse compresses long project durations into an understandable visual narrative.
For a produced clip from supplied construction imagery, teams can open Nim's Construction Timelapse template. The template input is more useful than searching for a generic “construction timelapse AI prompt”. The practical flow is to provide the requested source material, generate the result, review it, and download it if the page confirms that option. Broader architectural treatments belong in the architecture templates, not in the audit archive.
Site security also affects capture reliability. A camera can't document progress if equipment is damaged, obstructed, or removed, so teams responsible for access control may benefit from guidance on how to secure building sites with CCTV before the visual workflow begins.
Choosing Between Fixed Cameras, Drones, and Cloud Cameras
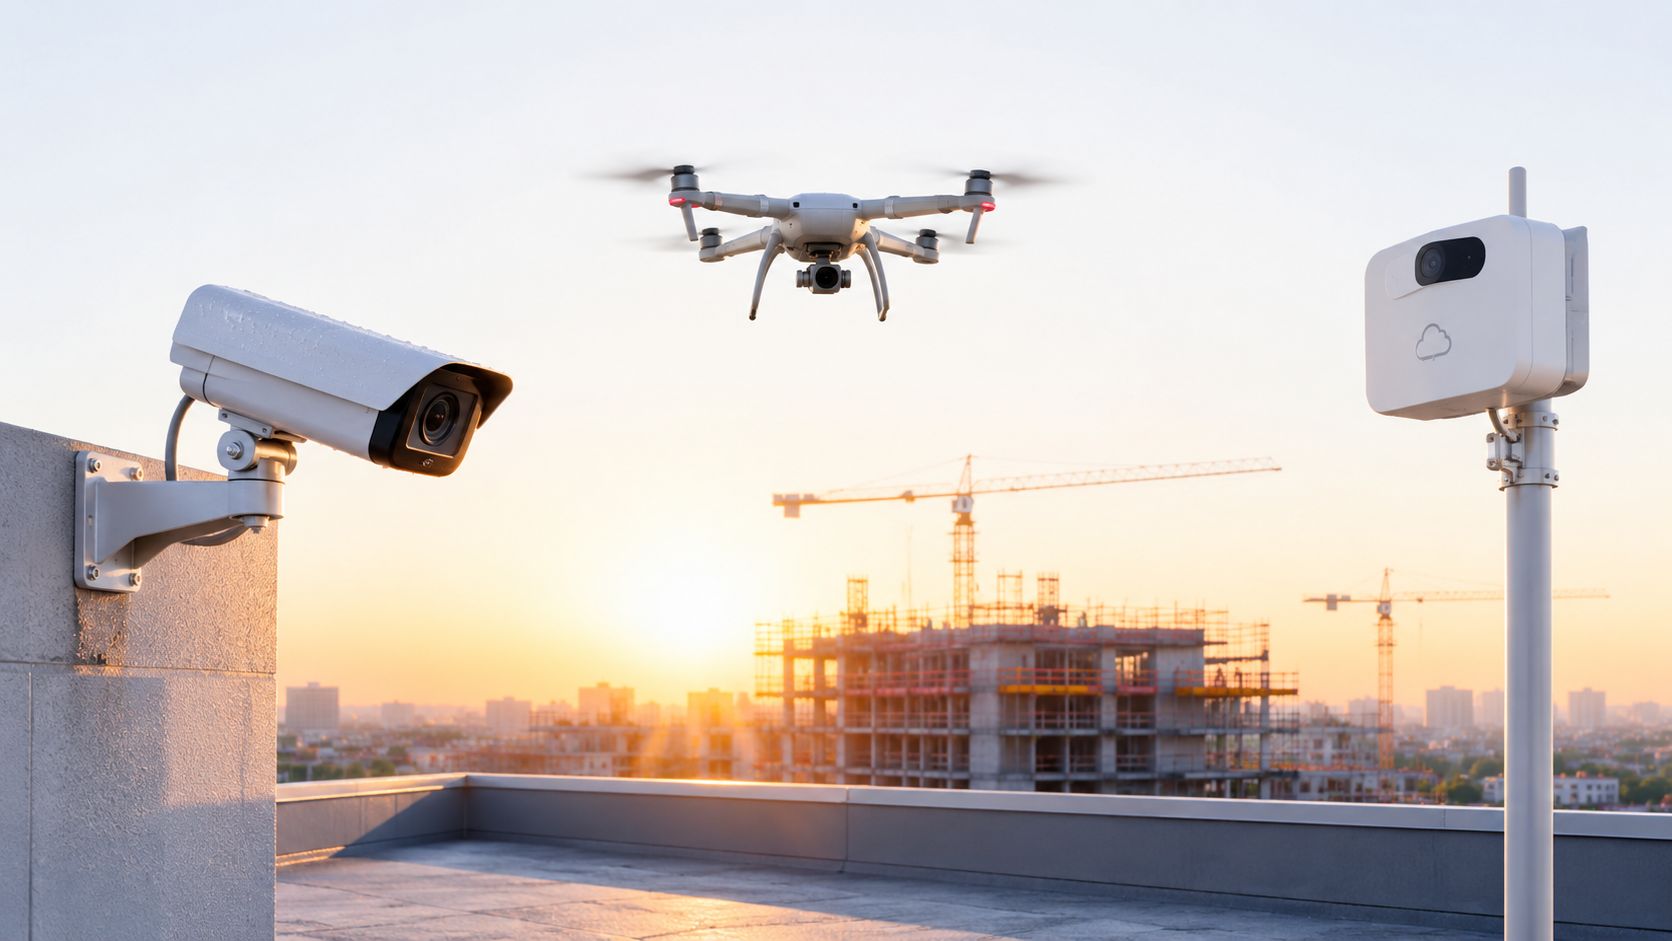
The right capture method depends on what must remain visible, how often the site can be visited, and whether the final deliverable needs raw stills. Fixed cameras suit a stable viewpoint. Drones add changing perspectives and dramatic reveals. Cloud-connected cameras reduce the number of site visits needed to confirm that the system is still operating.
A fixed camera is usually the dependable foundation for a long build. It keeps the footprint, skyline, and access roads in a consistent relationship, which makes phase-to-phase comparisons easier. The weakness is perspective. A single mounting point can lose the structure behind new walls, cranes, hoardings, or neighboring work.
Drones solve that limitation with higher viewpoints and moving shots, but they introduce operational constraints. Wind, airspace rules, site safety, and repeatability all matter. A drone flight that looks impressive once may not provide a comparable view later. Teams operating in unfamiliar jurisdictions should check the relevant regulatory process, including resources explaining how to get a drone licence, before making aerial capture part of the schedule.
Storage changes the equipment decision
Storage isn't an administrative detail. A benchmark for a six-month construction shoot, using a 10-minute interval during 10 active hours per weekday, produces roughly 78,000 stills and about 800 GB at 10 megapixels. Long-term timelapse storage guidance shows why teams should calculate storage before selecting cards, upload plans, or backup destinations.
Standalone rigs can work when the site has limited connectivity, but someone must visit the camera to check power, framing, and storage. Cloud-connected IP or FTP-capable cameras reduce that burden by sending images remotely, although they depend on dependable connectivity and a carefully managed power source.
For teams that want a produced recap rather than thousands of manually managed files, the drone-focused architecture template offers a separate creative route for aerial material. It shouldn't replace the fixed archive when progress verification matters. It serves a different purpose, namely creating a presentation-ready visual treatment from suitable source material.
Mounting, Housing, Power, and Remote Monitoring
A camera failure rarely begins with the camera itself. It starts with a loose bracket, a lens facing afternoon glare, a cable exposed to water, or an enclosure that traps condensation. Construction sites shift constantly, so every mounting decision should account for vibration, dust, impact, access, and the changing height of the building.
Choose a platform that won't move as machinery passes. A rooftop, crane, or neighboring structure can provide a useful sightline, but the support must remain stable throughout the work. The frame should include enough context to show site movement while keeping the main build large enough for inspection. Avoid mounting directly to temporary fencing or components likely to be dismantled.
Use a short site checklist
- Mount stability: Confirm that the bracket won't rotate, sag, or vibrate when wind and nearby activity increase.
- Framing continuity: Record the initial view and mark the intended horizon so later checks can identify movement.
- Housing protection: Match the enclosure to rain, dust, temperature changes, and vandalism risk. Temporary covers aren't substitutes for a permanent weatherproof housing on a long project.
- Cable safety: Route power and network lines away from vehicle paths, lifting zones, and accessible edges.
- Access planning: Ensure authorized staff can inspect the system without entering an active work area unnecessarily.
Mains power is generally the practical choice for a connected GoPro or an FTP-capable IP camera where a reliable supply exists. Guidance on construction camera selection distinguishes mains-powered connected systems from no-power options and also identifies solar-capable categories for locations where subscriptions and remote operation are acceptable. Construction camera selection guidance provides that comparison without treating one setup as universal.
Remote uploads and status checks matter because a camera can appear mounted correctly while producing no usable images. A monitoring routine should confirm recent captures, usable framing, power status, and upload continuity. When teams want an AI-generated recap instead of a raw archival delivery, the construction timelapse workflow can be considered after the source material is secured.
Interval Strategy by Project Phase
A construction timelapse interval should follow the pace of visible change. Broad advice such as 5 to 15 minutes can be useful as a starting range, but it becomes misleading when applied unchanged to excavation, structural erection, and interior finishing.
Match the interval to movement
During excavation and foundation work, change is usually gradual. Longer gaps reduce repetitive frames while still recording meaningful shifts in the site. Foundation completion should be treated as a milestone, not merely the point at which a camera operator happens to notice that the ground has changed.
Framing and structural installation need more frequent capture. Crews, lifts, panels, and cranes can alter the scene quickly, so shorter intervals preserve the relationship between steps. For fast installation or interior fit-out, practical guidance places intervals at 1 to 5 minutes. Small construction projects commonly use 5 to 10 minutes, standard building work 10 to 15 minutes, and large or multi-year projects 15 to 30 minutes. Construction timelapse interval guidance supports using project pace rather than a universal setting.
Interiors often need a middle range. Finishes may change substantially from day to day but not from minute to minute. A medium interval can show installation progress without filling the sequence with near-identical images.
Practical rule: Change the interval when the visible work changes, then record the date, phase, setting, and reason in the project log.
The simplest control method is a phase log. At each checkpoint, review a sample of recent images, compare actual daily movement, and adjust the interval before the next work package begins. This prevents too few frames during active structural work and too many during quiet periods, while preserving a clear record of why the capture pattern changed.
Post-Production Workflow and AI Enhancement Options
The edit should begin with image selection, not music, transitions, or titles. A construction archive becomes manageable when the team separates frames by phase, date, and camera position before assembling a sequence.
Build the archive before the edit
A practical post-production order looks like this:
- Preserve the originals. Keep the raw stills untouched and create a working copy for selection.
- Curate by phase. Group excavation, foundations, structure, services, envelope, and interiors so the edit follows the actual build.
- Align the sequence. Correct minor framing shifts and stabilize the image flow without hiding meaningful site movement.
- Control visual distractions. Reduce sky flicker, inconsistent exposure, dust artifacts, and abrupt changes caused by weather.
- Grade consistently. Keep color and contrast coherent across changing daylight conditions.
- Render for viewing. Choose a playable frame rate and inspect the result on the intended presentation screen.
The archive and the promotional cut should remain separate deliverables. The archive needs traceability and original files. The recap needs pace, visual emphasis, and enough context for a viewer who doesn't know the site.
Choose the production route
A traditional edit gives the visualization team direct control over frame selection, stabilization, grading, and the final sequence. It suits projects where the client expects a carefully documented progression or where unusual site conditions need manual treatment.
An AI-assisted template can be useful when the priority is a fast visual recap from prepared source material. Nim's Construction Timelapse template is designed for that specific use case. Teams provide the input requested on the template page, generate the clip, review the result, and download it when that workflow is confirmed. That process doesn't turn generated footage into a verified record of construction, so the original archive still carries the documentation responsibility.
When the deliverable shifts toward an architectural marketing asset, the architectural animated render workflow is a more relevant creative reference than a raw site-progress sequence. The choice should follow the intended output, not the novelty of the tool.
Using Timelapse for Progress Reporting and Claims Support
A polished video is only one output from a well-run capture system. The underlying photo archive can help project teams explain progress, review changes, and clarify what was visible at a particular stage. That value disappears when files are renamed inconsistently, overwritten during editing, or stored without dates and phase context.
Keep the evidence separate
Use a folder structure that a project manager can understand without opening every image. A practical pattern is:
- Phase folders: Separate foundation, prefabricated assembly, utilities, roof work, and interior stages.
- Date records: Preserve capture dates and keep the camera or viewpoint identifiable.
- Raw archive: Store original files separately from selected frames and edited exports.
- Working versions: Save reports and promotional cuts with clear version names so an updated edit doesn't replace an earlier issue.
- Milestone notes: Record what changed, what was expected, and whether the site condition matched the schedule.
Milestones should be defined before filming begins. Foundation completion, prefabricated-element assembly, utility installation, and roof construction give the archive useful reference points because they connect images to work packages. Progress documentation guidance links these checkpoints with schedule verification and the identification of delays or unexpected issues. The project progress template can support a visual reporting workflow when the team needs a presentation-oriented result, but it shouldn't be treated as a substitute for untouched source files.
The promotional edit and the audit trail have different standards. The video may omit repetitive days, adjust pacing, or emphasize a dramatic change. The audit trail shouldn't conceal inconvenient frames or remove context because it weakens the story.
Automation can also produce a high-resolution visual timeline. One construction-monitoring vendor describes cameras capturing 24MP images every 10 minutes for progress tracking and stakeholder communication in its construction camera documentation. That kind of automated capture is useful only when the team also protects the files, verifies continuity, and records the milestones that give each image meaning.
Next Steps and Template Workflow
The next decision is practical. If the project needs defensible progress evidence, start with a fixed viewpoint, a phase log, reliable power, remote checks, and a backup routine. If the immediate need is a cinematic recap for a presentation or marketing review, prepare the strongest source material and use the Construction Timelapse template as the production path.
The template input should represent the construction story clearly. Select source material that shows the site consistently, includes meaningful stage changes, and avoids unnecessary obstruction. Then provide that input on the template page, generate the result, review whether the sequence communicates the intended progression, and download it if the available workflow confirms that step.
Make one decision before capture
A team facing foundation work should ask whether the current interval records enough change to justify each frame. A team approaching structural installation should ask the opposite question, whether important movement is being skipped. Those answers determine when the interval, framing, or camera position needs adjustment.
For broader architectural variations, the architecture and design template collection provides a relevant place to explore related visual treatments. The immediate action remains narrower: secure the source material, generate one construction recap, review it against the milestone log, and decide whether the next capture phase needs a different interval or viewpoint.
Nim provides a construction timelapse workflow for turning prepared source material into a reviewed visual recap, while the original camera archive remains the foundation for reporting and claims support. Visit Nim to open the relevant template, provide the construction input, generate the clip, and assess the result against the project's actual milestones.
- construction timelapse
- timelapse video
- construction marketing
- timelapse tutorial
- Nim video templates