How Do You Animate a Drawing? a Step-by-Step Guide
Wondering how do you animate a drawing? Learn frame timing, a step-by-step method, fixes for jitter and drift, and a Nim floor plan workflow.
By Nim
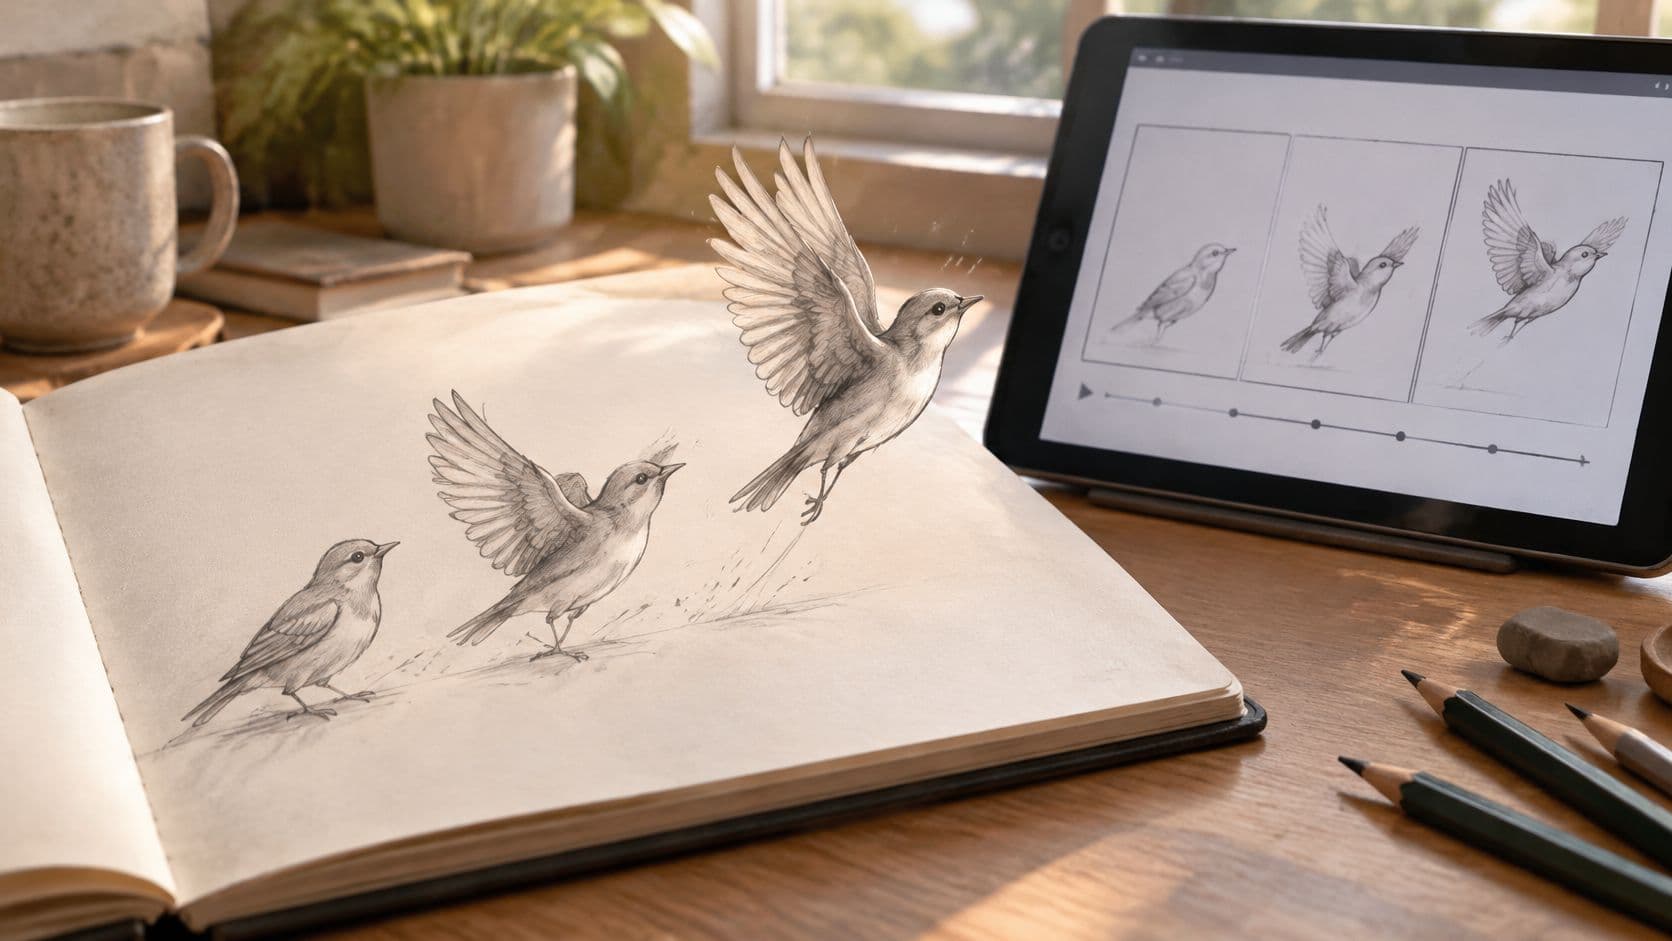
The most common phrasing of the question, how do you animate a drawing, usually gets a tool-first answer: upload the file, describe the motion, press generate. That skips the question that determines whether the clip works, which is how many distinct drawings the sequence needs before a single one is made.
A five-second sequence isn't an open-ended amount of work. It's a countable stack of images, and the count comes from one decision made before the pencil moves: how long each drawing stays on screen. That decision sets the drawing budget, the clean-up hours, and even how heavy the exported file gets.
Timing first, then poses, then polish. That's the order that keeps a beginner from drawing the same motion three times and hating all three versions.
How Many Drawings a Short Animation Needs
A drawn animation is a sequence of still pictures shown quickly enough to read as movement. Traditional film animation commonly runs at 24 frames per second. The animation reference on the ToonsMag cartoon wiki explains timing methods based on that rate and reports that Émile Cohl's Fantasmagorie (1908) used roughly 700 drawings, each held for two frames.
Holding a drawing for two frames means showing it twice before moving to the next one. At 24 frames per second, that produces 12 new drawings each second. For a two-minute film, the arithmetic is 2 minutes × 60 seconds × 24 frames, or 2,880 screen frames. Showing each drawing twice would require about half as many drawings, illustrating how exposure timing reduces the drawing count.
The three timing choices in plain words
On ones means making a new drawing for every frame: 24 drawings for each second of screen time. This creates smooth motion but requires the most drawings. Use it for fast action, intricate detail, or movement that needs a flowing feel.
On twos holds each drawing for two frames. That gives you about 12 new drawings per second while playback remains at 24 frames per second. It suits everyday movement, such as a head turn, a door opening, or a product rotating.
On threes holds each drawing for three frames, giving you roughly 8 drawings per second. The result looks deliberately choppy. Choose this timing when that stepped rhythm suits the style.
| Timing method | Drawings per second | Drawings for 5 seconds | Best for |
|---|---|---|---|
| On ones | 24 | 120 | Fast or highly detailed motion |
| On twos | 12 | 60 | Most everyday motion |
| On threes | 8 | 40 | Stylized, deliberately choppy motion |
Use the table as a drawing budget. A five-second clip takes 120 drawings on ones, 60 on twos, or 40 on threes. On twos offers a practical middle ground: fewer drawings than ones, with enough changes to make many familiar actions clear.
Playback speed also affects how long a sequence lasts. Adobe's animation basics guide explains that 24 frames played at 12 fps last two seconds, while those same 24 frames at 24 fps last one second. The drawings have not changed; each stays on screen for a different amount of time.
Practical rule: Choose the duration and timing method before drawing a key pose. Their combined count sets the drawing budget, including clean-up. Keep that count nearby as you work, so you can see whether the plan fits before adding detail.
Choose Your Method Before You Start
What kind of movement should the drawing make? Choose the method around that action before you begin: frame-by-frame drawing gives you direct control over each pose, while image-to-video turns a source image into a short clip based on described movement.
For a five-second animation on twos, the timing table's budget is 60 drawings. That is enough to plan a hand-drawn sequence, but it also shows the effort involved: every drawing must keep the character or object consistent while its pose changes. Use this route when the action needs specific choreography, such as a character reaching, turning, or handling a prop. For a finished illustration that only needs restrained movement, an image-to-video approach can be a more suitable starting point, with less control over timing and limb placement.
Nim is an app for AI video production. In this guide, its confirmed template is for interior floor plans; the final section explains that workflow. For other drawings, choose the frame-by-frame route described in the next section. Nim's floor-plan template details and limitations are covered there.
Before committing to a full sequence, test the movement on a single source drawing. Choose one clear action, such as a nod, a slight turn of a mug, or steam drifting upward. Compare the result with the original: if the motion changes the shape or position of important details, simplify the action or use hand-drawn poses for more control. A slow camera push across a flat illustration is another restrained option, provided the source image remains readable.
How to Animate a Drawing Step by Step
The workflow below is pose-to-pose: storyboard the action, cut an animatic to test the shot's timing, draw the key poses, add breakdowns and in-betweens, then clean up. Work through it on a single sketch before you commit to a full scene.
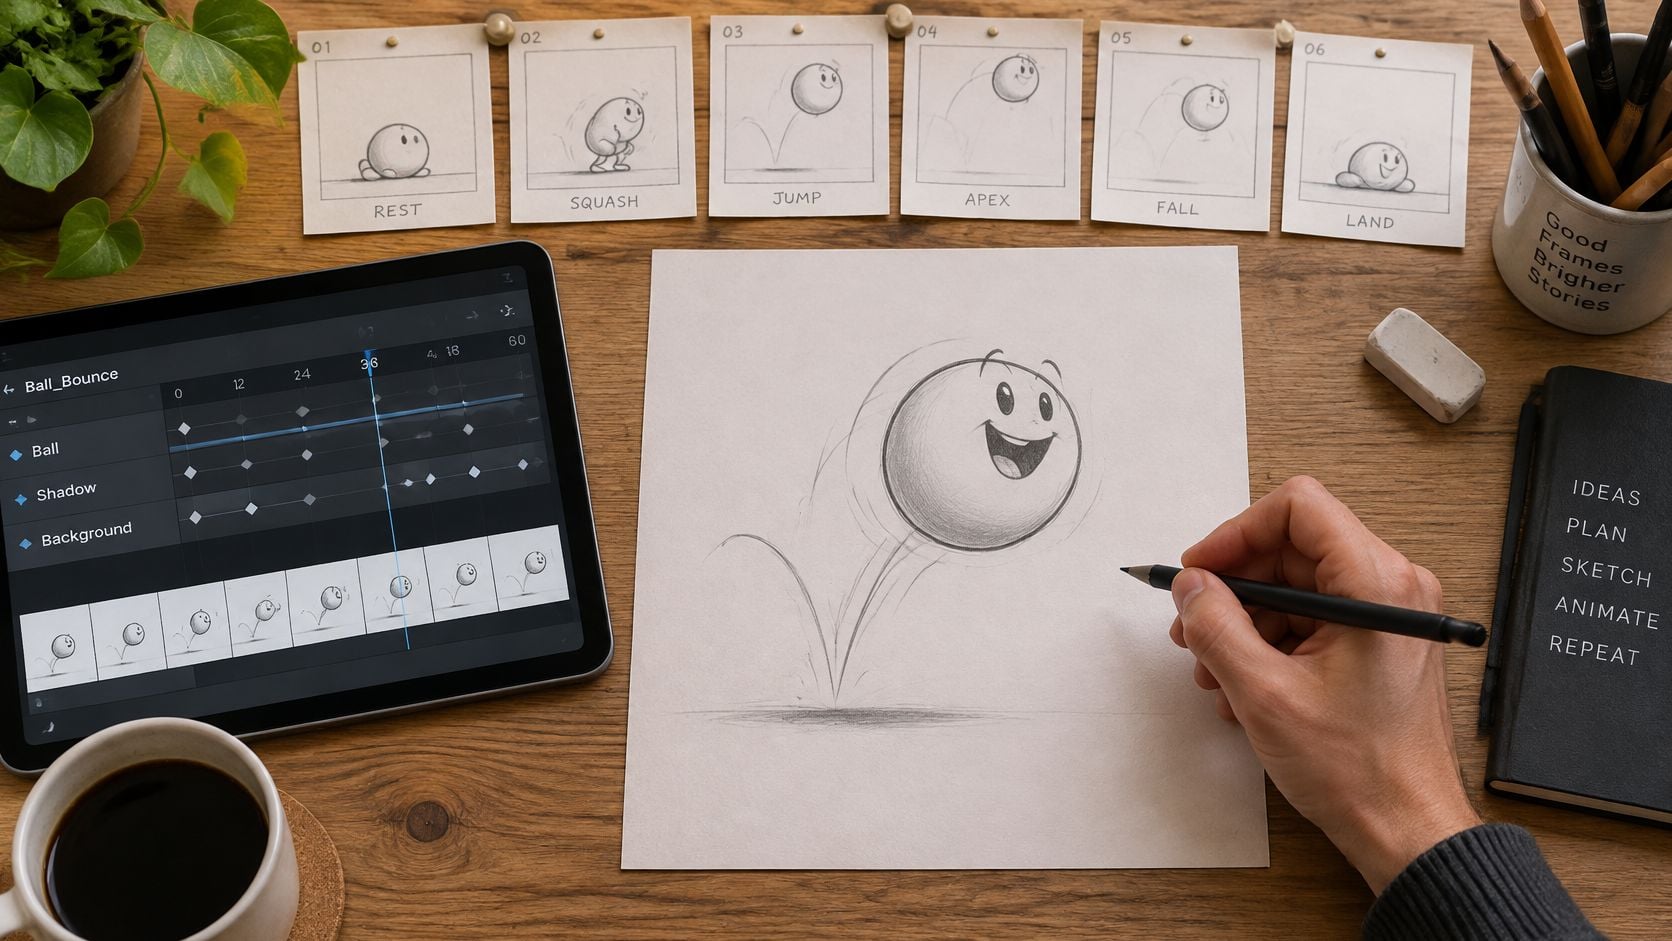
A bouncing ball is the classic first exercise for a reason: the action is short, the spacing is visible, and every mistake shows up immediately.
The seven steps, with the reason for each
-
Storyboard the action in three to six rough sketches. Show the start, the middle and the end. If the action isn't readable in six scribbles, no amount of in-betweening will rescue it later.
-
Cut a quick animatic. Sequence those roughs at the length you chose and play it. This is the cheapest moment to discover the shot is too short or too long, and it costs nothing but a few minutes.
-
Draw the key poses. These are the frames that define the movement, and they should stay loose and undetailed. Detail at this stage locks you into decisions that timing will change anyway.
-
Add breakdowns and in-betweens. Breakdowns set the path and the speed between two keys, especially where the motion changes direction. In-betweens fill the remaining gaps.
-
Block the whole action on twos and play it back. Add in-betweens only where the movement looks abrupt. Animating everything at maximum smoothness first is how a five-second clip turns into three days of drawing.
-
Clean up with a stable contour. Keep each line in the same place from frame to frame. Unstable contours cause "line boil", where strokes appear to crawl and shimmer between frames.
-
Play the sequence at the target frame rate and watch for readability. Each pose has to register long enough for a viewer to read it. If a pose flashes past, it isn't a drawing problem, it's a timing problem.
Three failures show up again and again: skipping the rough pass, adding detail before the timing is correct, and inconsistent line placement during clean-up. Each one is a case of polishing before the structure holds.
A finished step looks unremarkable, which is the point. The clip reads clearly at normal speed, and you can point to the single pose where the action changes.
Split the Drawing Into Parts Before You Move It
Why does a drawing sometimes look like a sticker sliding across a table? The parts move together, so the eye sees no change inside the object. Separate the artwork into meaningful objects or stroke groups before animating it. That gives each part its own movement while keeping the rest still.
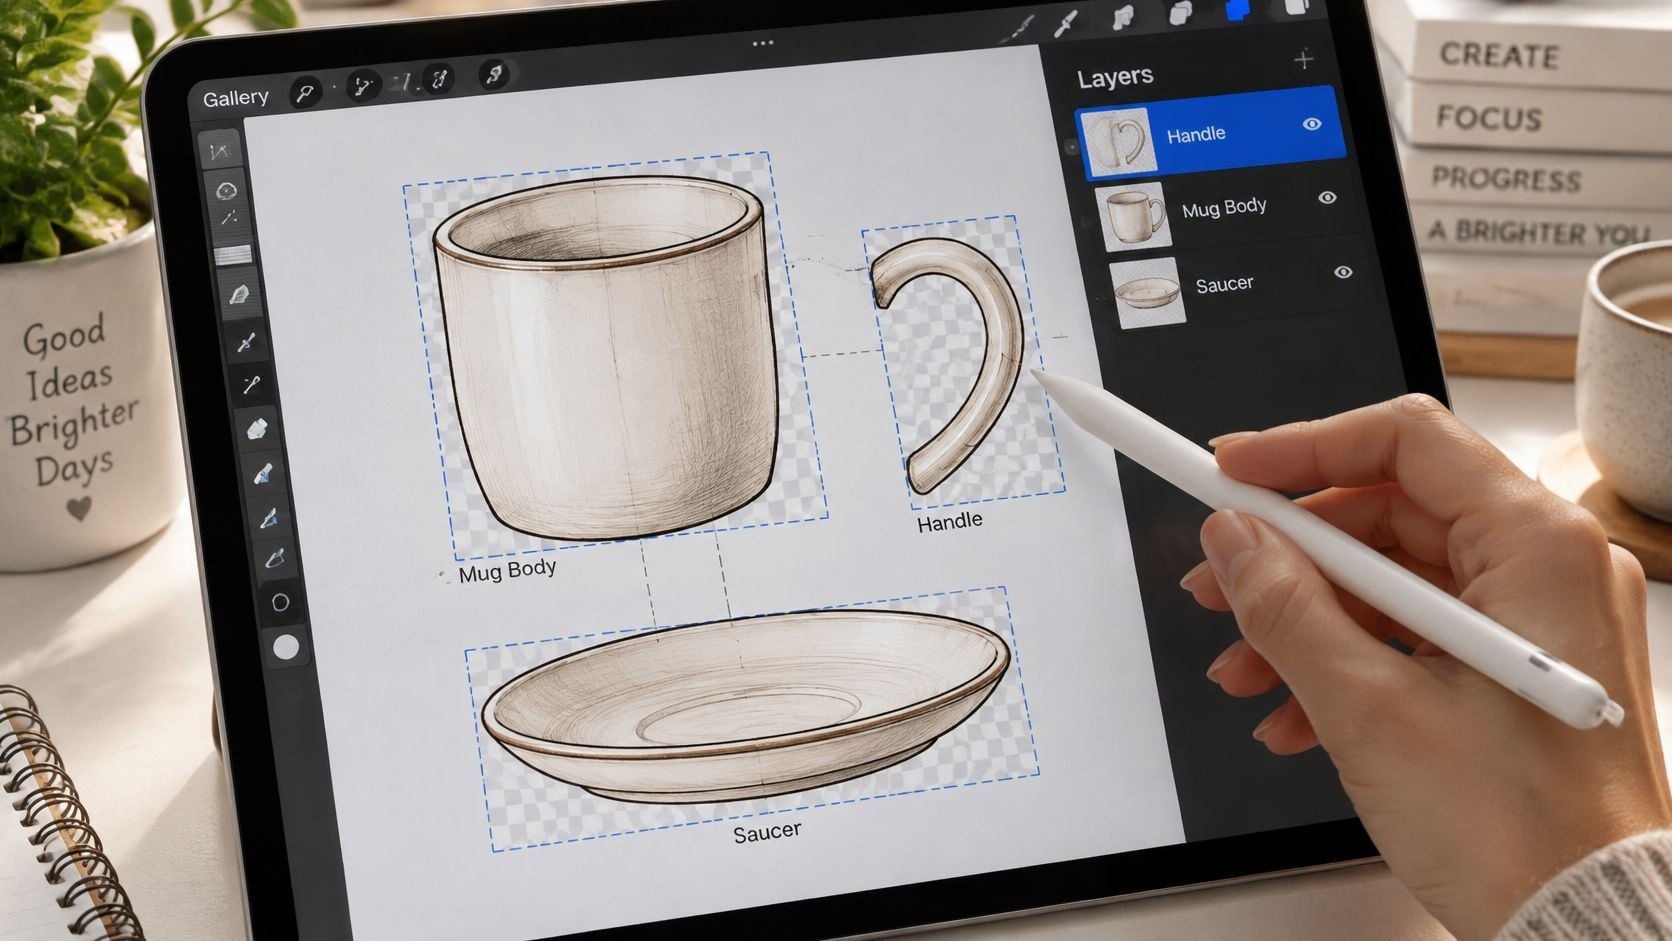
For a coffee mug sketch, keep the mug body still and make the steam a separate stroke group. The steam can rise and drift, beginning a few frames after the mug settles. Two groups can then follow two different timings, making the object feel less flat.
One variable at a time
Change translation (position), rotation, scale or deformation separately. Set the moving group's start and end poses, then draw the in-betweens for that group. If you change several properties together, it becomes harder to see which change is making the motion feel wrong.
Timing and path shape give the movement character. A small anticipation movement before the main action helps the object seem to gather itself. Use curved arcs for organic motion rather than a mechanically straight path. Let loose parts continue with follow-through after the main mass stops, and use slow-in and slow-out to avoid constant-speed movement.
For characters, proportion drift between frames can make a well-separated drawing look inconsistent. Build the subject from simple shapes, then keep those shapes in mind as you separate the parts. This how to sketch a puppy's face walkthrough shows how simple shapes can help establish a consistent construction.
The common mistake is leaving the drawing as one undifferentiated layer. Without separate parts, independent movement is impossible, and the result tends to slide rigidly. If a part moves without weight, adjust its anticipation or follow-through before adding detail. More detail cannot fix a motion that has no sense of weight.
Fixing Jitter, Drift and Stiff Motion
The symptom beginners hit first is drift: the face at the end of the clip doesn't match the face at the start. Independent guidance on image-to-video names temporal consistency as a central weakness of the technique, noting that faces can morph, hands can gain fingers, text can dissolve, and objects may appear or disappear over time, as this image-to-video troubleshooting overview sets out.
The habit worth breaking is asking for several actions at once. A wink, a turn and a hand movement in one request gives the model three chances to invent something, and it gives you no way to tell which instruction caused the failure.
| Symptom | Likely cause | Fix |
|---|---|---|
| Lines crawl or shimmer between frames | Unstable line placement during clean-up | Clean up on one layer and keep contour points consistent |
| Motion stops and starts | Too few in-betweens or a frame rate too low for the spacing | Add in-betweens or raise the frame rate |
| Details blur together | Frame rate too high for the drawing detail | Lower the frame rate or hold drawings for more frames |
| Motion looks sliding or rigid | The whole drawing moves as one layer | Separate parts and add anticipation and follow-through |
| Face, hands or clothing drift | Several actions requested at once, or an unclear source | Simplify to one motion, compare first and last frames, regenerate |
The identity check
This is the habit that separates a usable clip from a hopeful one. Compare the opening frame and the closing frame side by side, and look specifically at faces, hands, clothing, props and line weight. Then watch the whole thing at normal playback speed, not frame by frame, because that's how your audience will see it.
For a recurring character, keep a reference sheet that records facial proportions, clothing, accessories and distinguishing features. It gives you something concrete to check the output against instead of a vague sense that something looks off.
Less motion gives a more faithful result. One restrained action makes drift easy to spot. Four actions at once hide it in the confusion.
Then make a decision instead of re-rolling and hoping. Reject and regenerate when fingers multiply or the face changes shape. Simplify the motion when the subject starts to melt, because complexity is usually the cause. Redraw the source when its lines are too thin or too pale to track, since no amount of regeneration fixes a source the model can't read. Hands, limbs and text are the details to inspect first, because they're the ones that fail most often.
Choosing what to keep unchanged is the key editorial call here. A photo animation workflow helps most when you start from a clean, tightly cropped drawing, one simple action, a mostly locked camera, and an explicit instruction to keep the hand-drawn style.
Save the Animation in a Format the Web Supports
Choose a format based on where the animation will appear and whether it needs transparency or detailed color. A file that plays in an editor may not work in a product page or slide deck.
| Format | Color depth | Transparency | Best for |
|---|---|---|---|
| GIF | 8-bit indexed color | Single-bit transparency | Simple, broadly compatible loops |
| APNG | Wider range of color depths | Full alpha, inherited from PNG | Transparent or detailed artwork |
The MDN guide to image formats describes the trade-offs. GIF supports animation, but its 8-bit indexed color limits the range of colors. It also supports single-bit transparency, which can preserve transparent areas without partial opacity. APNG extends PNG to animation, supports a wider range of color depths, and inherits PNG's lossless compression and full alpha transparency. MDN describes APNG as a suitable lossless animation format and notes that GIF is less performant for animation sequences.
Use GIF for a simple loop that needs broad compatibility. Choose APNG when transparent areas, color detail, or lossless quality matter.
Before settling on a format, check the options available in your export step. This guide does not confirm Nim's export options. If neither format is available, you can use a video file instead, treating that as a publishing choice rather than an animation method.
Animating a Floor Plan in Nim
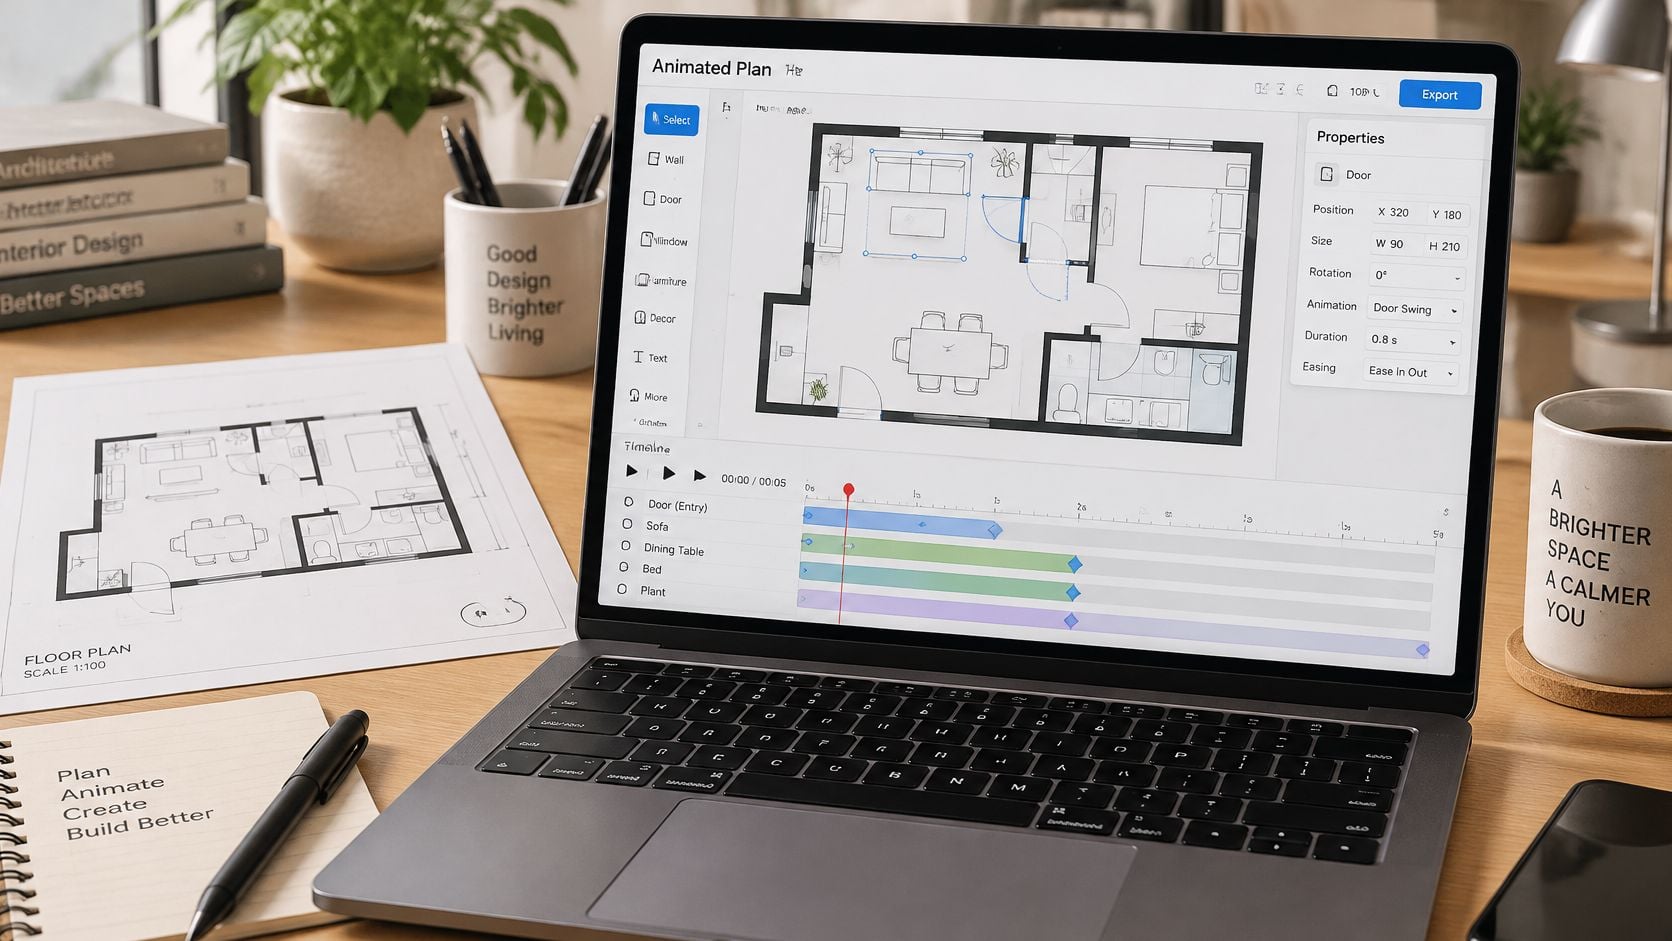
What changes when your drawing is a floor plan rather than a character? The Animated Plan template is designed for interior floor-plan photos or scans, including hand-drawn sketches and digital architectural drawings.
Prepare the source before using the template. A flat, well-lit photo or clean scan makes walls and room boundaries easier to read. Crop away distractions, and watch for skew or shadows that obscure the plan.
Then follow the template's workflow:
- Choose a clear plan image. A hand-drawn sketch or digital architectural drawing can serve as the source.
- Provide the plan to the template and generate the animation.
- Review the result beside the original. Check whether walls remain in place and whether the movement suggests openings or connections absent from the drawing.
- Download and compare the result with the source before using it for a client or listing.
The animation is a presentation aid. Keep its caption clear so viewers do not mistake it for a precise record of the property.
Nim is an AI video production app, and this template offers a focused way to animate an interior plan. If your source is an architectural render instead, follow the architectural animated render walkthrough. Open Nim and start with a legible plan image. After generation, compare the motion with the drawing before sharing it.
- animate a drawing
- frame by frame animation
- animate a sketch
- animation frame rate
- animate a floor plan