Instagram Reels Resolution: What Nim Users Need to Know
Learn the Instagram Reels resolution to target, which aspect ratios fill the screen, and how to prepare Nim visuals for Reels with checks outside Nim.
By Nim
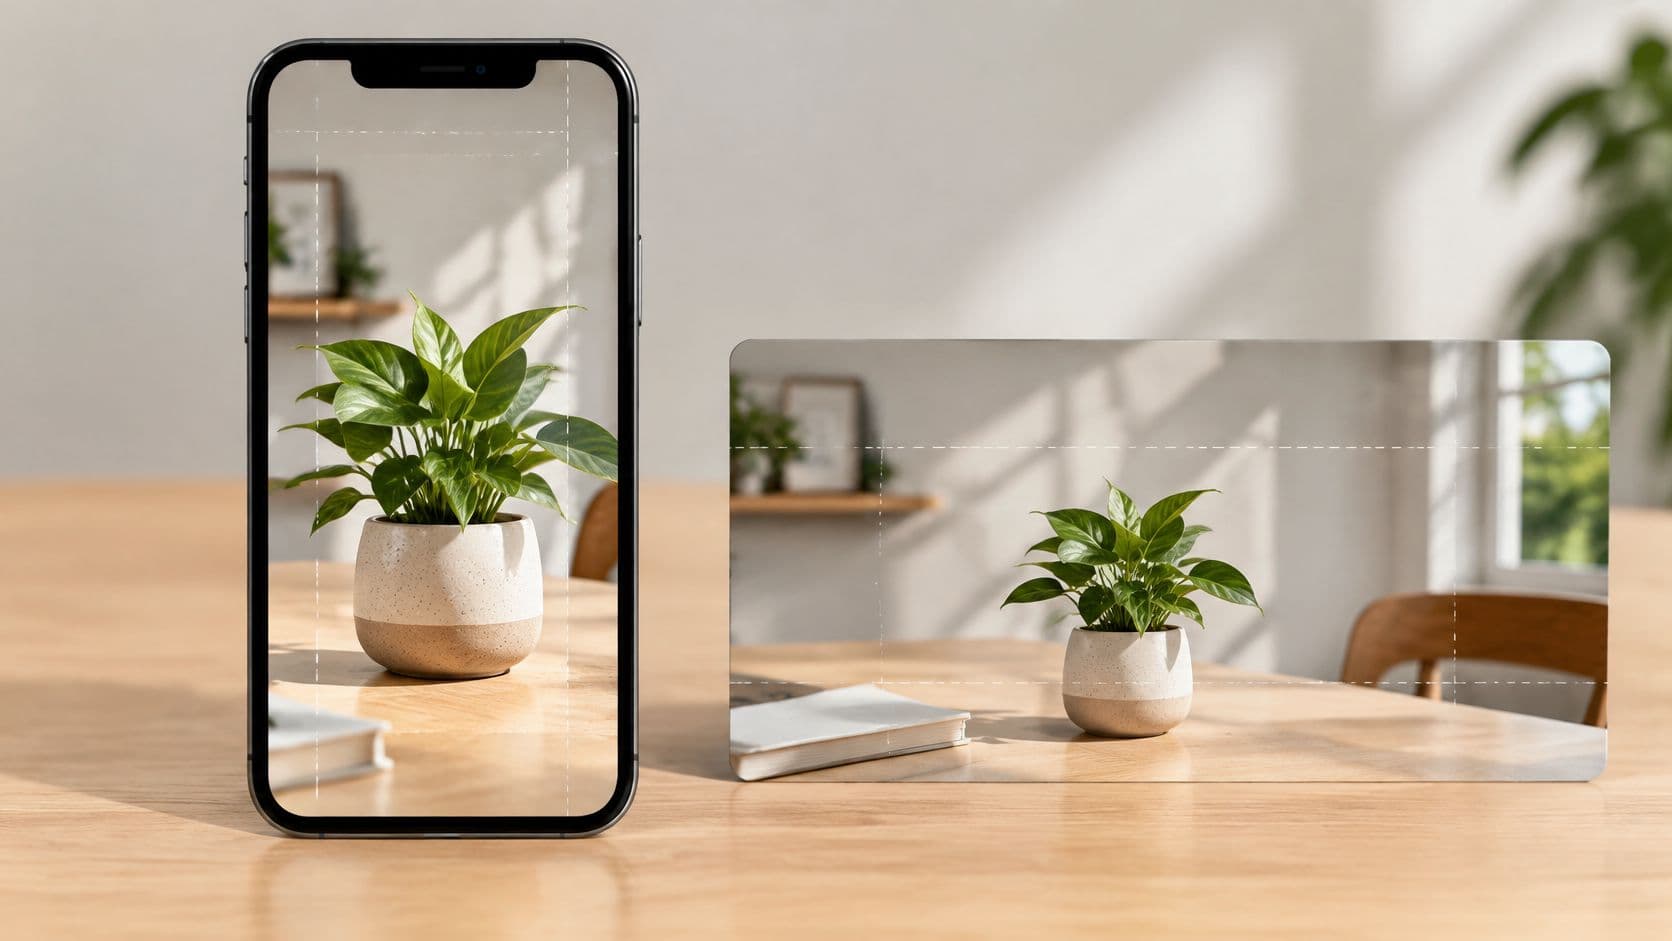
Deliver a 9:16 vertical file at 1080 x 1920 pixels for a full-screen Instagram Reel, because Instagram's minimum is only 720 pixels and its widest accepted ratio is 1.91:1. Passing the upload requirements doesn't mean a file is ready for a clear, readable mobile presentation.
That distinction matters most when a video contains packaging text, animated product edges, or detailed interiors. A technically acceptable file can still lose the details that make the creative useful, so the final check belongs on a phone, after processing, not just in an export dialog.
Instagram Reels Resolution Specs at a Glance
The practical Instagram Reels resolution target is a full-screen vertical master at 1080 x 1920 pixels, per Hootsuite's 2025 video-size guidance, while Instagram's own acceptance floor sits far lower.
Instagram Reels resolution and aspect ratio specifications
| Specification | Value | How to treat it |
|---|---|---|
| Recommended full-screen size | 1080 x 1920 pixels | Production target for full-screen delivery |
| Minimum resolution | 720 pixels (720p) | Acceptance floor, below the production target |
| Accepted aspect ratio range | 1.91:1 to 9:16 | Upload window for accepted frame shapes |
| Minimum frame rate | 30 fps | Acceptance floor for motion |
| Central safe zone | 1080 x 1440 pixels | Composition guide within the taller frame |
| Paid ad resolution | 1440 x 2560 pixels, 9:16 | Specification for paid placements only |
| Accepted file formats | MP4 or MOV | Container requirement for paid deliverables |
Instagram's upload guidance sets the acceptance bar: an aspect ratio from 1.91:1 to 9:16, a minimum resolution of 720 pixels, and a minimum frame rate of 30 frames per second. A Reel can clear all three and still look softer than the master once the platform processes it, which is why the production target sits above the floor.
How the specifications affect delivery
Resolution sets how much detail the file carries. Aspect ratio sets the frame's shape, and frame rate sets the cadence of its motion, so a file can satisfy one row and still fall short on another.
The 1080 x 1440 safe zone works as a composition aid inside the taller frame. Keep labels, prices, and titles inside that central band and leave extra breathing room where Instagram's interface controls sit.
The two paid rows describe ad placements. A boosted Reel follows the taller 1440 x 2560 specification and the listed container formats, while an organic post is governed by the platform minimums above.
For music-led creatives, LesFM's vertical video tips for music creators offer useful context for adapting a composition to Instagram's vertical presentation. Formatting should support the subject and keep artwork and titles out of crop range.
Match the export to the row that fits the deliverable, and treat anything under 1080 x 1920 for a full-screen Reel as a quality risk when the creative depends on readable text.
Choosing an Aspect Ratio That Fills the Screen
Only one frame shape fills a Reel edge to edge. Instagram's guidance identifies 1080 x 1920 pixels, equivalent to 9:16, as the full-screen format for Reels.
Fitting artwork into a picture frame works the same way. Artwork cut to the frame's shape covers the whole area; anything wider leaves empty margins unless part of it is trimmed away.
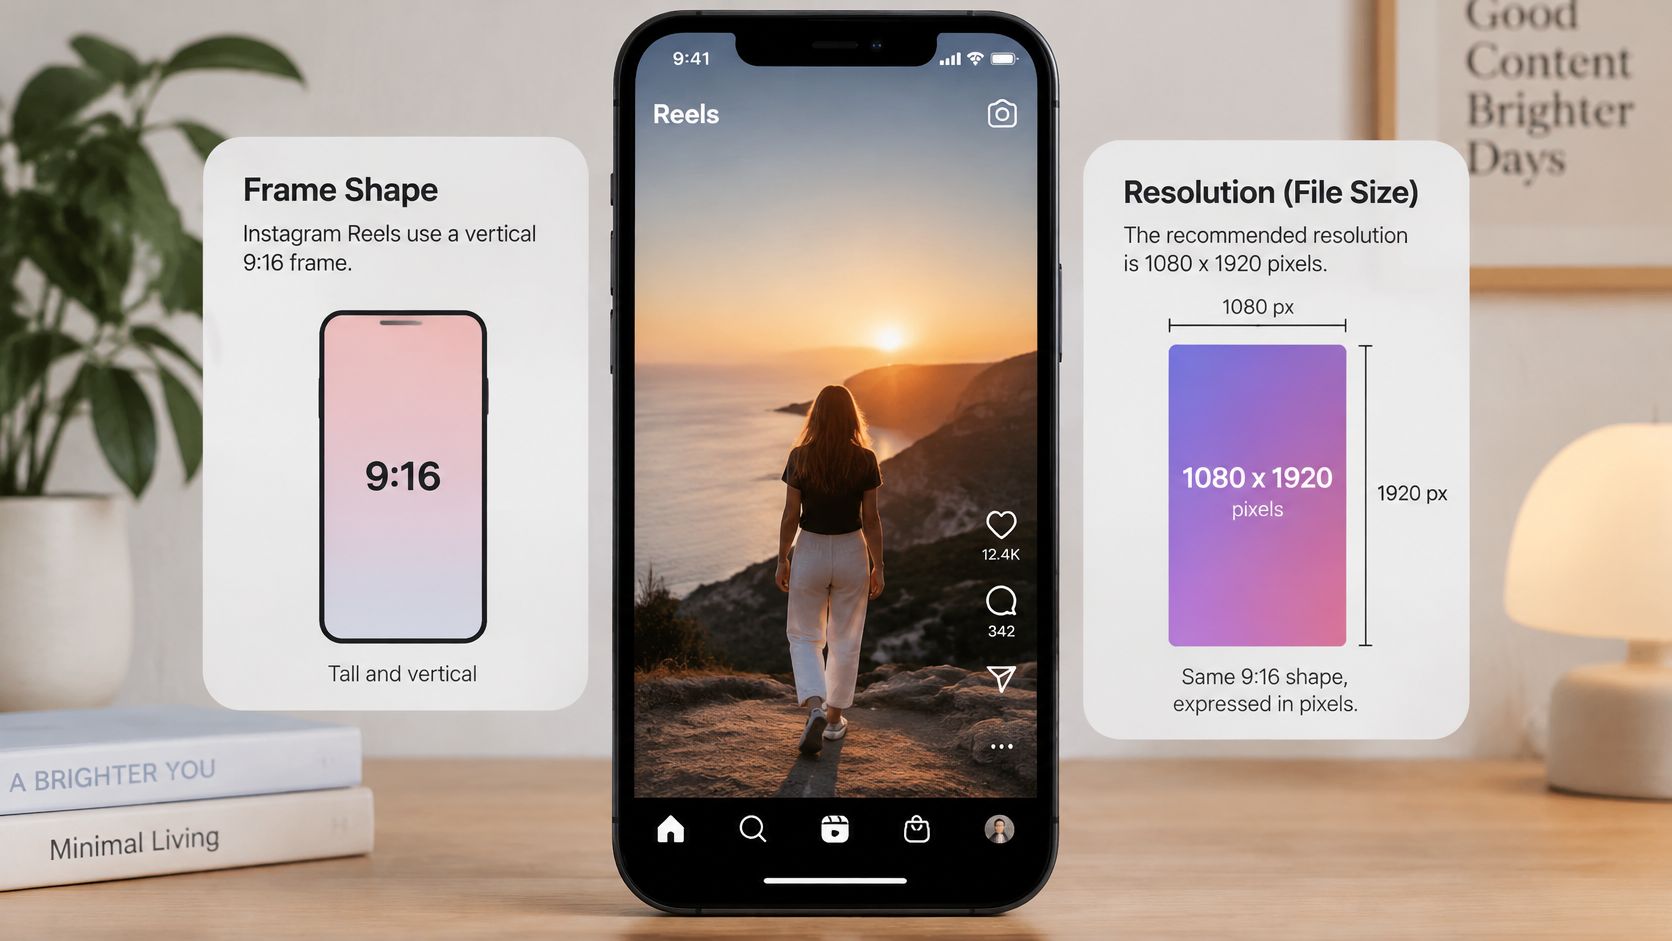
Frame shapes and how they display on a Reel
| Frame shape | Aspect ratio | Display on a full-screen Reel |
|---|---|---|
| Vertical full screen | 9:16 | Fills the intended Reel canvas edge to edge |
| Portrait | 4:5 | Within range, with unused space around the frame if fitted rather than cropped |
| Square | 1:1 | Within range, with unused space above and below if fitted |
| Widest ratio | 1.91:1 | Within range, but fitting the whole image leaves unused space above and below |
Every row in that table uploads successfully, since all four ratios fall inside the accepted range. Passing the upload check says nothing about how much of the phone screen the finished Reel occupies. For a product demonstration or animated image intended specifically for Reels, vertical full screen is the strongest starting point, because the subject can occupy the frame without relying on automatic reframing.
Wide horizontal framing creates the largest adaptation problem. Keeping the whole scene shrinks the subject; cropping it to a vertical shape can remove contextual details, furniture, or text at the edges.
For animated product photos, property visuals, and ad creatives, the practical rule is compose vertically before animation. A later crop can't recover a label or product feature that never fit inside the delivery frame. When an existing composition must stay intact, a taller ratio keeps more vertical emphasis, though filling the Reel canvas still takes a deliberate crop rather than a simple resize. A ratio that looks acceptable in the export preview can also read differently once the Instagram player positions it on a phone, so the finished file deserves a check on the device where it will be watched.
A non-full-screen composition remains reasonable for:
- A feed-first asset: A square post that isn't intended as a Reel.
- Uncroppable artwork: A complete illustration or diagram whose edges carry essential information.
- A deliberate framed treatment: A wider clip placed within a designed vertical background, with legibility checked at mobile size.
How to Prepare Nim Visuals for a Reel
The exact in-app export-resolution controls aren't confirmed, so no template should be assumed to produce a particular delivery size. The selected template's form should establish which inputs and output options are available before production begins.
The guide to making an Instagram video from pictures provides a relevant starting point for photo-based content. Input preparation and final delivery checks remain separate responsibilities, even when the creative itself comes from a template.
The workspace image below is illustrative, not evidence of a particular product interface or export feature.
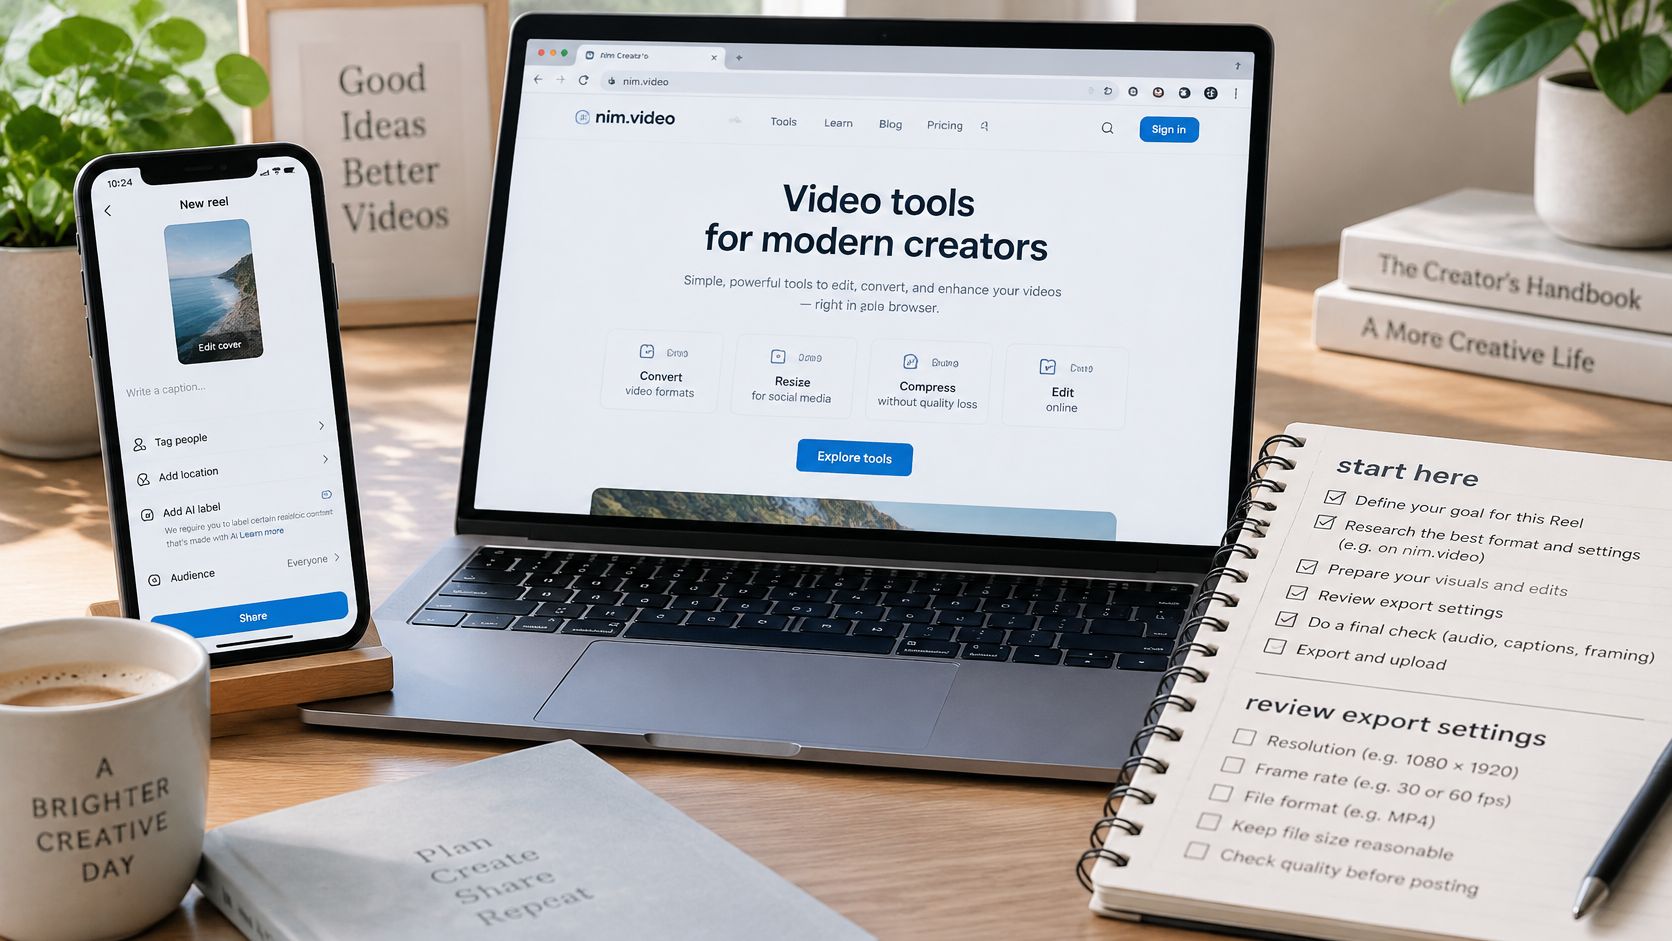
Prepare, generate, and inspect
-
Compose the source vertically. The source artwork should use the Reel frame shape established in the specifications, with space around the main subject. For a skincare bottle, that means leaving room above the cap and beneath the base instead of creating a tight horizontal crop.
-
Protect the central composition. SocialNewsDesk's 2025 dimensions guide recommends 1080 x 1920 pixels at 9:16, with a central 1080 x 1440-pixel safe zone. Product names, headlines, and essential features should sit within that central area, while still avoiding edge-hugging placement that could clash with interface elements.
-
Use a clean source with readable labels. Input preparation should favor clear edges, an uncluttered background, and prominent lettering rather than tiny packaging copy. When the original label is too small to read, a larger text treatment added during external editing is more dependable than expecting animation to make it clearer.
-
Generate only through the workflow the selected form supports, then review at phone size. The reviewer should inspect the result at normal viewing scale before magnifying suspect edges or text. This separates a composition that reads naturally from one that only looks convincing in a large desktop preview.
-
Download if that output offers a download, then inspect the file. Its dimensions should be checked in the operating system's file information or a separate media inspector. A preview window's apparent shape isn't proof of the encoded dimensions.
-
Prepare the final master outside the creation tool when necessary. A separate editor can scale, pad, or crop the result to match the intended delivery specification. Scaling can't restore missing detail, padding reduces the subject's share of the frame, and cropping removes content, so the choice should follow the composition rather than convenience.
A template's preview is a creative review surface. The downloaded file is the delivery artifact.
For a property clip, the final review should prioritize clear room transitions and stable architectural edges. For a product animation, it should prioritize recognizable shape, readable branding, and motion that doesn't obscure the feature being demonstrated.
Export Settings to Check Outside Nim
Encoding checks happen in the external editor, where the finished file can be opened and inspected directly. Meta's Reels advertising specification lists 9:16, MP4 or MOV, H.264 compression, square pixels, fixed frame rate, progressive scanning, and stereo AAC audio at 128 kbps or higher, and gives 1440 x 2560 pixels as the ad resolution. That larger canvas applies to paid placements; the specs table above keeps it separate from the organic working master.
The image-to-video workflow guide covers creating the moving visual itself. Once that visual exists, its exported geometry and encoding still need their own pass before delivery.
External delivery checklist
- Frame shape: The encoded image should match the intended vertical composition. A vertical-looking preview can still contain padding baked into the file.
- Container: The actual container should match a supported delivery format. Renaming a filename extension doesn't convert the media inside it.
- Video compression: A standards-compliant encode avoids relying on an unusual codec inherited from another production workflow.
- Pixel geometry: Square pixels preserve the intended product proportions. Incorrect pixel interpretation can make bottles, furniture, or circular logos appear stretched.
- Frame cadence: A fixed frame rate gives downstream processing a consistent timing structure. Variable timing can contribute to uneven movement, although stutter may also originate in the animation itself.
- Scanning: Progressive output presents complete frames. Interlaced material can produce comb-like edges during motion unless it's properly converted.
- Audio encoding: Where audio is included, the editor should verify the specified codec, channel layout, and bitrate rather than checking only whether sound plays locally.
Geometry and encoding are the first places to investigate when an upload looks different from the master. Checking the downloaded file on a phone catches problems that a desktop export dialog won't reveal.
Quality Loss After Upload and How to Fix It
A Reel can meet every upload spec and still arrive looking soft. Instagram re-encodes what it receives, so the file that passed review on a large preview and the version viewers see on a phone are two different objects. Trust the processed playback, not the export setting alone.
Instagram's recommendations guidance states that blurry or low-resolution Reels can appear less often in recommendations. Playback quality is a distribution concern, not only a cosmetic one.
Reel quality symptoms, causes and fixes
| Symptom | Likely cause | Fix |
|---|---|---|
| Text looks soft after posting | Source text too small for the encode, or compression too heavy | Return to the source preparation step and rebuild the visual so labels hold up at phone size |
| Product edges look jagged | Low source resolution or repeated scaling | Work from the recommended vertical master and scale the delivery file once |
| Motion judders or stutters | Variable frame rate, interlaced source, or uneven original motion | Re-encode with fixed cadence and progressive scanning outside the creation tool; inspect the original animation too |
| Black bars appear around the frame | Source shape doesn't match the vertical canvas | Recompose vertically, or pad and crop deliberately in an external editor before uploading |
Diagnose the earliest visible failure
A soft label after posting usually means the source text was too small or the encode was too compressed. If the lettering is already malformed in the generated result, no export setting will repair its content; the fault is upstream.
When the problem starts during the move from a still image to motion, Nim's guide to animating a photo covers that stage of the workflow. The reviewer's job is to separate a generation issue, such as lettering that changed during animation, from an encoding issue, such as a correct label turned soft by compression.
A larger file isn't a compression guarantee. A cleaner source and a checked upload do more than an oversized export alone.
If the local file is already poor, fix the source. If only the uploaded version degrades, change one delivery variable at a time (bitrate, scaling, or cadence), retest, and keep the version that preserves the essential detail without introducing a new framing problem.
Confirm the Output Size Before You Publish
The export preset records what was requested. The saved file records what was delivered, and only the second one reaches Instagram. Before a Reel goes to scheduling, the production lead confirms the frame shape, the encoded pixel dimensions, and the survival of the product, headline, and fine details inside the central composition once the platform's interface sits on top of the frame.
Resolve unknowns before scheduling
- Unknown output dimensions: File properties or a media inspector on the saved file establishes the encoded size. The export dialog shows intent, while the inspector shows the result.
- Framing that drifts: Check the beginning, middle, and end of the clip. A subject that fits in the first second can slide out of the usable area later.
- Text that only reads when magnified: Judge headlines and labels at ordinary playback size. A viewer will not pause and pinch to decode the message.
- A substitute file: A differently sized export needs a documented reason to serve as the delivery master. Higher pixel counts alone do not prove it suits the intended placement.
One check belongs to this stage alone: run the draft through Instagram's posting screen and watch the preview, where the account name, caption line, and action buttons reveal the overlay zones. Anything meaningful underneath them gets reframed and retested before upload.
When the file passes, it is ready to schedule. When it fails, the correction belongs to the source visual or the external finishing step, and the retest follows the same routine on the same device.
Nim offers AI image and video creation tools and templates for preparing product visuals, animated images, and other short-form creative. Visit Nim, choose a template suited to the subject, and produce a vertical test Reel for a phone review before publication.
- instagram reels resolution
- reels aspect ratio
- 1080x1920 reels
- vertical video specs
- Nim AI video