Sketch to Render AI Made Simple for Architecture
Learn sketch to render AI with Nim — turn hand sketches into photorealistic renders. See inputs, workflow, and tips for architecture visuals.
By Nim
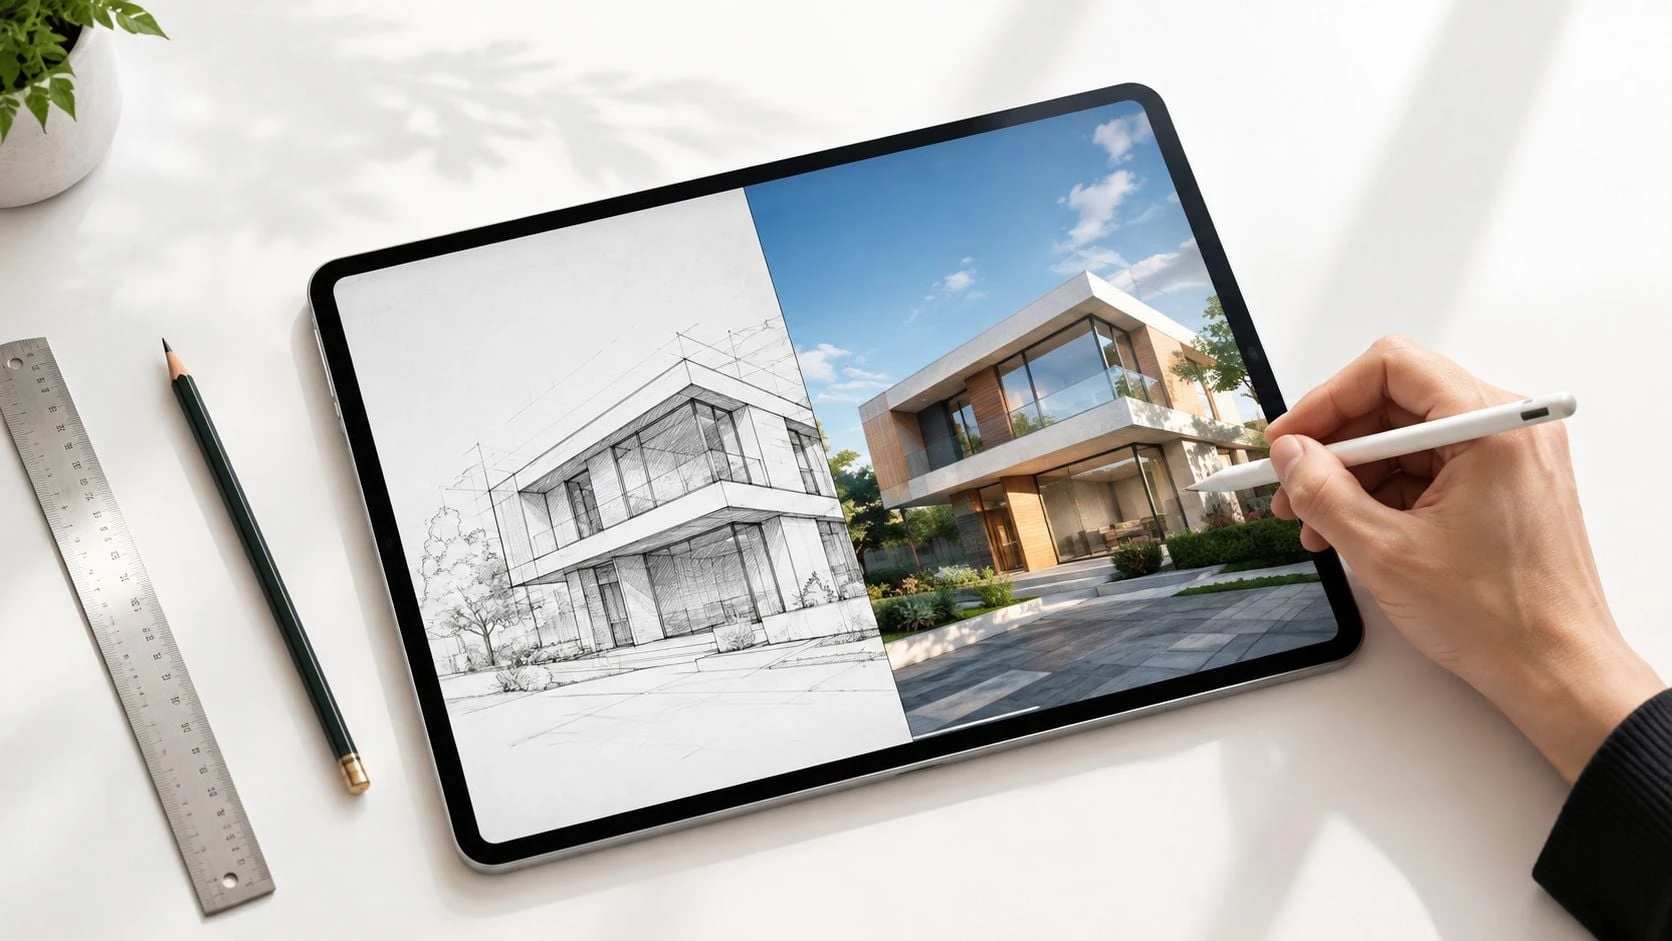
A client wants to see what a rough house concept could feel like before the team spends time building a detailed model. The architect has a pencil perspective, an iPad sketch, or a loose massing study, but no client-ready image. Sketch to render AI can turn that drawing into a realistic exterior or interior concept without requiring a complete CAD model.
The practical question isn't whether the result can look impressive. It's whether the output preserves the geometry that matters, and whether the invented details are safe for the conversation. The strongest workflow treats the generated image as a fast design communication tool, not as a dimensionally accurate production render.
What Sketch to Render AI Actually Does for Architecture
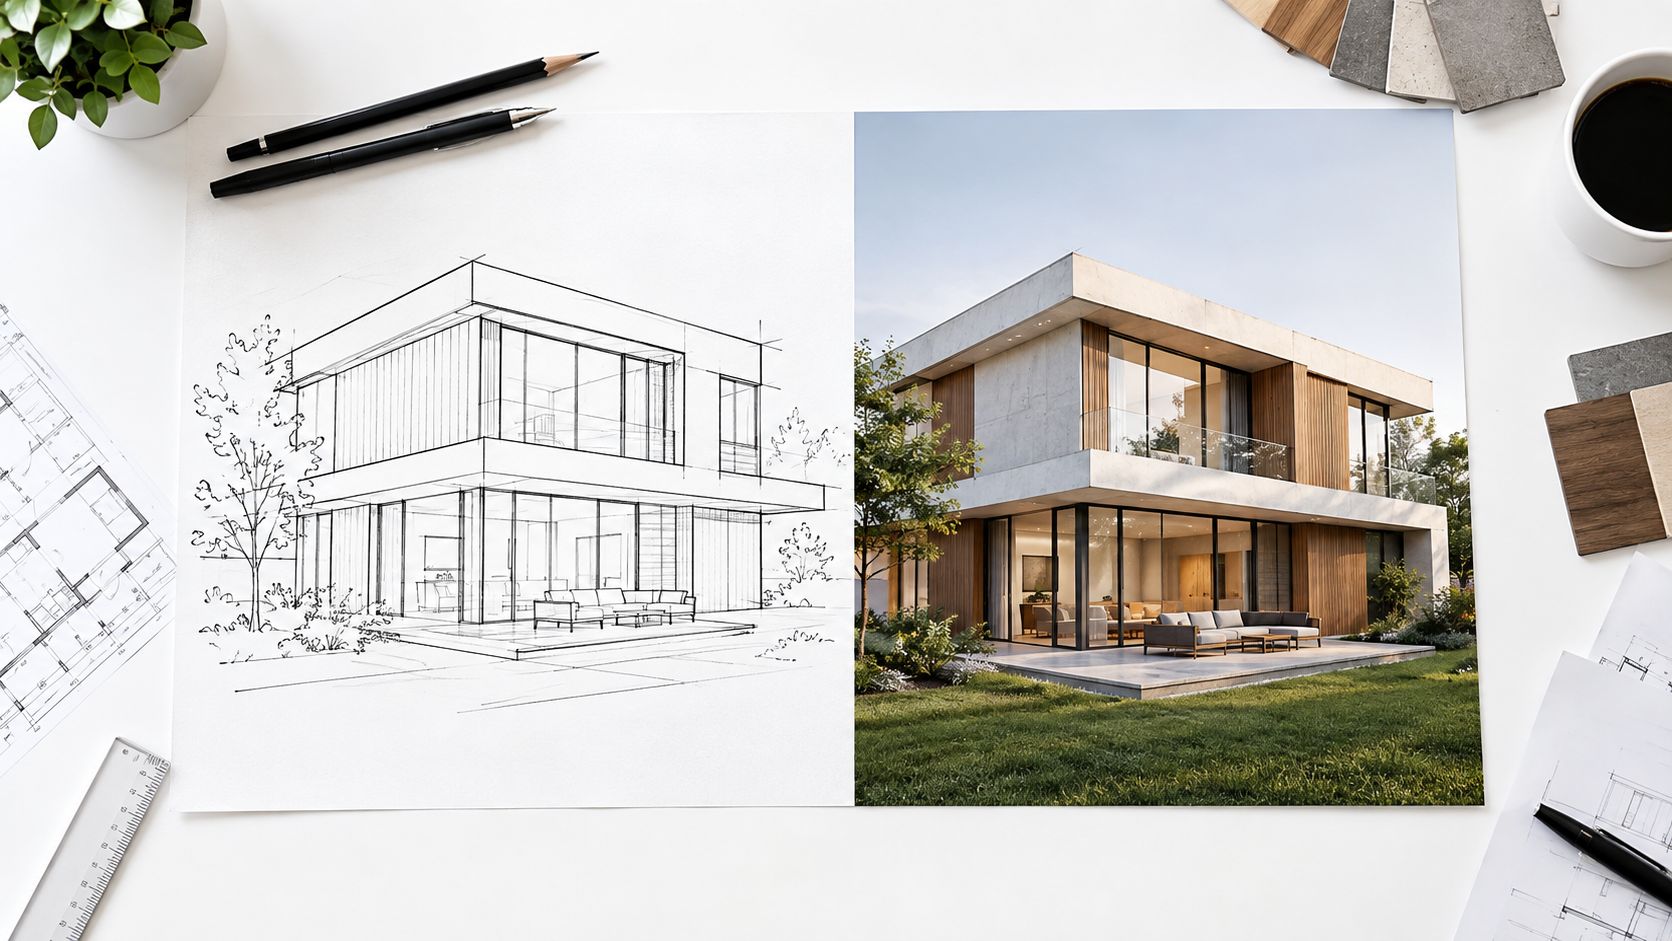
A sketch-to-render system treats a drawing as a visual constraint, then builds a more detailed image around its lines, masses, openings, perspective, and implied materials. A rough elevation can become a photorealistic exterior concept. An interior perspective can become a furnished room with surfaces, lighting, and atmosphere. The team can review a direction before modeling every wall, frame, and finish.
The useful test is geometry preservation. If the roofline, openings, massing, and camera angle remain stable, the image can support a client review of design intent. If the system changes those elements or fills missing information with confident invention, treat the result as a concept image rather than a production render.
The method sits within a longer research history. A 2023 IEEE survey describes Sketch-a-Net, introduced in 2015, as a landmark model that first exceeded human recognition performance on sketch data. It also records the shift from classic sketch generators toward deep-learning methods and the growth of sketch-to-photo generation as an application area. The survey traces this development in sketch understanding and generation.
From filter to design constraint
Early sketch translation methods tested patch-based techniques, visual analogy, and interactive montage. Later diffusion research made the sketch a stronger control signal for image synthesis, allowing systems to retain more scene structure while adding visual detail. Research covering early sketch-to-image methods, DiffSketching, and sketch-guided scene generation documents that progression. The 2022 research review explains that transition toward diffusion-based control.
A dedicated workflow keeps the supplied drawing central, but it does not guarantee dimensional accuracy. The model may invent window divisions, roof details, planting, furniture, lighting, or materials. Those additions can help communicate atmosphere, yet they should not be mistaken for information preserved from the sketch.
Where the workflow fits
Nim's architecture-focused workflow suits early exterior concepts, interior mood studies, option testing, and client discussions where speed matters more than construction certainty. Use the floor plan to 3D model workflow when the input is a plan and the goal is to develop spatial information into a model. For the broader path from sketch to production, keep the same boundary in place: generated imagery supports decisions, while technical documentation remains the authority for geometry and buildability.
Preparing Your Sketch for Best Results
The quality of the input controls how much of the architecture survives the transformation. A clean sketch gives the system clear evidence about walls, openings, rooflines, massing, and camera direction. A cluttered image forces it to guess, and those guesses often appear as drifting textures, extra objects, or altered proportions.
Clean the drawing before upload
Start with the strongest version of the sketch available. A hand-drawn napkin concept may be useful, but it should be redrawn or photographed cleanly before it becomes the source image. Remove coffee marks, surrounding desk items, page folds, stray annotations, and unrelated reference images. If dimensions or notes are essential to the design discussion, keep them separate from the visual sketch rather than placing them across the façade.
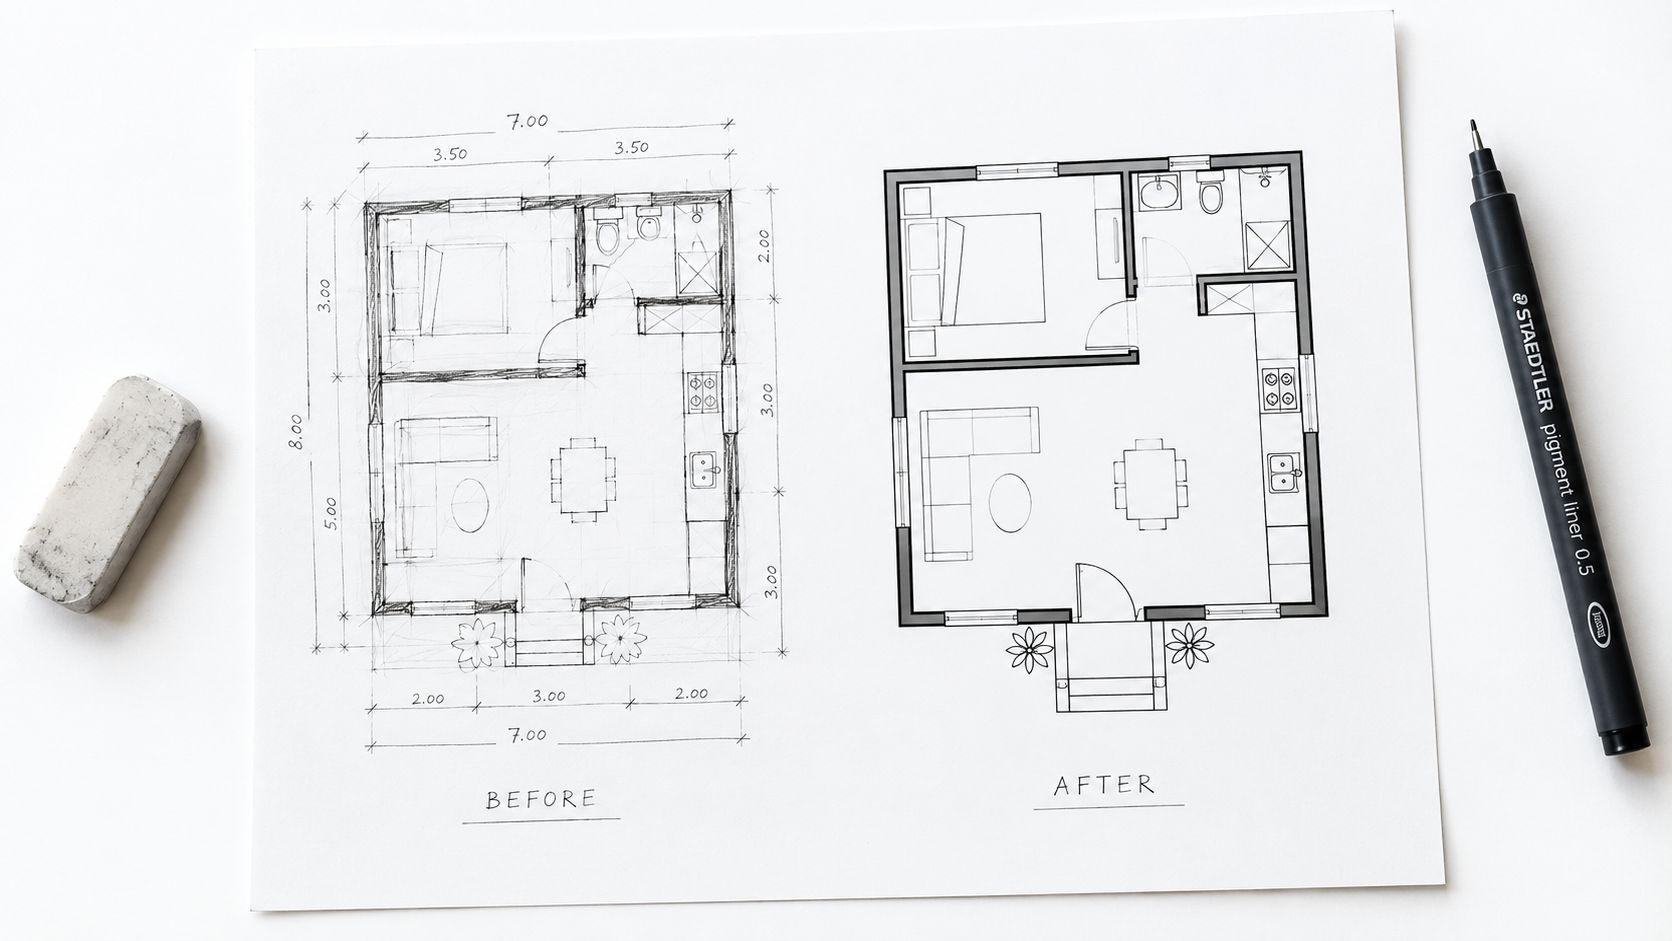
A stylus drawing usually needs less cleanup, but line hierarchy still matters. Walls and primary masses should read clearly, openings should be distinguishable from furniture or planting, and the horizon or perspective direction should remain consistent. A scanned plan can work as a spatial reference, but it may need stronger contrast and simplified linework if every symbol has the same visual weight.
Preserve the geometry that matters
The system can only preserve what the image makes legible. If a wall edge disappears into a shadow, an opening is drawn ambiguously, or a roofline is interrupted by notes, the generated render may replace that information with a plausible but incorrect interpretation.
Before upload, the designer should check:
- Primary massing: Make sure the main volumes have closed, readable boundaries.
- Openings: Mark doors and windows distinctly, especially where their placement affects the façade rhythm.
- Perspective: Keep receding lines consistent so the camera direction isn't ambiguous.
- Line contrast: Use enough contrast between the drawing and background for the structure to remain visible.
- Background discipline: Crop away surfaces, tools, hands, and unrelated objects that could be interpreted as part of the scene.
A useful readiness test is simple. If another designer can identify the principal walls, openings, roof form, and viewpoint without asking for clarification, the sketch is probably ready for a concept render. If the drawing communicates only an atmosphere, it may still produce an attractive image, but it shouldn't be judged as a geometry-preserving input.
How to Turn Your Sketch Into a Render in Nim
A client needs a visual before the design is fully modeled. You have a rough exterior perspective, a massing study, or an interior concept sketch, and need a convincing image without losing the design intent. Nim's sketch-to-render workflow is useful here, provided you treat the output as an interpretation whose geometric accuracy must be checked.
1. Open the task-specific template
Start with the architecture-focused Sketch to render template, not a general image-generation workflow. The template keeps the task aligned with the supplied drawing and its conversion into an architectural visual.
Use the cleaned source sketch prepared earlier. A perspective sketch can communicate a façade and viewpoint, while a massing study may communicate volumes more clearly. An interior drawing serves a different review purpose. Choose the input based on the decision the image needs to support.
2. Supply the requested input
Upload the sketch according to the requirements shown on the template page. Keep the composition centered on the building or room. Paper edges, desks, hands, scanning artifacts, and unrelated objects can become visual cues that the system incorporates into the result.
Provide any additional information the template requests, and avoid importing assumptions from another workflow. Settings, prompts, style controls, aspect ratios, and file options may differ between task-specific templates. Follow the fields that are available.
3. Generate the visual
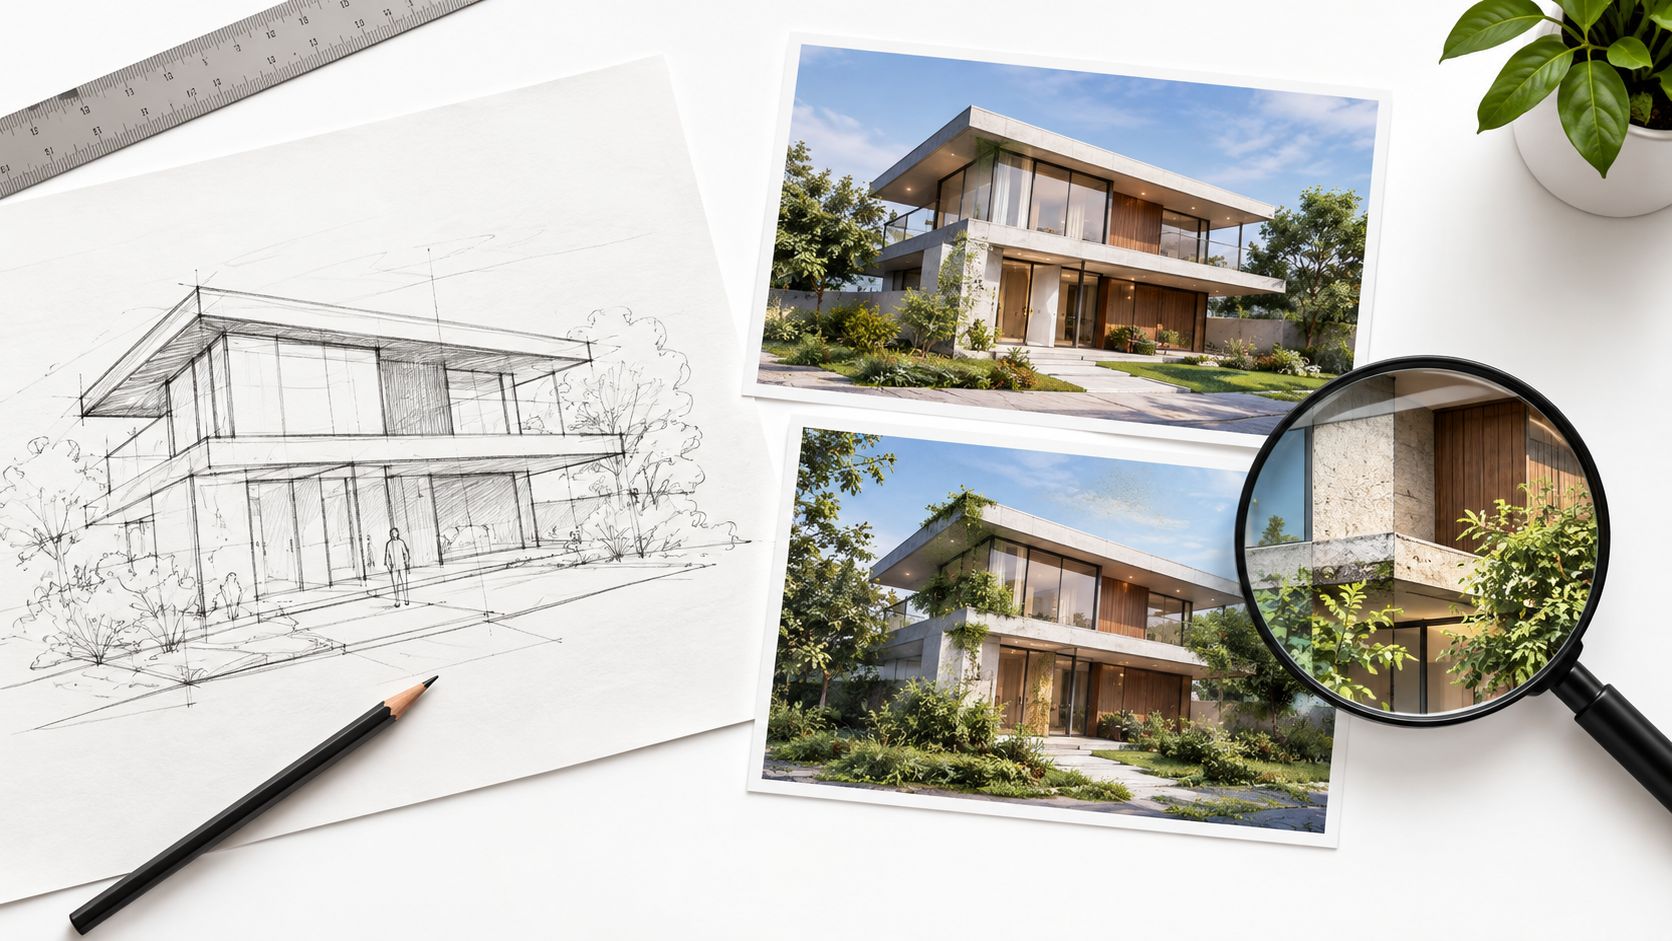
Generate the image, then compare it with the source before judging its quality. AI can preserve the broad arrangement while inventing window divisions, materials, roof details, landscaping, or even parts of the camera view. A polished result may therefore communicate the wrong building.
For client review, trust the image when the primary masses, openings, roof form, floor relationships, and viewpoint remain consistent with the sketch. Use it as a fast concept option when those elements drift, even if the lighting and materials look convincing. It is not a substitute for a production render when exact geometry determines the decision.

4. Review before download
Keep the generated image and original sketch visible together. Review the large forms first, then inspect openings, camera position, roof geometry, floor alignment, balconies, and any feature tied to the client's choice. Details matter only after the structure holds.
Practical rule: If the proportions are wrong, realistic materials and attractive lighting do not make the image proposal-ready.
Download the result after that review for client discussion, option comparison, or internal design review. If the architecture has shifted, revise the source sketch and generate again. Do not preserve invented detail merely because it looks finished.
Getting Fidelity and Realism Right
A polished architectural image can still be geometrically wrong. In one architectural sketch-to-render experiment, fidelity remained stronger than realism during the tested “Sketch-to-Sketch Render” stage. The evaluation recorded 4/5 for fidelity, while realism ranged from 2/5 to 3/5 across the generic systems tested. Detailing, visualization quality, and coherence could also score well, which shows why visual polish must be judged separately from preserved structure. The experiment reports those evaluation scores and categories.
A separate architectural design study evaluated 21 AI tools with sketches, text prompts, and 3D models, producing 25 renderings. Its criteria covered alignment, structural and functional plausibility, creative flexibility, prompt fidelity, and architectural coherence. That study's evaluation framework supports a fidelity-first review process.
Inspect the image like a visualizer
Start with the source drawing, not the atmosphere. Compare the output against:
- Wall lengths and the relationship between major masses.
- Window and door placement.
- Roof pitch, parapets, balconies, and projecting elements.
- Camera height, viewing direction, and visible building sides.
- Floor-to-floor relationships in interiors.
- Any added object that changes how the client interprets the design.
Review these points before judging materials or lighting. Reflections, planting, furniture, shadows, and sky conditions can improve communication, yet none can correct a shifted opening or altered roof form.
| Check | What Good Looks Like | When to Regenerate |
|---|---|---|
| Primary massing | Main volumes retain their position and relative size | A wing, roof form, or extension shifts noticeably |
| Openings | Doors and windows appear where the sketch places them | Openings move, multiply, or change the façade logic |
| Camera angle | The image shows the same viewpoint and visible surfaces | The system invents a new perspective or composition |
| Materials | Surfaces support the intended design direction | Texture hides or replaces the architectural form |
| Lighting | Light clarifies depth without changing the building's reading | Shadows make walls, openings, or levels unclear |
Treat the output as suitable for client review when the massing, openings, floor relationships, and viewpoint hold. Use it as a fast concept option when those elements drift, even if the image looks finished. Exact geometry still requires a production workflow.
Once the structure is settled, Nim's architectural material swap workflow keeps material exploration focused instead of asking one generation to resolve every design question.
Review the drawing first, then judge the finish. A convincing façade with incorrect openings is still the wrong visual.
Limitations Common Issues and Smarter Next Steps
The main limitation isn't that the image lacks detail. It's that AI can create detail where the sketch provides none. A blank wall may receive windows, a roof may gain a parapet, a site may acquire trees or vehicles, and an interior may contain furniture that was never designed. Those additions can make a concept feel complete while changing the proposal.
Hand-drawn sketches and rough massing studies are useful because they communicate broad intent without pretending to document every construction decision. They work best when the purpose is early discussion, option testing, or a quick exterior direction. They become risky when the client needs confidence in exact proportions, opening sizes, material junctions, or repeated views of the same building.
Treat inconsistency as a review problem
Texture drift becomes more noticeable when a team generates several iterations and expects the same façade language to remain stable. Brick spacing, cladding direction, railing patterns, furniture placement, and landscaping can change between images even when the source concept is similar. That doesn't make the workflow unusable, but it changes the correct role of the output.
The safest label is usually client-review visual or concept option, not final production render. The image can help a client choose between a lighter and darker façade direction, understand the atmosphere of an interior, or react to a massing idea. It shouldn't replace the technical model, measured drawings, or a controlled production visualization when exactness is part of the deliverable.
Choose the next transformation by purpose
Nim's architecture collection places Sketch to render alongside related transformation tasks including 3D to real, Before to after, and Animated render. The architecture template collection shows these workflows in the same design pipeline.
That grouping suggests a practical sequence. Use a sketch-to-render workflow to establish a visual direction, then move to a 3D-based or render-based task when the source contains more controlled geometry. For property presentation work, a separate virtual staging workflow may be more appropriate when the goal is to furnish an existing space rather than interpret an unbuilt concept.
The output becomes more valuable when the team states what it is for. A concept image can accelerate feedback without claiming more certainty than the input supports.
Start Your First Sketch to Render Today
A reliable sketch-to-render process has a clear order: prepare a clean drawing, provide it to the architecture-focused template, generate the visual, inspect proportions and openings, then download the result for review. The important discipline is to approve the design intent before approving the realism.
Nim's architecture-and-design directory explicitly includes a Sketch to render entry, and the broader template index lists the task as well, confirming that it's a supported category rather than a one-off page. The architecture-and-design directory lists Sketch to render among its supported template tasks.
The first test doesn't need a complete project. One clear exterior sketch is enough to reveal whether the generated image preserves the massing, camera angle, and openings that matter to the current conversation. If it does, the result can support a faster client review. If it doesn't, the sketch needs stronger structural information before another generation.
Nim offers a task-specific Sketch to render workflow for turning an architectural sketch into a reviewable exterior or interior concept. Visit Nim, open the Sketch to render template, and test one cleaned-up sketch while checking geometry before using the image in a proposal.
- sketch to render ai
- ai architecture render
- sketch to photorealistic
- Nim sketch render
- architectural visualization