3D Image Effect Explained: How It Differs from a 3D Render
A 3D image effect adds depth cues to a flat picture, while a 3D render builds a model. Learn the difference, the limits and how to prepare an image.
By Nim
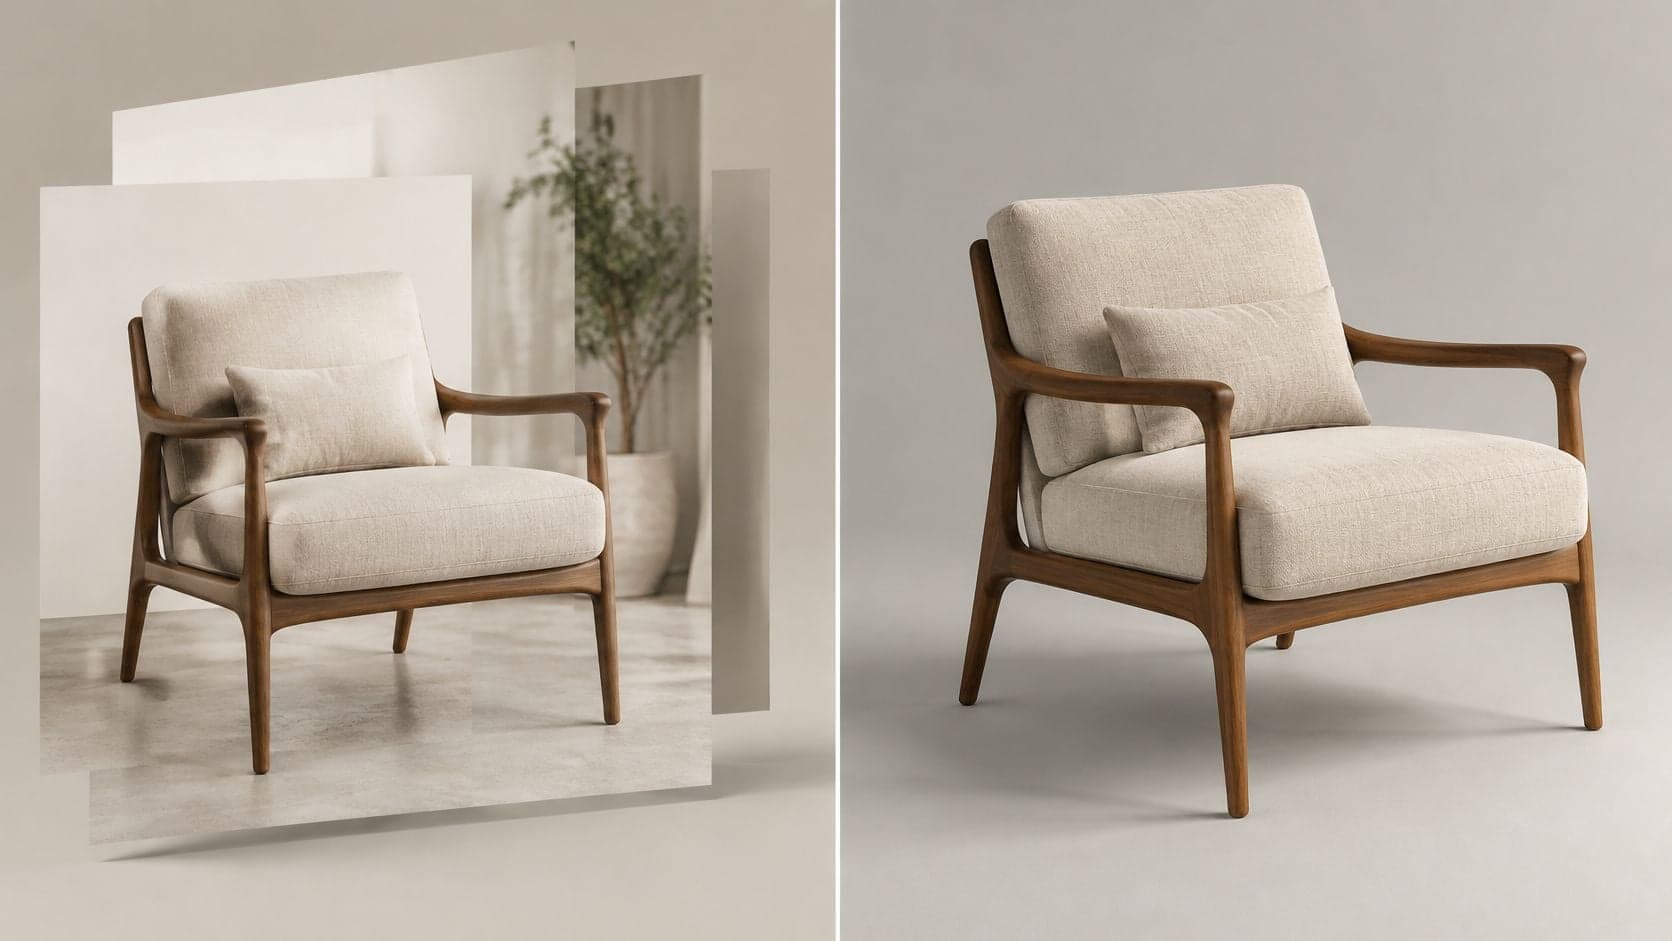
A 3D image effect adds depth cues such as layering, parallax, shadow and perspective to a flat picture without building any new geometry. It works by faking or supplying two slightly different viewpoints, producing a presentation of depth rather than a verified 3D model.
The stronger the effect, the wider the gap between presentation and proof. Depth makes a bottle look taller, a fabric look heavier, a room look deeper, and none of those impressions is a measurement. A seller publishes a striking animated product visual, a shopper reads the proportions and finish as verified, and nobody has checked either claim. That gap is where the expensive mistakes happen.
What a 3D Image Effect Does to a Flat Picture
Think of a pop-up book. Its layers physically sit at different distances, so the eyes and the hands agree about what is in front. A 3D image effect reproduces that arrangement on a single sheet of pixels: foreground elements move more, background elements move less, shadows and perspective are pushed to match, and the picture reads as dimensional even though nothing new exists behind the visible surface.
The principle is old. Curzon's history of 3D cinema traces it to stereoscopy, the presentation of two slightly different images, one for each eye, which Sir Charles Wheatstone demonstrated in 1838 with the stereoscope. Every later technique, from side-by-side cards to polarized cinema screens, works on the same premise.
Three forms turn up in everyday work. An animated parallax clip is built from one photo and relies on motion. A stereo pair supplies two coordinated views for devices that can show each eye its own image. A depth-shifted product or room image fakes the layering for ordinary feeds and pages, where nothing stereoscopic is displayed at all.
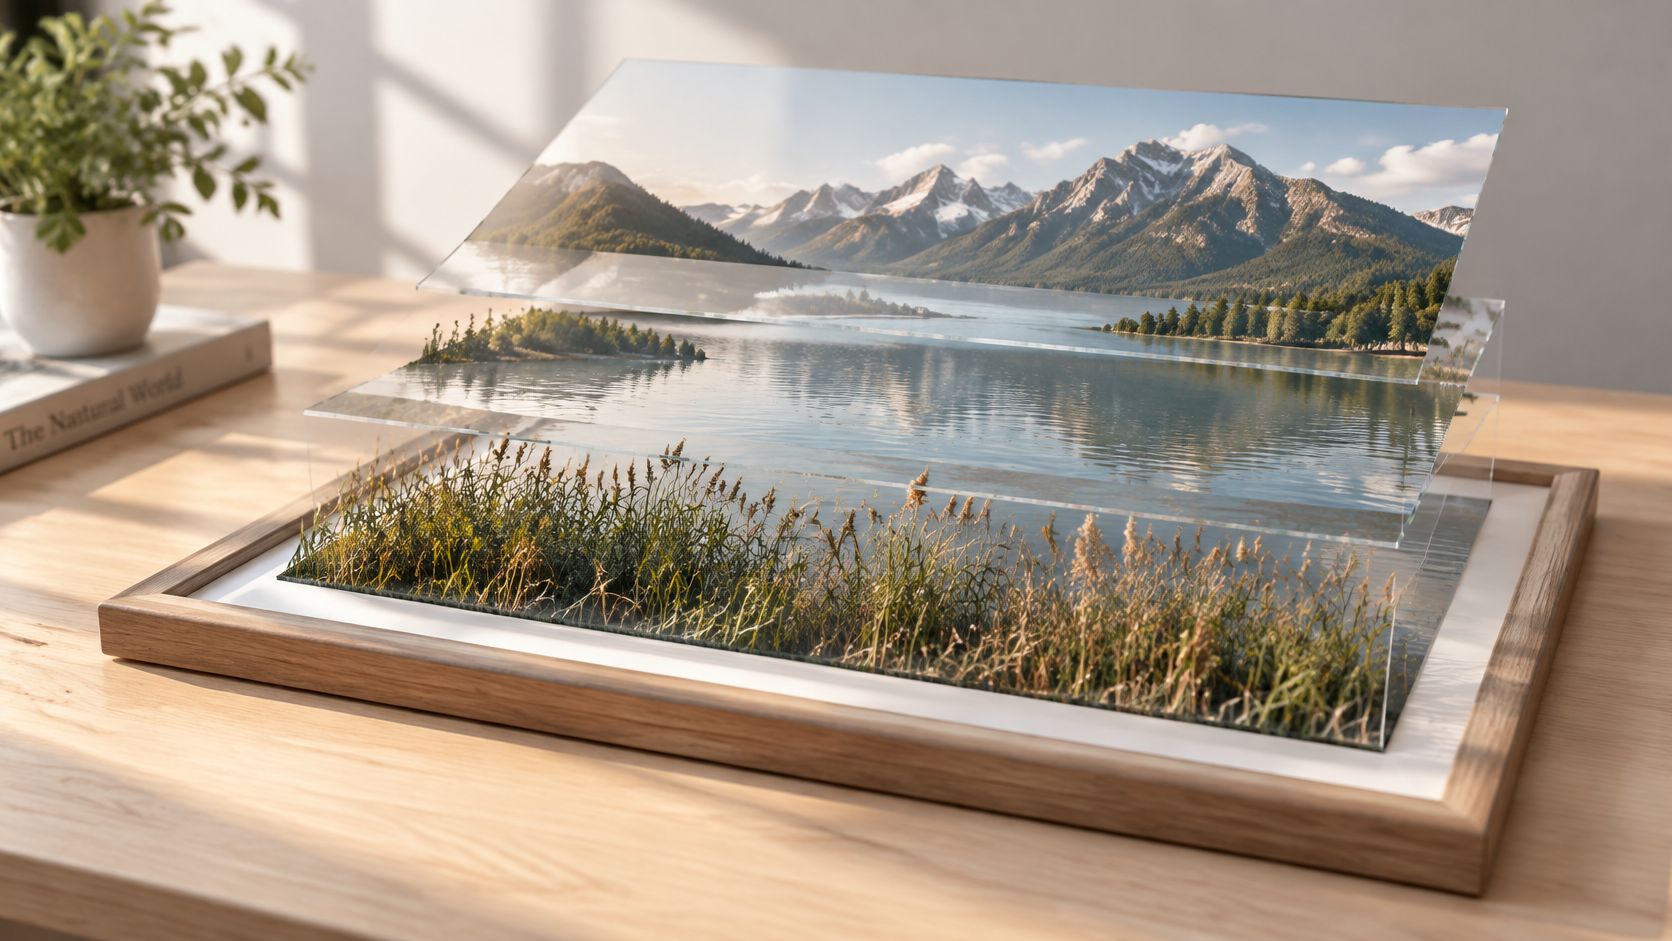
Physical layers, as in this cut-glass scene, show what the effect imitates. The effect succeeds only when its depth cues agree with one another. A 3D effect presents depth, and presenting depth is not the same as proving a measured 3D model.
The Depth Cues Your Eyes Read
Depth reads as a package, not a switch. The strongest single cue is binocular disparity: each eye receives a slightly different view, and the visual system fuses the two into perceived depth. Human eye spacing is approximately 50 to 60 mm, so rendering two camera viewpoints with controlled horizontal displacement produces the core stereo cue, as a review of stereo display perception sets out.
Disparity can't carry the picture alone. Shading, cast shadows, blur, linear perspective, texture gradients, occlusion and atmospheric perspective feed the same judgement, and viewers weight each cue by how reliable it looks in that particular scene. Get the disparity right and the shadows wrong, and the subject still looks pasted on.
| Depth cue | What it tells the viewer | What to check before publishing |
|---|---|---|
| Binocular disparity | Horizontal offset between two views gives relative distance | Near edges don't double or split when viewed at display size |
| Occlusion | A closer object overlaps a farther one | Overlapping edges stay clean and in the right order |
| Cast shadows | Where a shadow falls shows what sits above a surface | Shadows fall in a direction consistent with the depth order |
| Linear perspective | Converging lines show receding space | Floor and wall lines agree with object scale |
| Relative motion | Nearer objects shift more than distant ones during camera movement | Foreground moves more than background, and edges stay stable |
| Blur and atmospheric perspective | Distant areas look softer or lower in contrast | Far areas aren't sharper than the subject |
What cue agreement looks like
A bottle standing on a table is the smallest useful test. The label edge overlaps the body in front of it, the shadow falls behind and to one side, the tabletop lines converge toward a vanishing point that matches the bottle's scale, and during a slow pan the bottle shifts across the frame faster than the wall behind it. Four cues, one front-to-back order.
Practical rule: fix contradictions before adding more depth. A stronger effect built on contradictory cues produces a more obvious fake, not a more convincing one.
Disparity is a variable you tune, not a property a file either has or lacks. The International Telecommunication Union identifies disparity as a core depth variable in stereoscopic imagery and warns that improperly captured or displayed stereoscopic images can cause discomfort, in the ITU BT.2021 recommendation. That framing matches what happens on screen: too much separation, or separation that drifts between shots, is a quality problem, not a style choice.
If the motion is being built from a single photo, animating a still image with depth covers the frame timing that keeps the parallax readable. Before publishing, list the cues the image contains, then remove or correct any that point the wrong way.
How a 3D Image Effect Differs From a 3D Render
Two workflows both get called 3D, and they produce different things. The split comes down to what sits behind the visible surface.
| Aspect | 3D image effect | 3D render |
|---|---|---|
| Starting input | A flat image, photo or plan | A 3D scene with modelled objects, camera and lights |
| What you get | Animated image, short video or stereo pair | Rendered still or sequence from a 3D scene |
| Geometry | Pixels or layers shifted for depth; no hidden surfaces | Modelled surfaces that exist behind the visible side |
| Lighting and materials | Estimated or painted into the source | Computed from the scene's lights and materials |
| Accuracy claim | A visual impression of depth | Checkable against the model, if the model is accurate |
| Typical use | Social posts, product highlights, presentation visuals | Architectural visualization, product views from many angles |
The geometry row does most of the work. Shifting pixels creates the appearance of a chair back or a window reveal, but there is no chair back and no reveal, only stretched edge pixels where the original photograph ran out. A render has those surfaces, which is why it survives being rotated, inspected and measured against a drawing.
Lighting follows the same logic. An effect inherits whatever light was recorded or painted into the source, so a new viewpoint can't relight the subject. A render computes its shading from the scene's own lights and materials, so the same object stays consistent from any angle.
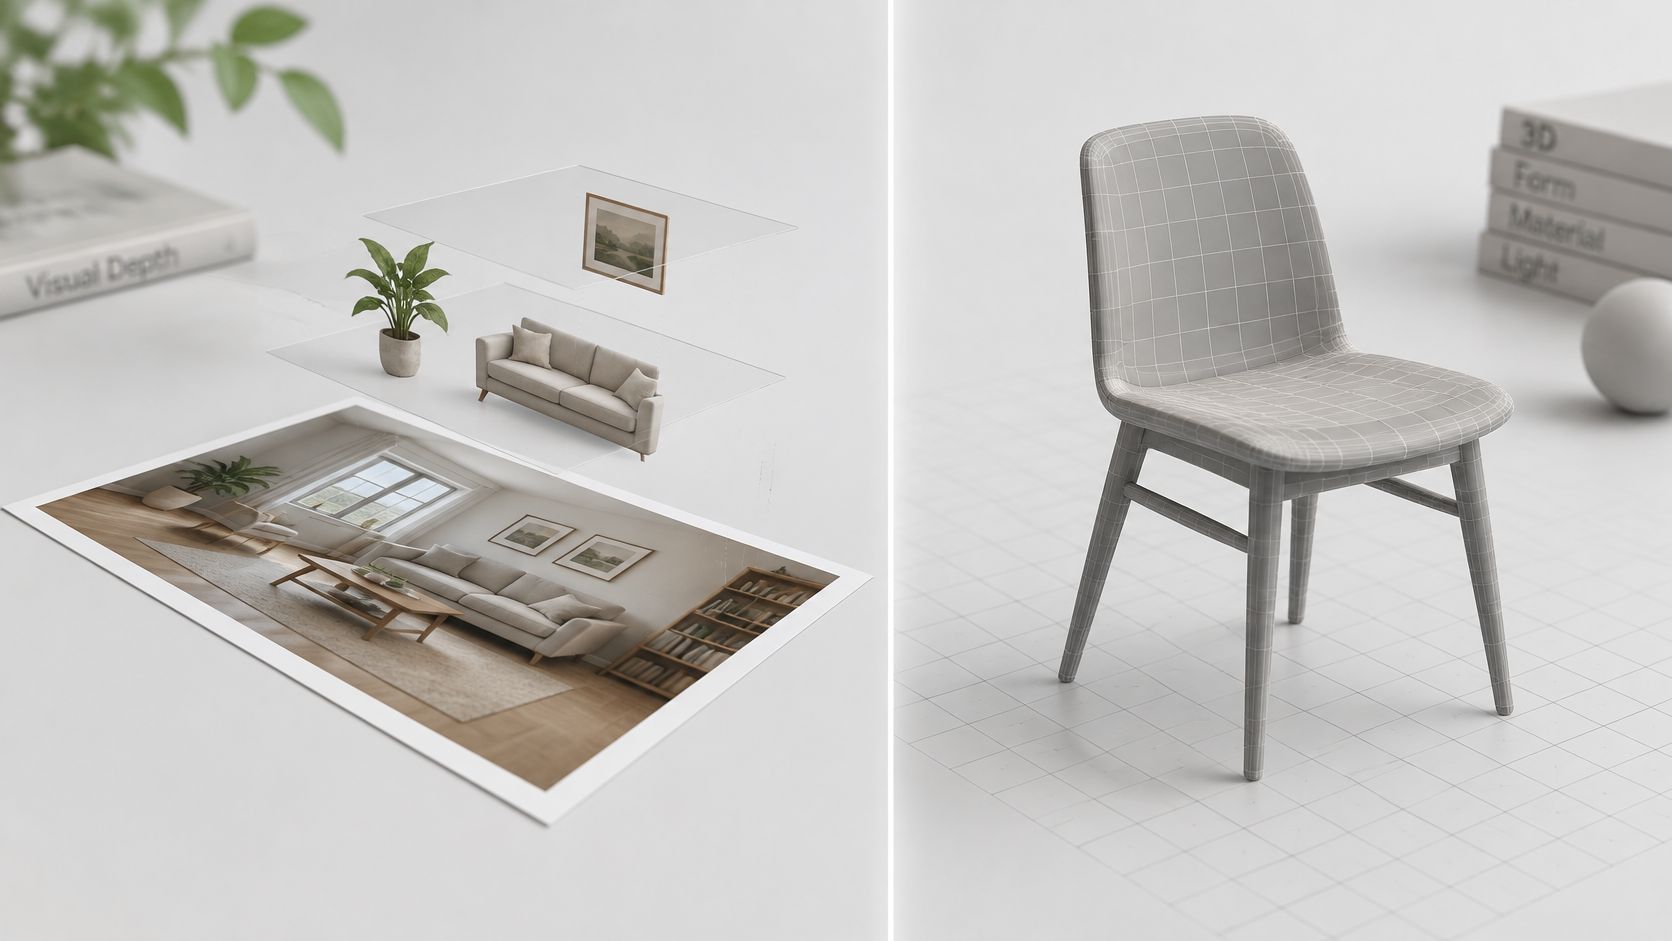
The left side is presentation, the right side is geometry that exists.
A single image with a decorative shadow or a tilted frame isn't binocular stereo. The WebXR specification defines an inline-stereo session as exposing two primary views, one identified as the left eye and one as the right eye. That's the technical line: unless a workflow generates or displays two coordinated perspectives, the result is a motion effect, not a stereo image.
Say a letting agent has a floor plan and a marketing deadline. A walkthrough built by moving a camera through inferred depth reads well on a listing page and tells a viewer where the kitchen sits. An architect's render, built from a model, also shows the ceiling height, the window reveal depth and the railing dimensions as actual geometry. The difference matters the moment how a 3D architect render is produced enters the conversation, because the render can be checked against drawings and the effect cannot.
The choice comes down to what the viewer must do. If they need to rotate the object, inspect it from many angles or measure it, a render or a verified model fits better. If the goal is attention and a sense of space, an effect may be enough.
Where a 3D Effect Can Mislead Buyers
Shoppers can't handle the product through a screen, so they read the image as evidence about scale, texture, material and colour. A strong depth effect improves attention without proving any of those things, and an e-commerce industry overview of 3D visualization makes the underlying case plainly: multi-angle inspection reduces uncertainty because it shows more of the object. A parallax animation adds movement around the same single view.
The stakes are commercial.
The global 3D visualization segment generated US$1,800.2 million in revenue in 2025, according to Grand View Research. Spending at that scale goes toward persuasion, which is exactly why the label on a product visual matters. A buyer who believes a depth effect was measured will trust it the way they would trust a drawing, and the effect has earned none of that trust.
Depth sells on its own terms too. About 70% of Avatar's 2009 box-office revenue came from 3D screenings, and 3D grosses reached $1.85 billion in 2010, according to a scholarly account of the 3D revival. Audiences paid a premium for the sense of presence, and the same pull operates on a product page where the animation outdraws the plain photo beside it.
The disclosure checklist
- Compare every frame to the original. Stop the clip at its first, middle and last frames and check branding, packaging text, colour and proportion against the untouched photo.
- Take dimensions from a measured source. If a listing states a size, it comes from a specification sheet or a tape measure, never from the effect.
- Watch the edges. Invented detail appears where depth was estimated, so inspect silhouettes, corners and thin structures such as handles and cords.
- Label illustrative use. State that the visual is a stylised presentation rather than a verified 3D model when it appears in a listing or an ad.
More realism is not more trustworthy. Visual polish raises confidence, and confidence is not the same as an answer to whether the lid actually fits.
Judge the clip by what it conceals. An animation that hides a seam makes the buying decision harder.
How to Prepare a Source Image for a Depth Effect
A depth map is a control image: it decides how far each part of the picture travels. In displacement-based processing, lighter areas shift pixels in one direction and darker areas shift them in the other, with intermediate tones producing intermediate movement. Every defect in the output traces back to that map and the edges it defines.
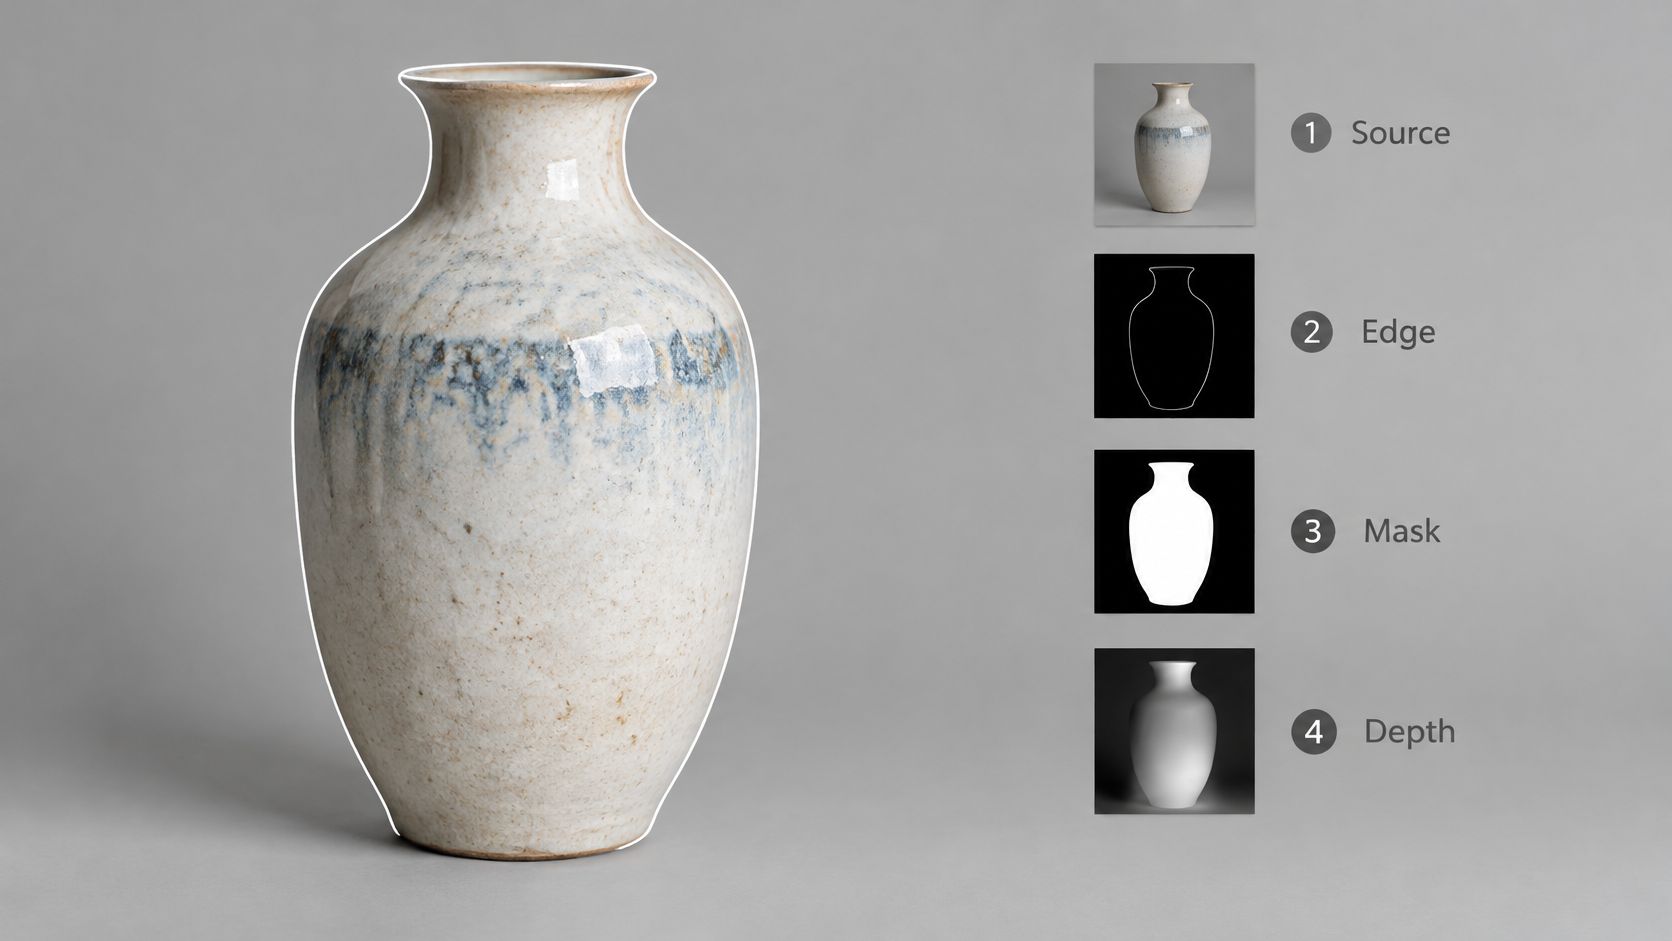
Here the same vase appears as source, edge, mask and depth map, which is the order the work happens in.
-
Choose a source with real separation. Edges define where depth can be placed, so pick a frame where the product or room feature sits clearly against what's behind it. A subject photographed against a plain, contrasting background gives the map a clean boundary to follow. If the subject blends into a similar background, no amount of processing will invent the boundary. Clean up the input first if it needs it, using an AI photo editor workflow to remove clutter rather than to change the product.
-
Mark what belongs in front. Write down two or three objects that should read as closest and two or three that should stay back. That list becomes the reference for judging the output, because without it every version looks plausible.
-
Build the depth map bright near, dark far. Assign brighter values to regions intended to appear closer and darker values to regions meant to sit farther away, then check the result against the original. Displacement reads tonal values alone, so the map itself, rather than any strength setting, decides what moves and how far.
-
Inspect transitions around the subject. Sharp, noisy or inconsistent edges produce stretched borders, holes and warped outlines, because the image is being shifted according to the map rather than reconstructed from new photographic information.
-
Keep the original and record what's estimated. Note the regions you guessed: the back of a chair, the gap behind a door frame, the far side of a vase. Those notes are what supports an honest label on the finished clip.
-
Open the template that matches the input and supply exactly what it asks for. Don't assume controls that aren't on the page. If the template takes an image, give it the image; if it accepts a description, describe the subject and the motion you want, and nothing else.
-
Review frame by frame at final size. Check the first frame, the midpoint where displacement usually peaks, and the last frame, watching the subject outline rather than the overall impression.
A flat image with little separation gives only subtle parallax, and stronger displacement won't repair poor edges. A good result looks almost dull in review: subject edges stay clean, shadows keep a consistent direction, and the front-to-back order holds from the first frame to the last.
Checking the Result on Screens Your Audience Uses
Two viewing problems decide whether the work survives contact with an audience. The first is comfort. Stereoscopic effects can create a vergence-accommodation conflict when the eyes converge on a rendered depth while the display's focal distance stays fixed. In a 2024 mixed-reality study, a model of this conflict predicted up to 66% of the variance in pointing behaviour, with a fitted 0.2° inward fixation offset making targets appear about 2-3 cm closer than the rendering geometry specified, as reported in that mixed-reality study.
That's a design constraint rather than a curiosity. Aggressive pop-out depth, rapid camera moves and foreground elements crossing the viewer's position all reduce comfort and perceived accuracy. Keep the strongest cues behind the apparent screen or focal plane, change disparity gradually, and review the clip on the device it will be seen on.
The second problem is hardware. Depth-enhanced viewing can run on a conventional 2D monitor using a webcam, CPU-based processing and inexpensive red-cyan glasses at a stable 30 frames per second, as research on low-cost stereo viewing demonstrates. Most feeds, product pages and presentations offer none of that, so the effect has to read through layering, motion and shadow alone.
The publishing checklist
- Tested at two sizes. View at the smallest and largest size you'll publish, since near objects that separate at one scale can double at another.
- No doubled edges. If the subject is hard to fuse or shows a visible left and right ghost, cut the depth separation.
- Gentle motion. No abrupt disparity jumps, no fast push-ins through the subject.
- Static fallback saved. A plain version for anyone who feels discomfort, can't perceive the depth, or sees the clip compressed by a platform.
If the effect still communicates in the fallback's absence, publish it. If it only works while someone is hunting for the depth, publish the static frame and keep the animation as an optional extra.
Choose a Nim Template That Matches Your Source
The right template is the one built for the input you already have. A floor plan and a product photo need different starting points, so read the requested input on the template page before generating anything.
- A floor plan: Floor Plan to Video Walkthrough takes a plan as its input and serves a listing page where a static plan image undersells the space.
- A clean product photo: Enhance Product Photo is built for a single product shot as its source. Keep the unaltered photo beside the result and label the output as a stylised view.
- An architectural plan that needs a rendered look: Plan to Render fits that task. Treat the result as a visualization, never as a dimensionally verified reconstruction of the property.
Each template defines its own input and its own steps, so the field on the page is the authority rather than a general assumption about how these tools work. When a depth-led clip has to sit alongside the rest of your content, Nim's video styles and creation categories cover Animations, Cinematic, Timelapse, UGC, Keyframes, Motion transfer, Celebrity selfie and Fashion videos.
Open the template that matches your source at Nim and prepare exactly the input it asks for.
- 3d image effect
- 3d render
- depth effect
- parallax image
- 3d visualization