How to Use an AI Photo Editor in Nim for Four Tasks
Use an AI photo editor in Nim to enhance product photos, replace backgrounds, upscale images and make headshots, with the inputs and checks for each.
By Nim
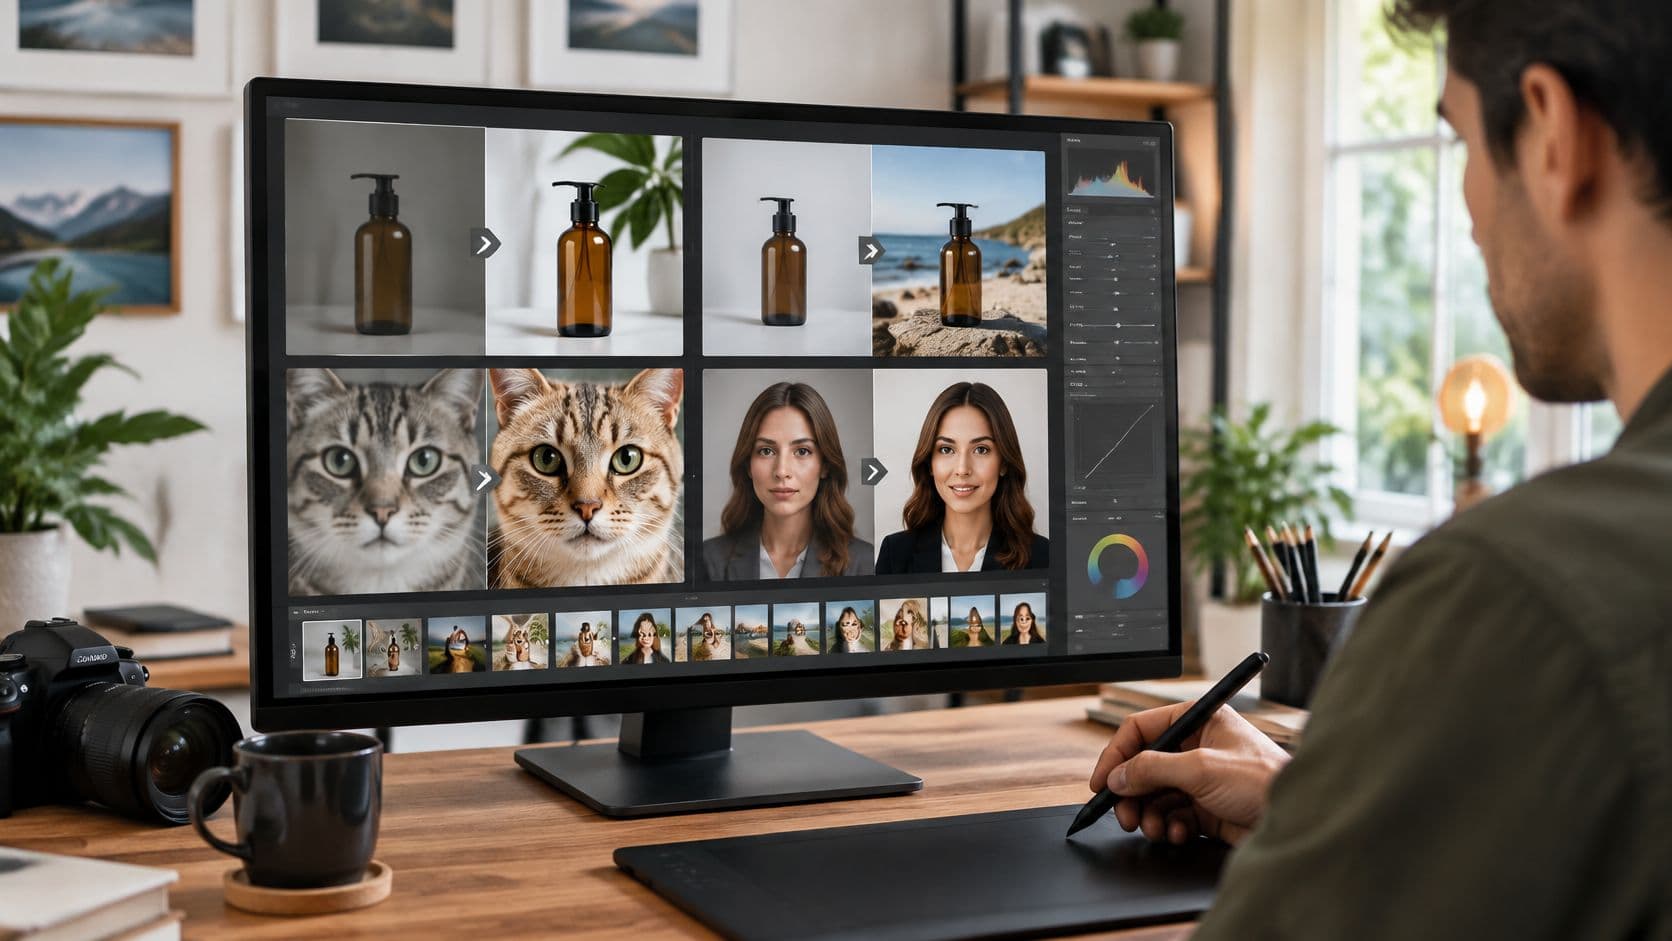
Four images sit in a folder this morning and each one needs a different repair. A product shot came back from a phone camera flat and slightly dim. A bottle is sharp but sits on a countertop you don't want buyers to study. A supplier sends a 600-pixel file that has to fill a homepage banner. And a photo of you from a conference needs to work as a profile portrait by Friday.
Most sellers try to fix all four in one pass of one editor, then wonder why the product looks cleaner but somehow wrong. The fix starts before any upload. Name the job, because each job fails in a different place: the product's shape, the edge where it meets the new background, or the person's face.
Nim splits these into separate photo templates. What follows is the template for each job, the source photo it needs, and the specific check that protects the thing you can't afford to change.
Which Nim Template Fits Your Photo Task
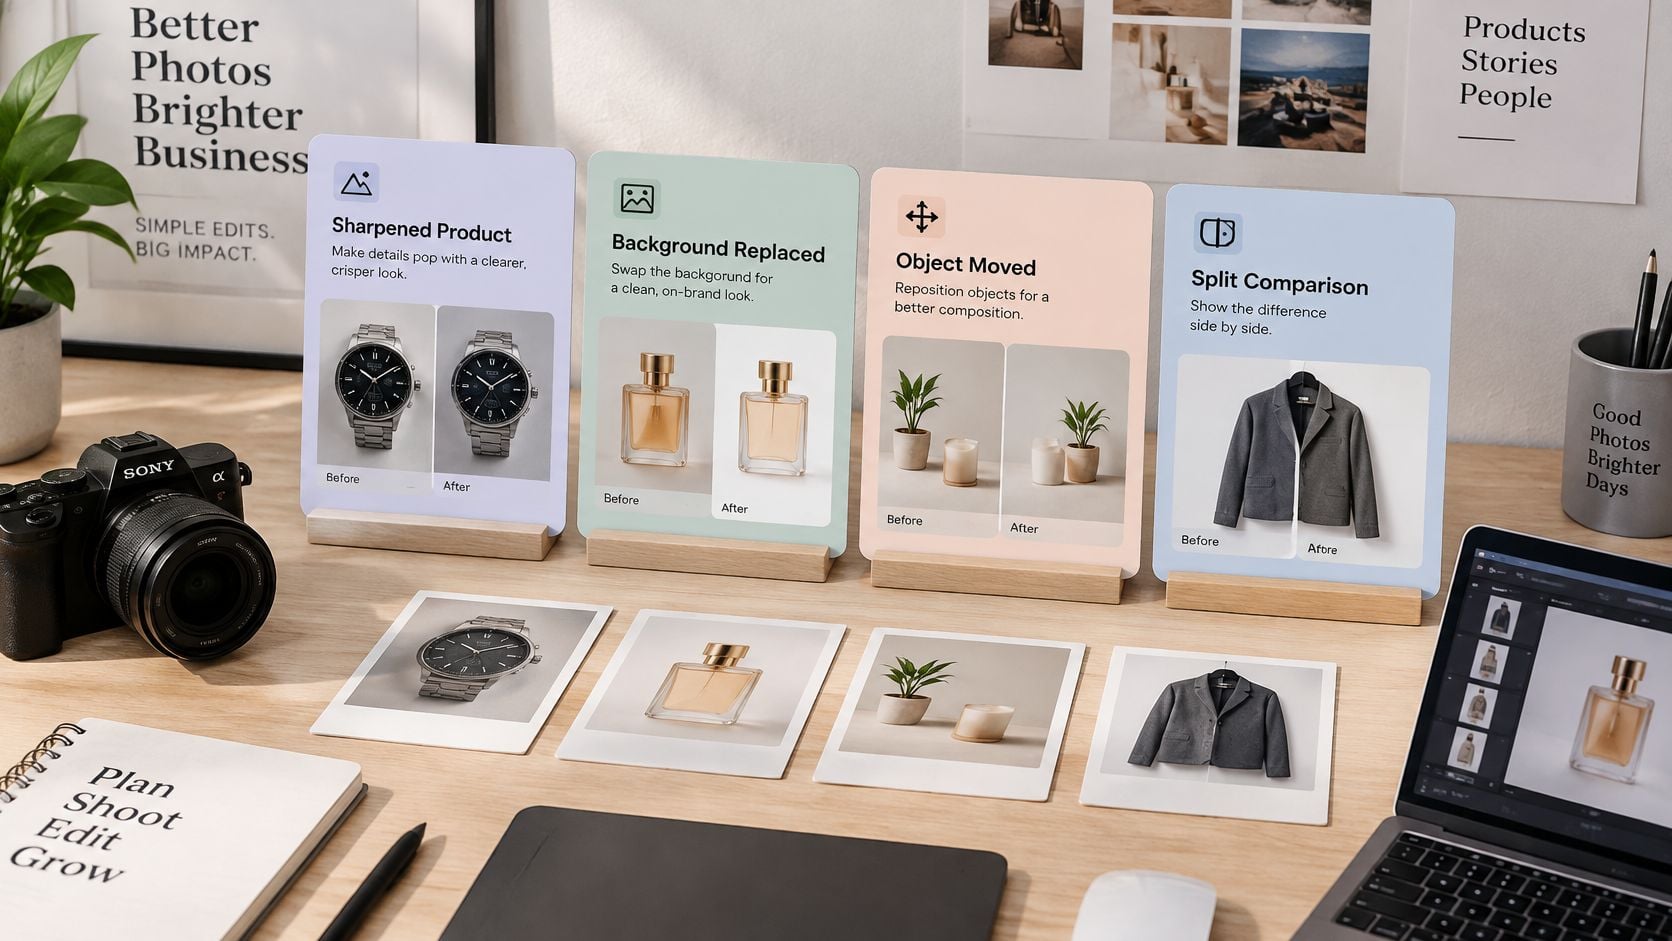
Choose a Nim template by the part of the image you want to change. The source photo and the final accuracy check depend on that choice.
| Task | Nim template | Use it when | Source to prepare |
|---|---|---|---|
| Product photo enhancement | Enhance product photo | You need a clearer version of an existing product shot | A sharp photo of the actual product, fully in frame |
| Background replacement | Background replace | The subject must stay the same and only the setting changes | A photo with clearly visible subject edges |
| Upscaling | Upscale | An existing image needs more detail for a larger use | The original file, not a copy re-saved several times |
| Professional headshot | Professional photo | You need a polished portrait based on your own photo | A sharp, well-lit photo of one person facing the camera |
Match your job to a row, then check the chosen template's form for its required input. Prepare the source photo accordingly. In the sections below, each task has its own accuracy check: product details, subject edges, image detail, or personal likeness.
For a product image, check that enhancement has not changed the item. With a replacement background, inspect the boundary around the subject. For an upscale, compare fine details with the original. For a headshot, check that the person still looks like themselves.
Practical rule: choose the template for the change you want, not the file you happen to have open. A sharper image can still be wrong if the edit changes the product, subject or person.
Enhance a Product Photo Without Changing the Product
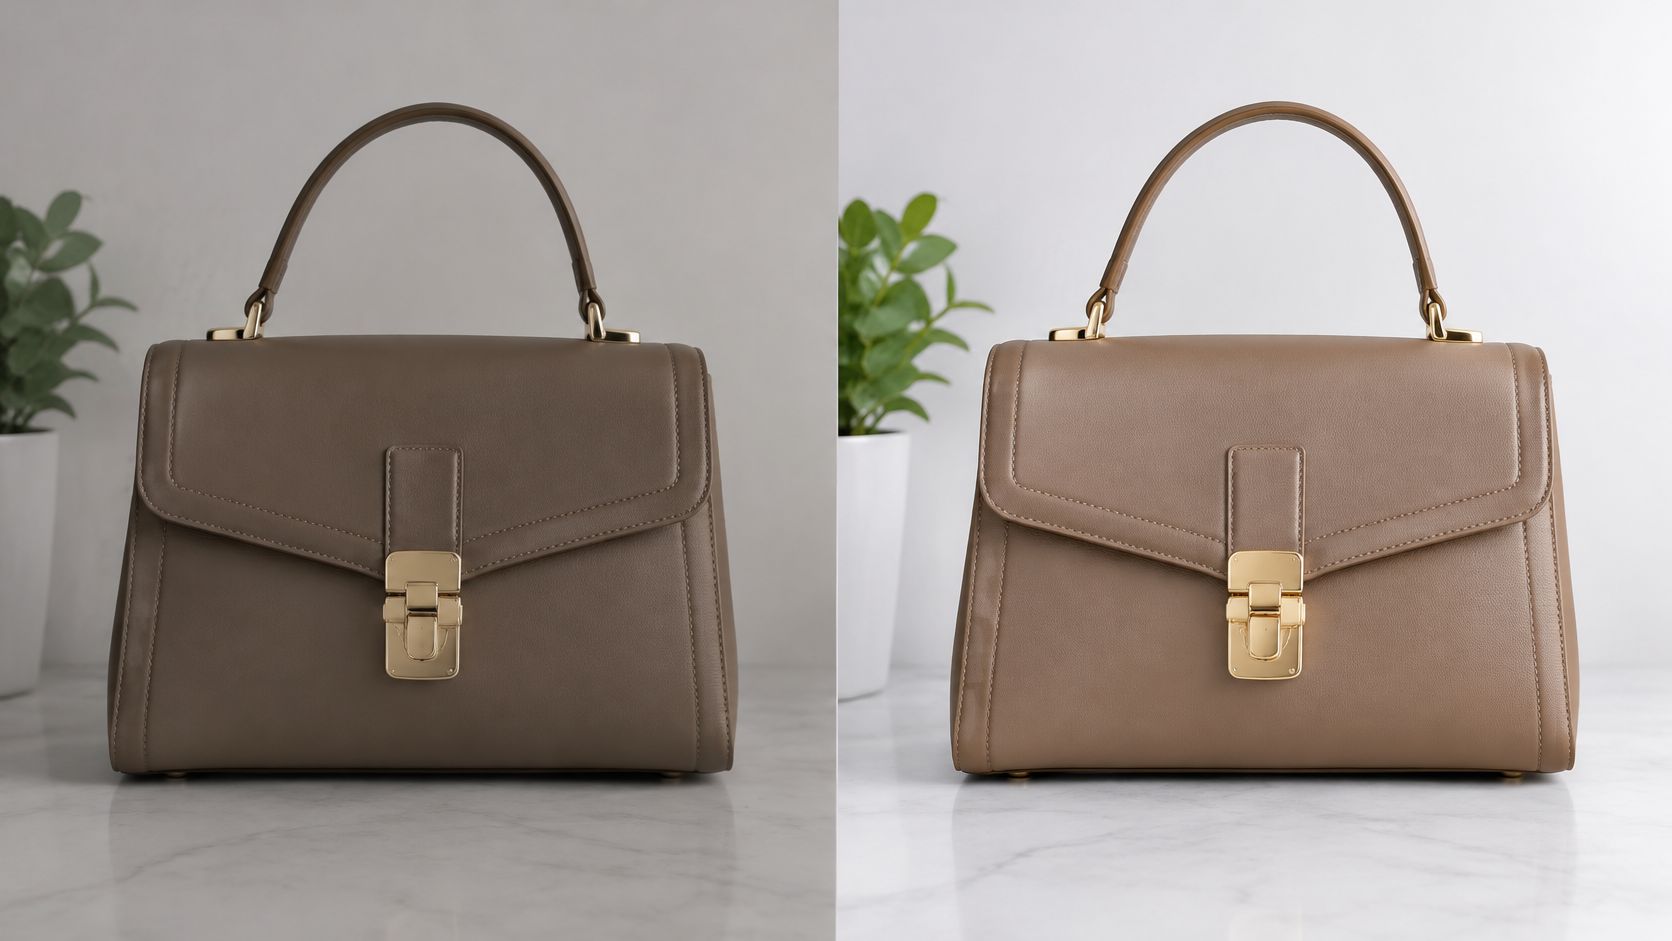
A product photo can be brighter and clearer without changing what the buyer receives. If the colour shifts, the silhouette changes, or the edit invents texture, the image no longer represents the item accurately.
The Six-Step Pass
- Start with a clean source. Use a sharp photo of the physical product, fully in frame and free of added text or stickers. A cropped corner cannot be recovered through enhancement.
- Open the Enhance product photo template and provide the input its form requests.
- Change one thing per generation. Keeping the requested edit narrow makes it easier to spot whether the product itself has changed.
- Check the result against the original at 100% zoom. Inspect the logo, label text, edges, colour and material texture.
- Reject changes to product details. If the silhouette shifts, packaging text is rewritten, or the colour no longer matches the physical item, try again with a cleaner source.
- Keep the original and approved edit separate. Retaining both makes the edit's provenance clear.
A VSCO report on photographers' use of AI found that 83% of 401 surveyed photographers use AI somewhere in their workflow. In a separate group of more than 1,000 AI-adopting photographers, 90% mainly used it for post-processing rather than image creation. Enhancement is a focused editing task, so judge the result by what changed and what stayed intact.
For product images, use three checks: does the photo look cleaner, did only the requested change happen, and do the untouched areas still match the source? The TIEdit benchmark assesses edited images for visual quality, instruction fidelity and content preservation, reflecting why no single similarity measure captures every kind of edit.
If the source is dim or badly framed, address the capture first. The guide to product photography covers the choices that can make enhancement unnecessary. A reliable result preserves the product's shape, readable labels, consistent shadows and recognisable colour.
Replace the Background and Keep the Subject Intact
Choose this template when the item or person is exactly right and the setting is wrong. A bottle shot on a white sweep that needs to sit on a kitchen counter keeps its shape, label and proportions. Only the surface and the light behind it change.
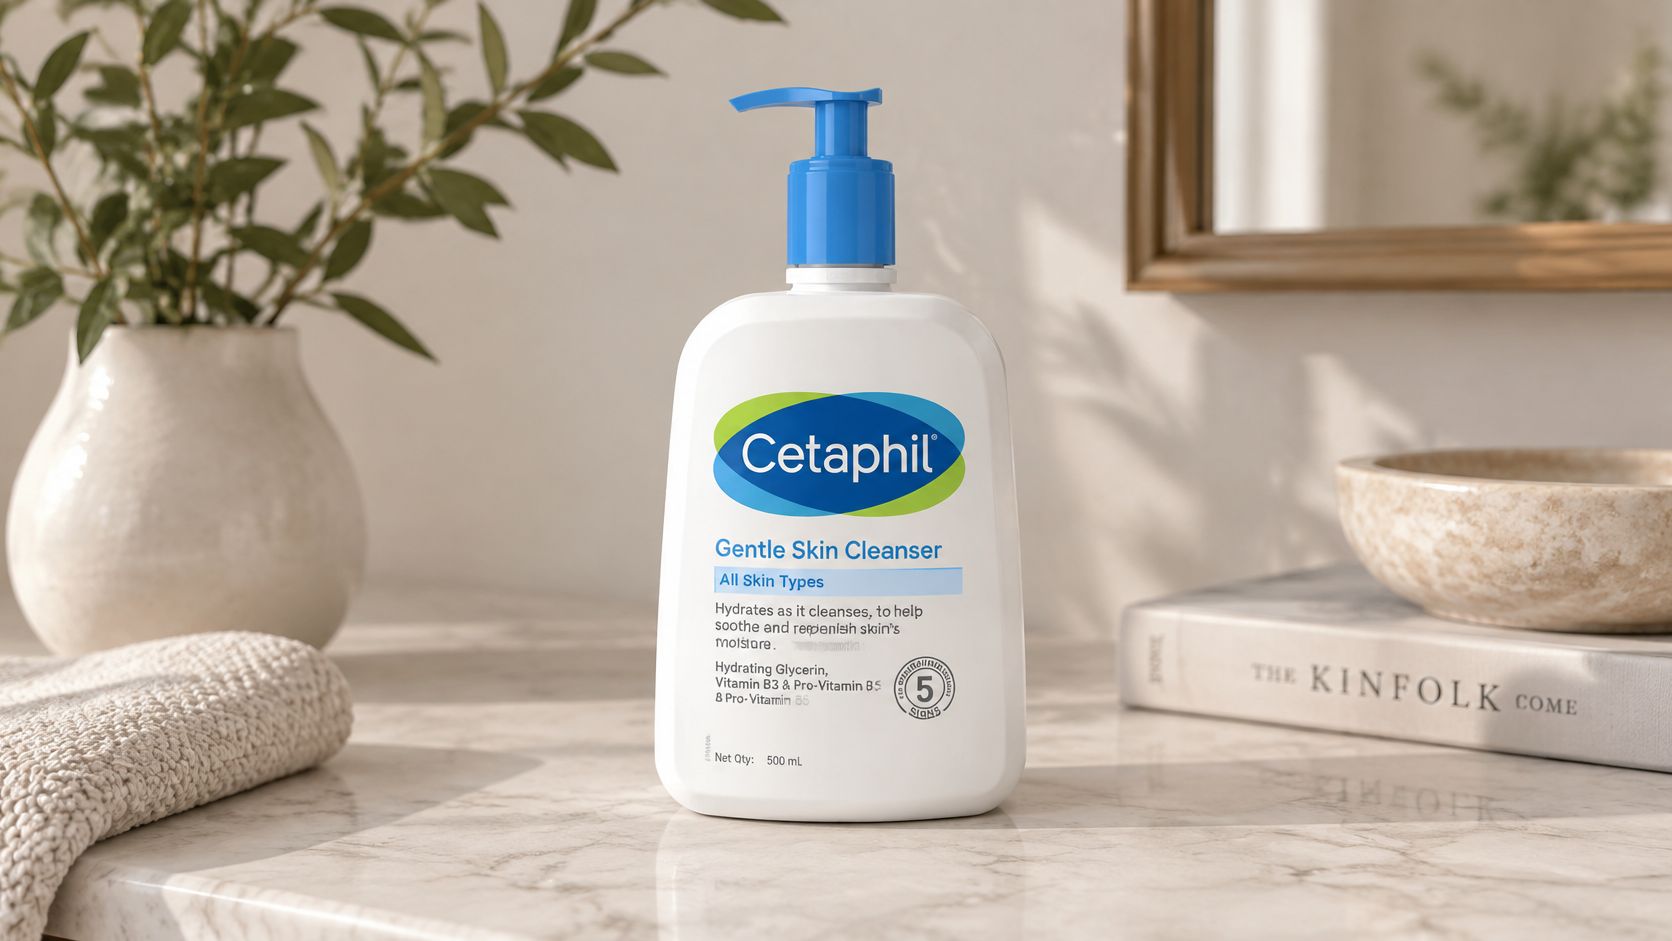
- Pick a photo with clear subject edges. Sharp focus on the subject matters more than a beautiful backdrop, because the old background is going away.
- Crop so the frame doesn't cut through the subject. A half-visible lid gives the tool nothing reliable to separate.
- Open Background replace and provide the input the form requests.
- Generate one background, then inspect it against the per-task checks in the review section, with most attention on subject edges, contact shadows and the light direction falling across the subject.
On a bottle, look at the label edge and the rim first. Those are where halos and clipped detail show up before anything else does.
Run enhancement and background replacement as separate generations, reviewed separately. Combining them into one request makes each defect harder to trace and leaves you guessing which step broke the edge.
Buyers won't catch a sloppy edge for you. Research on AI product-image perception found that people often can't reliably identify whether an unlabeled image is AI-generated, with recognition approaching random performance overall, per the ACM study on product image perception. The judgment has to come from your side of the screen.
Keep the new setting only if the subject still matches the original photo: same proportions, same label, same surface finish. If anything on the product moved, the background is wrong for this job.
Upscale a Small Image Before You Publish
The situation is familiar. A supplier's file is small and the slot it has to fill is a full-width banner, or a photo that looked fine on a phone now has to hold up in print. The Upscale template handles the enlargement.
The limit comes before the steps. Upscaling works from detail already in the file. It can add pixels and tighten an edge, but it can't make unreadable text legible or restore what the camera never captured.
- Choose the best original you have. Skip screenshots and files that have been re-saved several times, since each pass threw detail away.
- Open the template and provide the input its form requests.
- Generate the result.
- Inspect at 100% zoom, reading text, fine patterns, fabric weave and hair edges before you judge the whole image.
- Compare at the size it will be used, not at thumbnail size on a laptop.
Failure signs are consistent. Lettering turns to mush or gains invented serifs. A woven texture becomes a repeating smear. Hair turns into a solid fringe. Edges that were soft in the original come back with a crispness the lens never produced.
Softness at small size is survivable. Invented detail at large size is not, because it claims something the product doesn't have.
For a product listing, confirm the upscaled file still shows the same markings as the original: the same model number, the same care symbols, the same printing on the cap. If the enlarged version shows invented texture or distorted lettering, publish the original at a smaller size instead. A smaller accurate photo beats a large one that misprints the label.
Make a Professional Headshot from Your Own Photo
Start with a clear, well-lit photo of yourself facing the camera, with your face unobstructed and no one else in the frame. The source photo sets the limit for how faithfully the headshot can preserve your identity.
A dim indoor photo or glare across glasses can make a weak starting point. Retake it near a window; remove the glasses only if that reflects your usual appearance.
Open the Professional photo template and provide the input it requests. Generate a result, then compare it with a recent real photo of yourself at the same crop. Check that your face shape, eyes, teeth, hairline and current appearance still match.
If the output resembles someone else, reject it and regenerate from a clearer source. For a business profile, keep the likeness as the standard, not how flattering the portrait looks.
If you want to enlarge a portrait, the guide to enlarging a face beyond its original resolution explains where added detail stops being trustworthy.
Review Each Output Before You Publish
Inspect the requested edit and its boundary first: check that the change appears where intended and that the transition looks clean. Then scan the whole frame for unexpected alterations. These can be easy to miss when attention stays on the edited area.
Expect some outputs to need another attempt. A 2025 study of everyday image-editing requests found that existing AI editors could fulfill 33.35% of requests, according to the study's authors. Treat a missed edit as a reason to review the result and source, not as proof that the task is impossible.
| Element | What to check | Most relevant task |
|---|---|---|
| Logos, labels and packaging text | Legible and unchanged from the original | Product photo enhancement |
| Product edges and silhouette | No halos, clipped corners or invented shapes | Background replacement |
| Contact shadows and reflections | Consistent with the new surface and lighting | Background replacement |
| Repeated patterns and textures | No seams, smearing or invented detail | Upscaling |
| Eyes, teeth and hair boundaries | Consistent with the actual person | Professional headshot |
Automated review can miss defects. In the EditInspector evaluation, researchers assessed 783 edits from a 1,053-edit benchmark set using criteria such as edit accuracy, artifact detection, visual quality and scene integration. They found that state-of-the-art vision-language models performed poorly as edit inspectors. Use automated feedback as one input, then inspect the image yourself.
For each output, check the edited area and scan the rest of the frame for unintended changes. If a defect appears, return to the source and narrow the requested edit before generating again. For ads, listings and profile portraits, ask another person to review the image before publication.
Any unintended change is a reason to reject the output, even if it improves the image's appearance. If colour is the only issue and the geometry is sound, use this guide to photo colour grading to treat colour correction as a separate pass.
Decide Whether to Disclose and Claim an AI Edit
Two decisions sit between an approved image and a published one. Does the edit need a label, and what can you claim about the result.
On labelling, the evidence cuts against blanket disclosure of every tweak. Research on AI disclosure labels in utilitarian product contexts found that labels reduced perceived authenticity, aesthetic appeal and social presence, with a statistically significant negative effect on brand trust that varied by product type, according to the study in Frontiers in Computer Science. Sellers feel that trade-off directly.
Label the change, not the tool. "Background digitally staged" tells a buyer something useful. "AI edited" tells them nothing they can act on.
So draw the line at the purchasing decision. Disclose when an edit changes what arrives in the box: a corrected colour, a removed scratch, a condition that reads better than it is, accessories that weren't in the original frame. A swapped backdrop that only puts the item on a tidier surface needs a short note, not a warning.
On ownership, the US Copyright Office's AI guidance states that a work must be created by a human to qualify as a work of authorship, and that material produced by a machine without creative human input isn't registrable by itself. When a work contains more-than-minimal AI-generated material, applicants must disclose it and briefly describe their human contribution. A Congressional Research Service summary of that position adds that protection generally extends only to the person's own contributions, which is why keeping the source photo and a record of your edits matters for more than bookkeeping.
This is general information, not legal advice. Rules differ by jurisdiction, so check the ones that apply to you before you register or publish.
Keep Provenance With Your Approved Image
Keep the approved image's source file and edit history alongside the final version. A separate record helps you trace which changes were made if the image is revised or questioned later.
Google's guidance on image metadata explains that compatible C2PA metadata may appear in Search's “About this image” feature and can indicate how an image was created or edited with AI. Support depends on the app, device, or service that adds the metadata, and it may not survive every export, resize, or platform upload. Check the final file rather than assuming its provenance information remains attached.
Where supported, provenance lets viewers inspect a record of an image's creation or edits. It does not confirm that every visual detail is accurate, so keep the original and the approved version together.
Nim offers templates for product enhancement, background replacement, upscaling, and professional portraits. Choose the template that matches the job, then keep its output with the source image and a brief record of the intended change. Start with one edit and compare the result with the original before publishing.
- ai photo editor
- photo enhancement
- background replacement
- product photo editing
- AI headshot