AI Virtual Try-On: A Practical Workflow for Product Visuals
Learn how ai virtual try-on works and how to build a clean product visual workflow in Nim, from garment prep to video ads and limitations.
By Nim
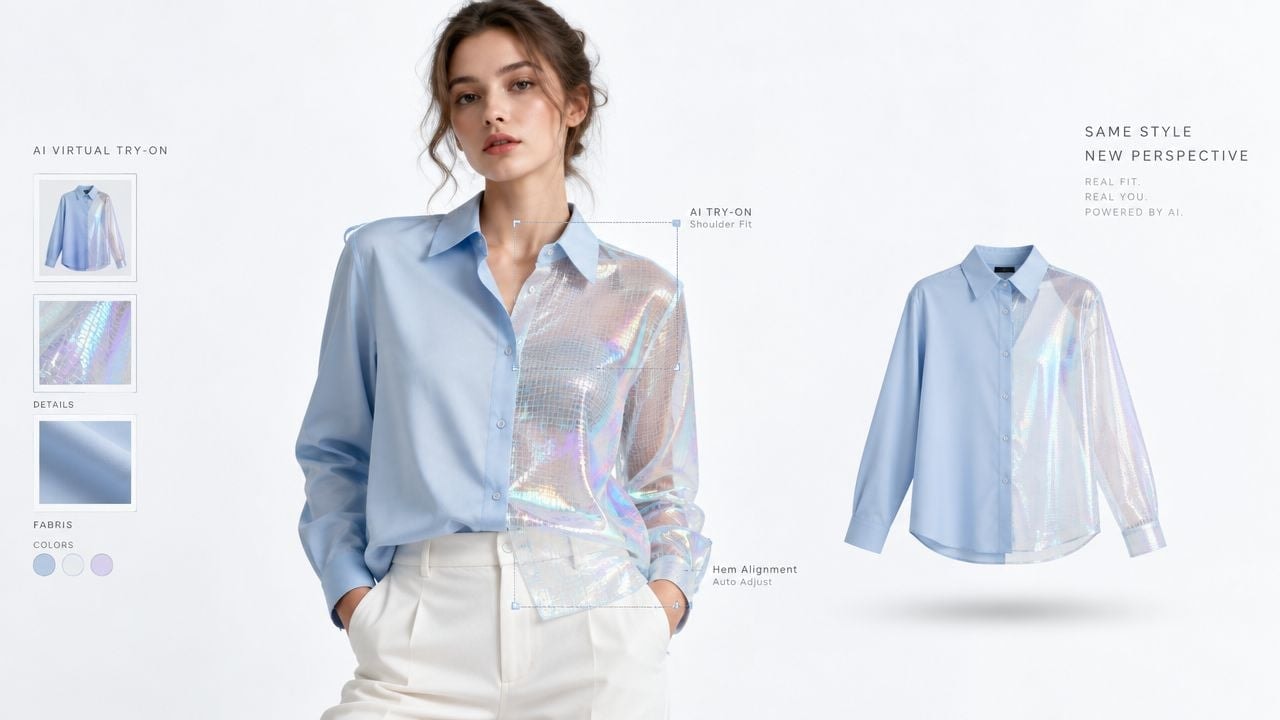
AI virtual try-on places a garment or accessory onto a person image to preview how it looks, while most platforms also support marketing-style visuals where the result is a creative presentation rather than a guarantee of fit. The global virtual try-on market reached about USD 15.18 billion in 2025 and is projected to reach USD 48.1 billion by 2030, implying roughly 26% CAGR according to virtual try-on market statistics.
A common production problem starts with a simple request: a clothing seller has a clean product photo, but the store needs something more useful than a flat image. The item must appear on a person, fit a consistent visual identity, work on a product page, and perhaps become a short ad. A generated try-on image can provide that starting point, but it still needs inspection and preparation before publication.
The practical workflow is therefore broader than “upload a photo and see it on a model.” The process moves from source preparation to generation, review, background cleanup, image enhancement, and optional motion. Nim's templates support that type of asset development, provided each result is treated as a marketing visualization, not a dimensional record of how the garment will fit a particular shopper.
What AI Virtual Try-On Does
A catalog team may begin with a flat product photo but need a model image, a consistent campaign look, and an asset that can later support a short ad. AI virtual try-on combines a person image with a garment or accessory image, then renders the item onto the person. The system estimates placement, preserves parts of the subject's pose and identity, and reconstructs areas hidden by the garment.
Two applications require different review standards.
- Interactive customer try-on lets a shopper upload a personal image and preview a product on their own appearance. The result supports styling decisions and gives a more personal reference before buying.
- Marketing-style product visualization starts with a prepared model image and produces a catalog shot, campaign image, social post, or ad concept. Presentation, consistency, and product communication matter more than a precise personal fit prediction.
Nim's virtual try-on workflow is suited to the second application. A seller can combine the product and person images, create a try-on-style composition, then continue with background replacement, mug shot styling, image enhancement, and short video creation. The generated frame becomes a working asset, rather than the end of a one-off demonstration.
What the image can and cannot prove
A polished result can still misrepresent fabric drape, stretch, sizing, body proportions, or construction details. Research on virtual try-on describes recurring deformation and blur problems, while diffusion-based methods such as CAT-DM at CVPR 2024 focus on improving realism and retaining texture detail.
Texture identity needs its own inspection. Logos, embroidery, distinctive patterns, and fine surface details may change even when the overall image looks natural. Guides on 3D garment and surface representation for 3D artists provide useful context for digital object and material representation, but they do not remove the need to check each generated asset.
Use AI virtual try-on to produce usable product visuals. Treat the output as a marketing visualization, not proof that a garment will fit a particular shopper.
Running a Clean Try-On in Nim
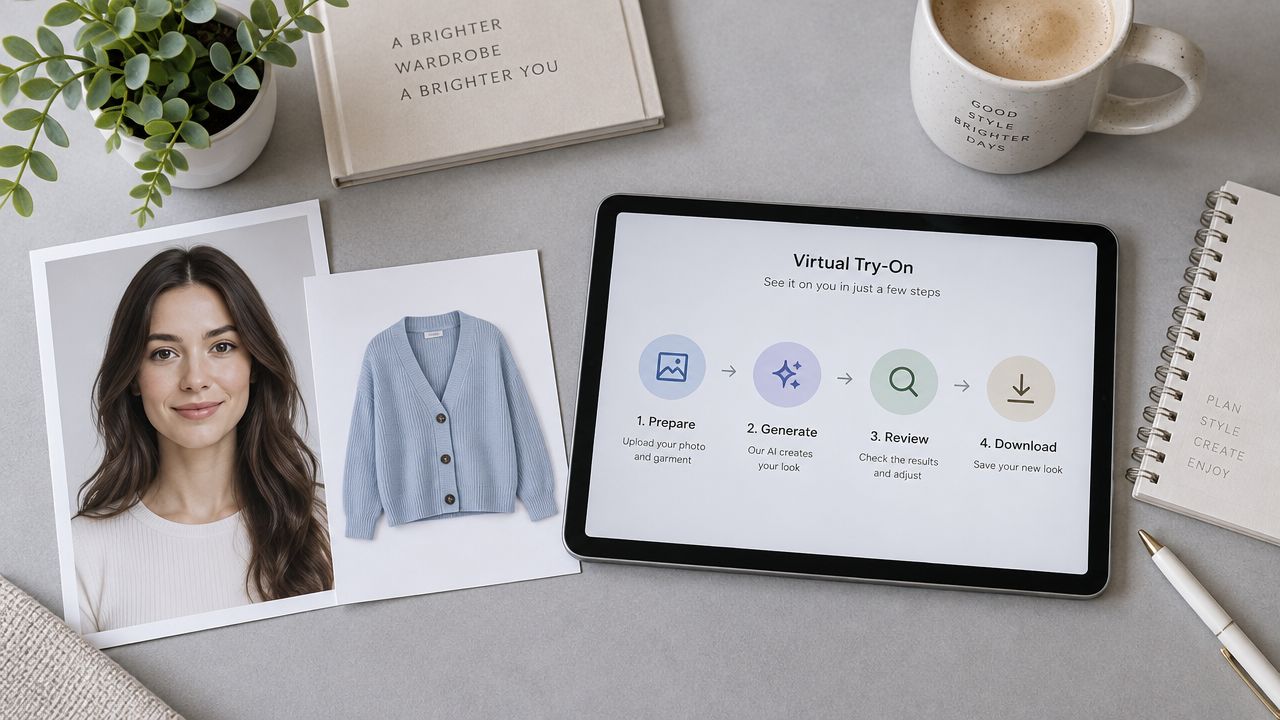
A catalog image can look convincing at first glance and still fail under review. Start with source images that make the garment's intended placement clear before opening the Nim virtual try-on template.
Prepare the two inputs
Use a person image with a front-facing subject, even lighting, and a neutral pose. Keep the torso visible where the garment will sit. A cropped face or crossed arms can obscure the shoulder line, sleeve position, and hem, leaving the generation process to infer details that should already be visible.
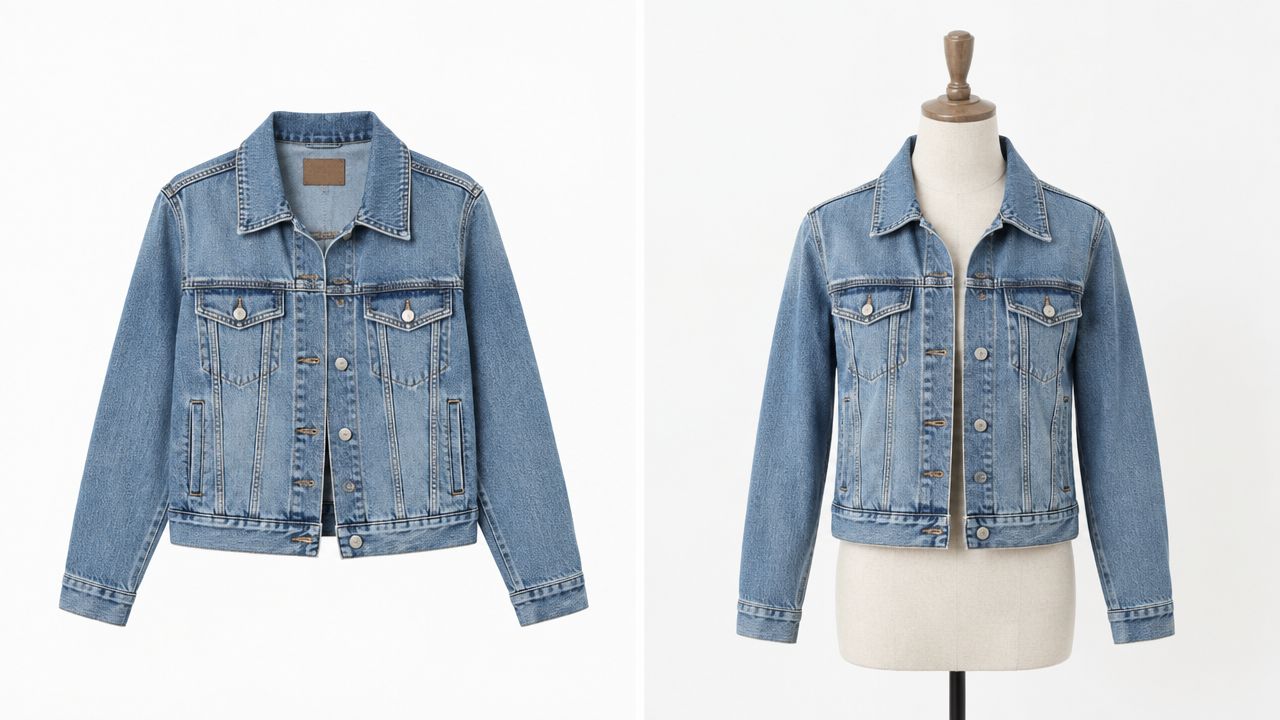
The product image should show the full item, laid flat, well lit, and without a mannequin. A plain background separates the garment from its surroundings. It also makes review more reliable, since unusual folds, hidden hems, and partially covered straps are easier to identify before generation.
Generate with the prepared images
Upload the person image and product image to the template, then generate the try-on result. The template creates the composition, but the input images control how much interpretation is required. A front-facing shirt is a more controlled source than an angled garment with one sleeve hidden.
Review before keeping the asset
Review the output as a production step. Inspect the shoulder line, neckline, sleeves, and hem, then check areas where arms, hands, hair, or the original clothing overlap the generated item.
Reject results where the garment appears fused with skin, loses a recognizable closure, or changes a pattern in a way that could mislead a buyer. A natural-looking pose does not compensate for a wrong logo or distorted product edge.
Check the asset at the size and crop planned for its next use. A flaw that is easy to miss in a full image can become obvious in a product-page crop or short ad.
Download for the next pass
Download the result that passes review, while retaining the original person and product images and any working files. A flattened export can feed the next Nim workflow, including background replacement, mug shot styling, image enhancement, or short video creation. Keeping the source files makes it easier to adjust the composition when a different crop or visual treatment is needed.
Practical rule: The first acceptable try-on image is a source for the next asset, not automatically the final product-page image.
Cleaning Up the Result With Background Replace and Mug Shot
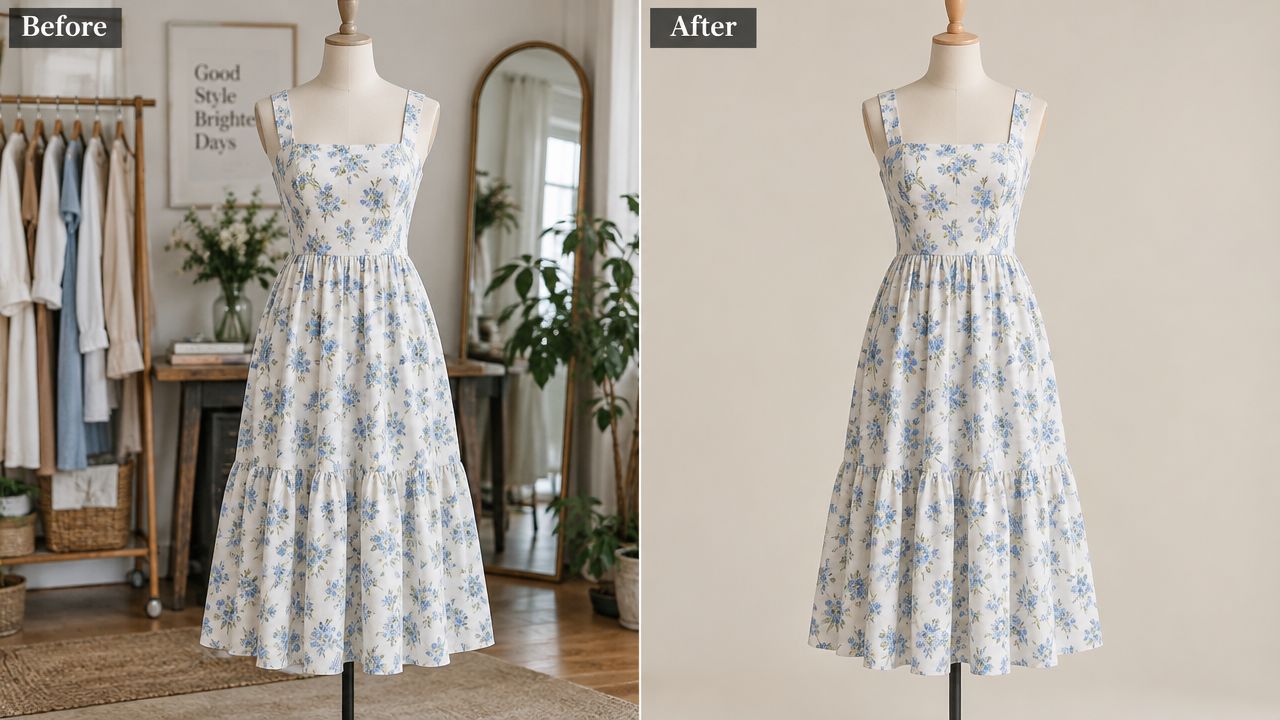
A try-on image can place the garment correctly and still look out of place beside the rest of a catalog. Background color, lighting, and visual density may differ from one asset to the next, and those differences become obvious when products share a category page. Treat the generated image as the start of a usable visual workflow, not the finished listing asset.
Choose the right source
Use a try-on image with a clear subject edge, minimal motion blur, and a garment that stays fully within the frame. Cropped sleeves, uncertain hair boundaries, or fabric extending beyond the image give the replacement workflow less reliable information. A clean source makes the next edit easier to judge.
The background replace workflow keeps the person and garment while changing the surrounding scene. Choose a clean studio color for product-page consistency, a lifestyle setting for an ad, or a solid swatch to align a product family. Match the setting to the channel and keep its contrast under control so the garment remains the focus.
Background replacement cannot correct an inaccurate garment composite. Review the neckline, sleeves, print, and edges before changing the scene.
Use mug shot for tighter framing
The mug shot template serves a different purpose. It works from a model-style image and emphasizes the face, shoulders, and upper garment. That framing suits a product-detail thumbnail or category-page card where the neckline, collar, or upper construction must read quickly.
Use the same approved try-on result for different placements when its details hold up at each crop. A full-body background replacement shows silhouette and styling. A mug shot prioritizes the neckline, chest print, and expression while removing much of the surrounding scene. Check that the crop does not hide a defining garment feature or make the fit harder to assess.
For a broader content system, the workflow for adding backgrounds to videos helps carry a related setting into motion assets later. Preserve the subject edge, keep the background treatment consistent, and judge every output against its intended channel.
Polishing Product and Model Shots With Image Enhancer
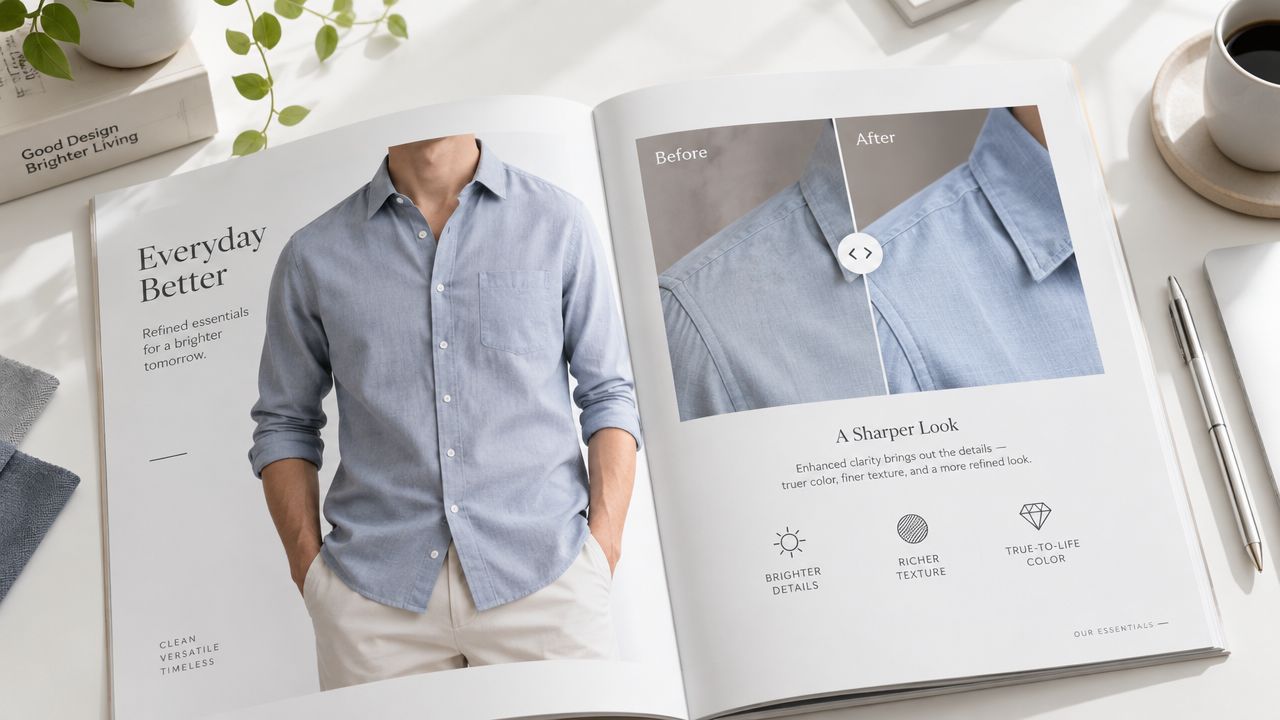
A try-on image can look convincing at first glance and still fail beside a professional catalog photo. After the garment composite and scene are set, inspect lighting, soft edges, facial detail, and fabric texture before publishing. The finishing pass should improve clarity while preserving the product's appearance.
Choose the polishing route according to the subject the image must preserve.
For a model or lifestyle image
Use Image Enhancer for a model shot, styled portrait, or lifestyle composition. It helps refine the relationship between skin, fabric, shadows, and ambient light after the try-on and background work are complete. Keep the result natural. Excessive enhancement can make skin look synthetic or give fabric an artificial surface.
Review the face, hairline, garment edge, and fine texture after generation. Check the neckline for halos or oversharpening, and compare the fabric's apparent weave with the source. Distinctive prints, logos, and color blocks deserve a direct comparison against the original product image, not just a judgment based on overall sharpness.
For a flat product image
Use Enhance Product Photo for a flat-lay, packshot, or isolated garment image. This route focuses on clean contours, visible construction, and stable product color rather than portrait lighting or skin detail.
Sequence matters. Enhancing the source product can sharpen the item, but it does not determine how the garment should sit on a person. Establish the try-on composite first, set the background second, then enhance the finished scene so the subject and its context are refined together.
Keep the review restrained. Compare the polished output with the original garment, checking color, printed details, hardware, proportions, and edges. The asset is ready for a catalog or ad workflow when the final pass improves presentation without changing what the product appears to be. That standard turns try-on from a visual demo into a usable commerce asset.
Turning Stills Into Try-On Video and Ad Creatives
A still that passes catalog review can still fail once it moves. As the garment, face, background, and body position change across frames, the product must remain recognizable and the image must stay coherent.
Nim's try-on animation workflow turns a try-on-style still into a moving product presentation. Use related UGC ad templates when the concept needs a presenter-style structure, spoken context, or a more conversational product reveal.
Select a stable starting image
Start with the strongest approved still, not the first usable generation. The garment should be visible, the background should support the intended setting, and the face should already look natural. Animation exposes weak edges, awkward hands, and inconsistent details that a single frame can hide.
Keep the concept narrow. A short ad can show one product benefit, a styling change, or a before-and-after transition. Match the script or prompt to the evidence in the image. If the still demonstrates appearance only, the ad should not promise precise fit.
Review the rendered sequence for:
- Skin tone drift, especially across the face, neck, and hands.
- Clothing flicker, where prints, seams, or logos change between frames.
- Occlusion errors, particularly around hair, hands, straps, and sleeves.
- Temporal instability, where the garment reshapes as the subject moves.
Video try-on research evaluates appearance and motion separately, using paired metrics such as SSIM and LPIPS alongside FID and FVD in the Fashion-VDM paper. Those measures help with technical assessment, but production review still depends on watching the actual sequence at normal speed and checking the product detail frame by frame.
A practical workflow is to render a short draft first, inspect the first and last frames, then review the transition points. If the garment changes shape or the subject's identity shifts, return to the source still or simplify the motion rather than masking the defect with faster cuts.
For teams building a product video creator for stores, the same still can become a reusable input for catalog clips, paid ads, and social variations. Nim's product video animation guide covers the still-to-motion workflow and helps structure those assets around a clear product message.
Where AI Virtual Try-On Falls Short
The main risk is not that an output looks obviously artificial. The greater risk is that it looks plausible while changing a product detail that matters.
Texture fidelity can fail on logos, embroidery, small patterns, transparent materials, and reflective hardware. Research on authentic virtual try-on notes that earlier diffusion approaches could improve naturalness while still losing garment identity and fine details such as textures and distinctive features, as described in research on preserving garment identity.
Fit is not the same as appearance
A generated image may suggest how a silhouette looks without accurately modeling how fabric behaves. Drape, stretch, body proportion, pressure points, and the relationship between garment size and body measurements remain difficult to represent reliably. Industry coverage also identifies persistent weaknesses in clothing texture, garment application, facial identity, and dataset bias, while noting that accurate fit and complex fabric drape remain challenging in coverage of virtual try-on adoption.
That distinction should appear wherever the image is used. Product pages can use the result as a styling visualization, but sizing charts, garment measurements, construction notes, and return policies still carry the factual burden.
Occlusion needs deliberate inspection
Hands, hair, layered garments, straps, and loose sleeves create difficult boundaries. VTBench separates evaluation into five dimensions, overall image quality, texture preservation, complex background consistency, cross-category size adaptability, and hand-occlusion handling, rather than relying on one realism score. That framework is outlined in the VTBench benchmark.
Privacy deserves equal attention. Independent research found that 65% of tested virtual try-on websites sent user images to a server, 57% sent them to third-party servers only or alongside first-party servers, and 31% stored user images during the experience. The same research found that 37% used providers that extracted facial geometry, according to virtual try-on privacy statistics.
Brands should explain what people upload, how long images are retained, who processes them, and whether the image is used beyond the try-on task. For marketing production, a prepared model asset may reduce unnecessary exposure compared with collecting personal shopper photos, but the handling policy still needs review.
Choosing Your Next Nim Workflow
Choose the next Nim template by the asset that still needs approval, not by the novelty of the effect. The try-on image is often only the first usable draft in a larger production path.
- Need a person wearing the item: Start with Virtual Try-On.
- Need a controlled setting: Send the approved subject to Background Replace.
- Need a portrait-led thumbnail: Choose Mug Shot.
- Need a cleaner styled still: Use Image Enhancer.
- Need the product itself to read clearly: Choose Enhance Product Photo.
- Need motion from an approved still: Move to Try-On Animation.
- Need a presenter-led social concept: Use UGC Ads.
This routing separates image decisions from deliverable decisions. First confirm that the garment or accessory reads correctly on the person. Then choose whether the next pass should fix the environment, frame the model, clarify the product, or create motion. Each step solves a different production problem, so combining them too early can make defects harder to trace.
Review the final asset against the original product photo and the intended sales message. Check garment identity, color, visible construction, and any details that shoppers may treat as factual. If those elements have shifted, keep the output for concept development or internal review rather than using it as a customer-facing product visualization.
Nim provides template-based image and video workflows for turning product and person images into try-on-style visuals, catalog assets, and short ad creatives. Visit Nim to select the next workflow, then review the result before publishing.
- ai virtual try-on
- virtual try-on
- product visuals
- nim workflows
- ecommerce video