How a Background Changer App Improves Product Visuals
Learn how a background changer app works, what to check first, and how to replace backgrounds for product photos and videos in Nim.
By Nim
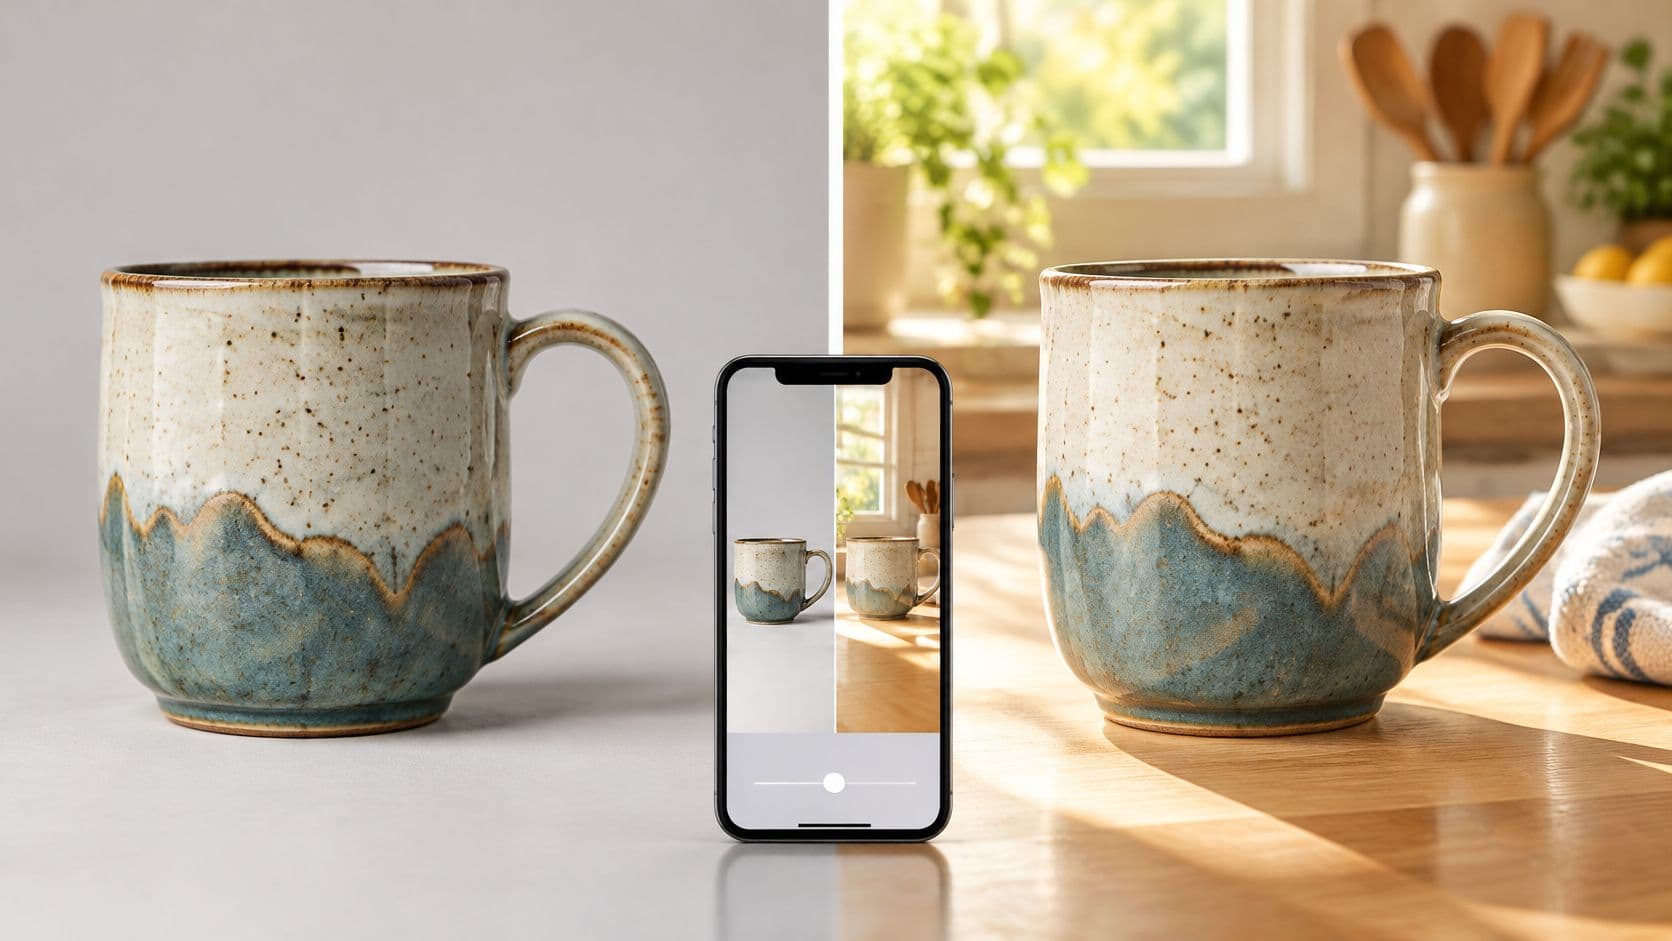
A Background Changer App removes or swaps everything behind a subject while keeping the subject itself unchanged. For product work, use it when clutter distracts from the item, an ad needs a different setting, or a video clip needs cleaner surroundings.
Choose a Background That Fits the Destination
Work backward from where the visual will end up. A marketplace listing and a social ad do different jobs, so plan their backgrounds separately.
Take a ceramic mug. For a catalog, it might sit against a plain backdrop. For an ad, that same mug could appear on a breakfast table — while its shape, glaze, and proportions stay exactly as they are.
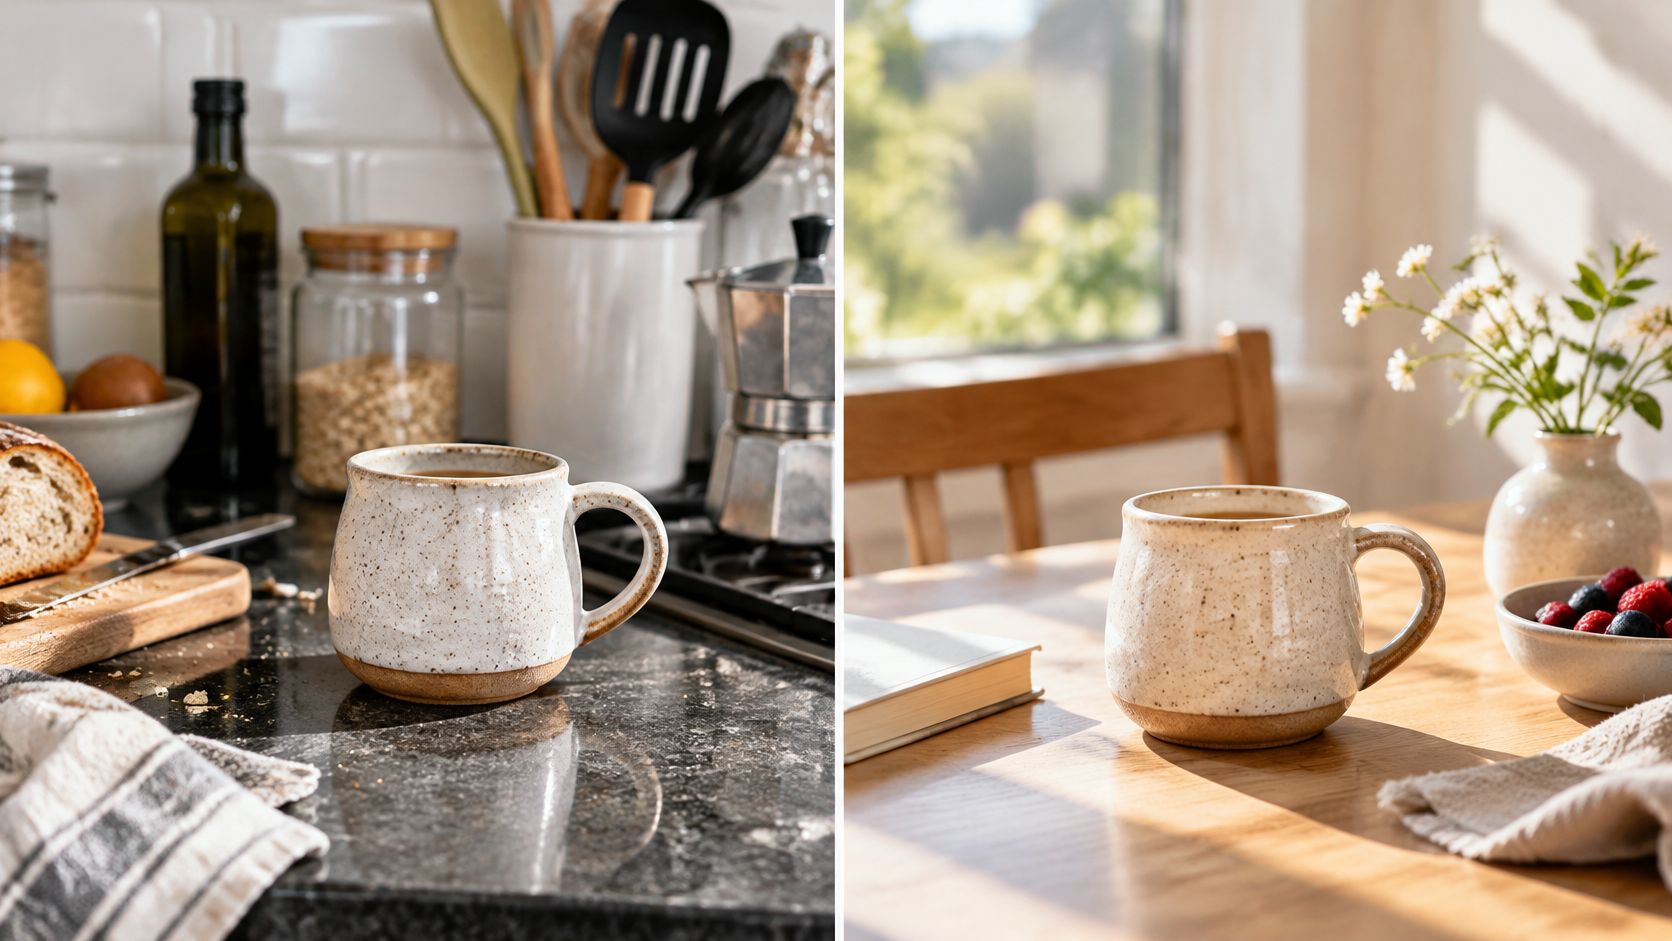
- Product listings need clean surroundings that let buyers inspect the item.
- Lifestyle ads need context that supports the product without competing with it.
- Video backgrounds need checking across the whole clip, not just the opening frame.
Service businesses run into the same problem at a smaller scale. A salon owner retouching retail photos or a stylist shooting before-and-afters deals with identical background decisions, and the app guide for salon owners shows how that workflow looks in practice.
Define What Should Change
Before you edit, write a short visual brief: where the image is going, what setting you want, and which details have to stay untouched. For the mug, that could mean a kitchen counter with soft window light — same handle, no added decorations.
Change the surroundings, not the product's identity.
Treat background replacement as one stage of production, then compare the result against the original before you publish it. If you're handling video in Nim, open the Background replace template and check its requested inputs before you prep your source clip.
Pick a background changer app for what it keeps intact and what it delivers, not for how long the feature list looks.
Criteria for Judging Any Background Changer App
Start with your deliverable. Are you making a still, a still meant to be animated later, or a finished video?
That answer decides the workflow. Then check whether the tool takes your source files and returns the result you need.
A few practical things to check before you test:
- Access: Does it run in the browser, or do you need to install it on the machine you work from?
- Direction: Can you type what you want in plain words, or do you have to bring your own background?
- Preservation: What has to stay untouched — hair, product edges, reflections, contact shadows?
Run the checklist below on your own files. Promo gallery examples won't tell you much.
Checklist for Judging a Background Changer App
Use this as a quick pass/fail test on a couple of your real images or clips before you commit.
| Criterion | What to Check | Why It Matters |
|---|---|---|
| Subject edges | Look close at hair, handles, and thin straps | Gaps here change how the subject reads |
| Reflections | Check glass and polished metal | The old scene often lingers in them |
| Shadows | Compare direction and contact points | Without them the subject floats |
| Output fit | Confirm still or video needs | Each deliverable wants a different workflow |
| Collection consistency | Match lighting and horizon height | Single edits still have to sit together |
If more than one row looks off on your material, try a different workflow rather than fixing it by hand.
Test a Collection Before Committing
One good hero image can be misleading. When you're building a catalog, you need a whole set to hold up.
Pull together a few tricky pieces — something reflective, something with a narrow outline like a handbag with thin straps — and compare them side by side.
For video, run the same test in Nim through the relevant Background Replace workflow. Judge that template on its own, not on what other tools promise.
- Compare originals against edits for shifted proportions, lost details, or color drift.
- Review the set as a group for steady light direction, camera height, and background scale.
Judge the weakest result, not just the prettiest one.
Grab representative source files, note what counts as a pass for you, then test the workflow against that bar.
Everything starts with a strong source. When a background changer app produces a disappointing result, the problem often traces back to the original file rather than the edit itself. Pick a sharp, well-lit frame where the subject sits fully in view with breathing room around its edges.

Check the Details That Affect Isolation
Before you edit, look closely at lighting, focus, color, and visible detail. Proportions should read as true to life. Transparent or reflective areas, like glass, metal, or a thin handle, deserve an early flag since they tend to cause trouble later.
Context matters too. A candle on a cluttered kitchen counter takes more work than that same candle on a plain surface, so let the background support the subject rather than fight it.
- Use even lighting and keep the subject in focus.
- Leave space around hair, handles, straps, and edges.
- Check for motion blur and cropped details in video.
Choose the Output Before the Edit
Decide what you're making before you start. Is the final visual a still, or is it the raw material for a motion clip? With video, review the whole sequence rather than judging from the opening frame.
A sharp product photo, for instance, might go straight into a marketplace listing. A clip where the subject stays in a steady position could become the base for a short ad.
A clean source is the foundation of a believable result.
Keep the original file untouched and work on a separate copy instead. Hold onto that copy even when the first replacement looks fine, because it gives you the freedom to compare results, test a different setting, or go back to where you began.
Before you swap a background out, confirm your source artwork is prepared correctly; see how to prepare print-ready artwork. For more on getting the shot right, read what is product photography.

For a video background change in Nim, open the Background replace template and provide the inputs it requests. Generate the result, then review it before publishing. Treat the template as the source of truth for options.
- Before you begin, decide where the clip will appear. A ceramic mug might move from a studio backdrop to a bright morning kitchen for an ad, provided its handle, rim, and proportions remain correct.
- If the template offers a prompt field, describe the background concretely. Name the place, lighting, and exclusions, such as people or text. Skip it if no prompt is provided.
Prepare the Source Clip
Keep the clip simple before processing. The product should be sharp, fully visible, and surrounded by enough room for its outline to stay clear.
With the mug, watch the handle and rim through the whole shot. A clean source gives the background changer app fewer edges to guess at.
Create the Replacement
Open the template and work through the fields it shows. Upload or provide the source it asks for, add the required details, and generate the replacement.
- Do not assume menus, button labels, upload limits, file types, or export settings. Confirm those inside the template before you generate.
A useful background description is concrete: “A sunlit kitchen counter at breakfast, with soft window light and no people or text.” It gives location, light, and exclusions while keeping the product as the subject.
Review the Generated Clip
Watch the entire generated clip. The first frame can look clean while later frames drift, so check the mug’s shape, glaze, scale, and position across movement.
Keep the photographed product recognizable, then check the new setting across the clip.
A good replacement keeps the product believable and drops it into a scene that fits the ad. If the object warps or the setting feels wrong, change the source or the request and run it again.
Check the Result Against the Original
Put the result beside the original clip. Side-by-side viewing catches small shifts that one preview frame can hide.
Also confirm the new background suits the channel. For a social ad, a warm kitchen can support a breakfast concept without stealing attention from the mug.
When the source is ready, open the Background replace template, generate carefully, and publish only after the product and setting both look right.
When a background changer app gives you a result that looks off, check the details first: edges, lighting, scale, and whatever is cluttering the frame.
Common Mistakes and How to Fix Them
A faint pale outline hugging a bottle, or a jagged edge along a jacket, means the subject didn't separate cleanly from its original backdrop. Rather than adding more detail to the new background, go back to the source. A sharper frame with clear space around the subject's outline will usually produce a cleaner cutout.
Clean edges won't rescue a lighting conflict. If your product throws a shadow toward the left but the new scene implies light coming from that same direction, viewers will sense something wrong even if they can't name it. Pick a setting that agrees with the original illumination.
- Halos or rough edges call for a cleaner source image, especially around tricky spots like handles, straps, and transparent packaging.
- Conflicting shadows are best solved with simpler lighting in the replacement scene, or a source shot under light that already matches.
- Distracting scenery means fewer props and more breathing room, not another decorative layer.
A cosmetic jar staged among flowers, folded towels, and bright reflections can vanish into its own setting. Keep the supporting surface, pull the extra props, and let the product hold the frame.
Correct Scale Without Changing the Product
A chair that reads as dollhouse-sized next to a doorway has a scale problem, not a style problem. Check its proportions against the original image before you regenerate, and never treat generated surroundings as trustworthy measurements.
The same caution applies to color. Fixing an apparent lighting mismatch by accepting a different product shade trades one error for another. For related editing guidance, see Nim's guide to photo color grading, and keep the original finish as your reference throughout.
A generated setting is a marketing illustration, not evidence that the product was photographed there.
Before anything goes live, run through these checks in order.
- Place the original and the replacement side by side and look for shifted dimensions, missing details, and color drift.
- Inspect furniture, cosmetics, and apparel for context that could misrepresent size, finish, or fit.
- Reject any property edit that hides damage or implies a condition the original doesn't support.
For video work, repeat these checks across the full clip, not just the opening frame. Pay special attention to the moments when the subject moves.
Pick the most obvious flaw in your current result, correct its source or setting, and compare again before publishing.
A background changer app sets the scene for a product video or ad. Treat voiceover, music, captions, and timeline edits as separate finishing jobs outside Nim.
Using a New Background in Product Videos and Ads
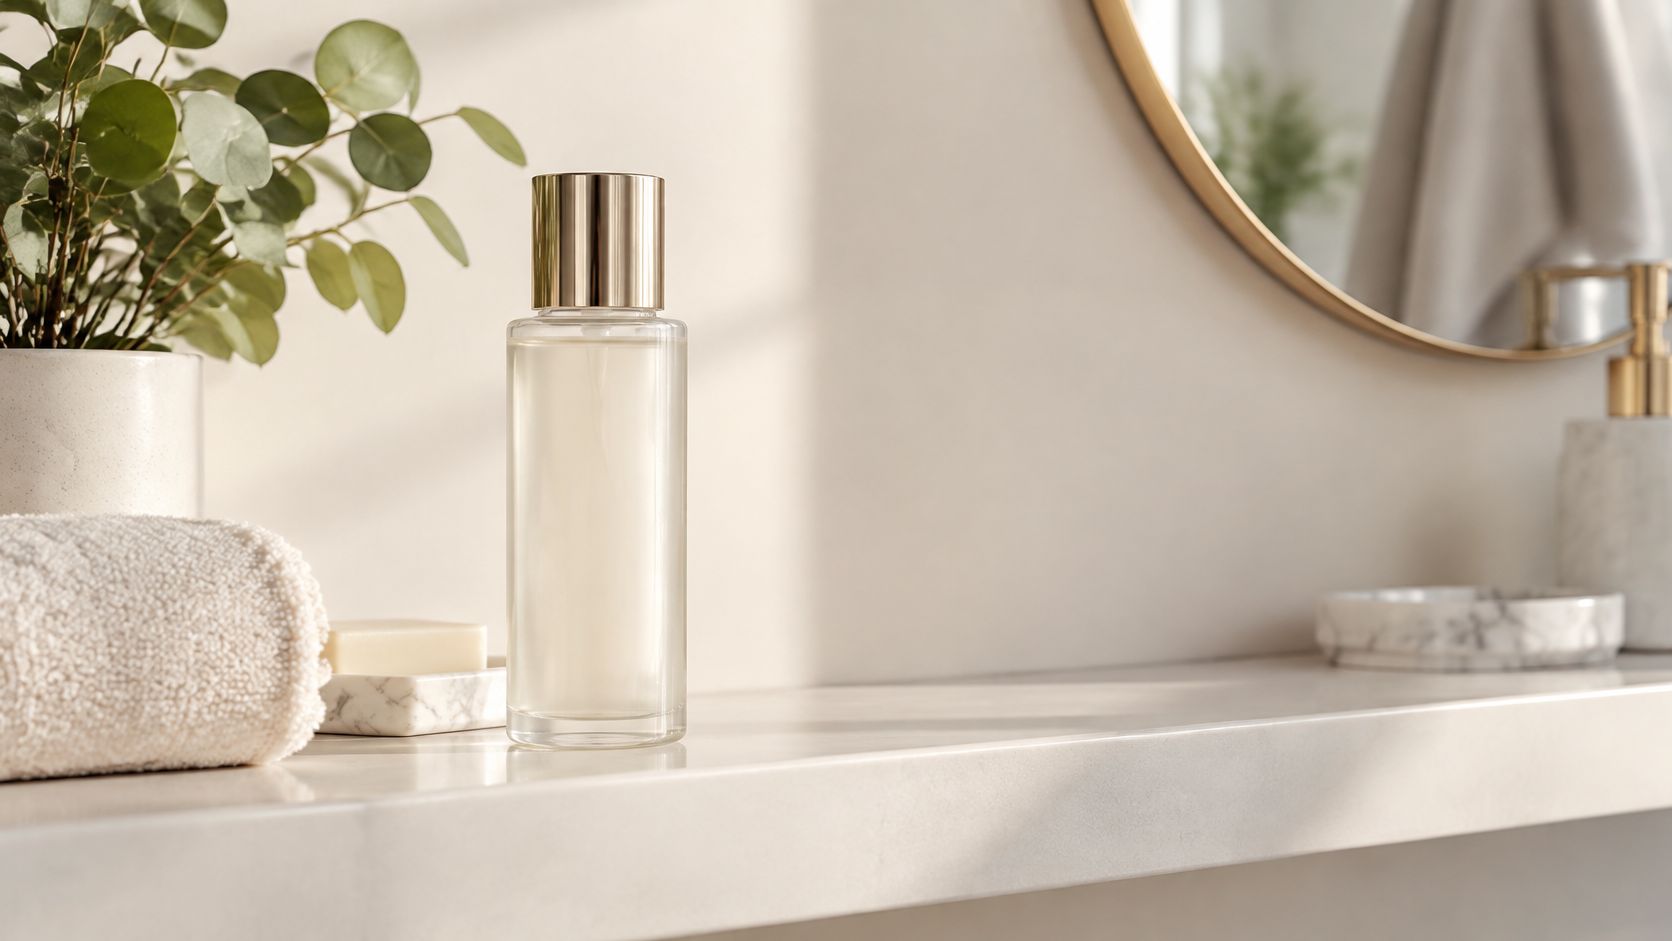
Illustrative product scene, not a verified Nim output.
Begin with one clean product photo as the reference. If the source image needs work first, use Nim's product photo improvement page before you build background variations.
For a perfume launch, plan two distinct assets instead of forcing one scene to carry every channel:
- Studio version: keep a plain setting for the marketplace listing so the bottle, cap, and packaging stay easy to inspect.
- Lifestyle version: place the product on a bathroom counter for the ad, with enough quiet space for text later.
Check both against the reference photo. Cap shape, label lettering, glass tint, and liquid color should stay put, and neither version should add packaging details that were never there.
The background should explain the product's context without changing what the customer expects to receive.
Keep Versions Ready for Production
Name files before handoff. perfume_studio_listing_v01 and perfume_lifestyle_ad_v01 tell the team what each asset is for without opening it.
Keep approved visuals away from experiments so a rough variation never slips into a listing or ad.
- 01 channel map: note which version belongs to each placement.
- 02 final check: inspect the product again after motion or finishing work.
For the wider production flow, read how to make product videos.
Pick one product, build its studio and lifestyle versions, approve both, then move to optional sound, captions, or final edits.
Plain Background or a Scene
Plain backgrounds suit catalogs and marketplaces. Shoppers are comparing fast, and you want zero distraction.
Scene backgrounds fit ads and lifestyle content better. There, the context is doing half the selling for you.
Need both for the same product? Build two versions, and keep the product itself identical in each one.
Can a Background Change Make a Product Look Different From Reality
It shouldn't. Keep scale, condition, and features honest.
Don't hide flaws. And don't invent a setting that implies something you can't back up, like a room size or a location the product was never in.
A changed background is presentation, not proof. The product itself stays exactly what you photographed.
How Do You Get Started With Nim
Check the Nim homepage for current options and where to start. Where you go next depends on the job:
- Video background replacement: open the Background replace template.
- Still product photo improvement first: use the product photo enhancement page.
Check each template page for its requested inputs instead of assuming they all work the same way.
Your Next Step
Pick the channel the visual is for, prep a clean source file, and open the Background replace template for a video background job.
Ready to try it on your own clip? Visit Nim and check the current options for getting started.
- background changer app
- background replacement
- product photo editing
- AI background removal
- product video