Construction Time Lapse from Prepared Photos
Make a construction time lapse from site photos: choose an interval, prepare one viewpoint, then generate and review a visual recap in Nim.
By Nim
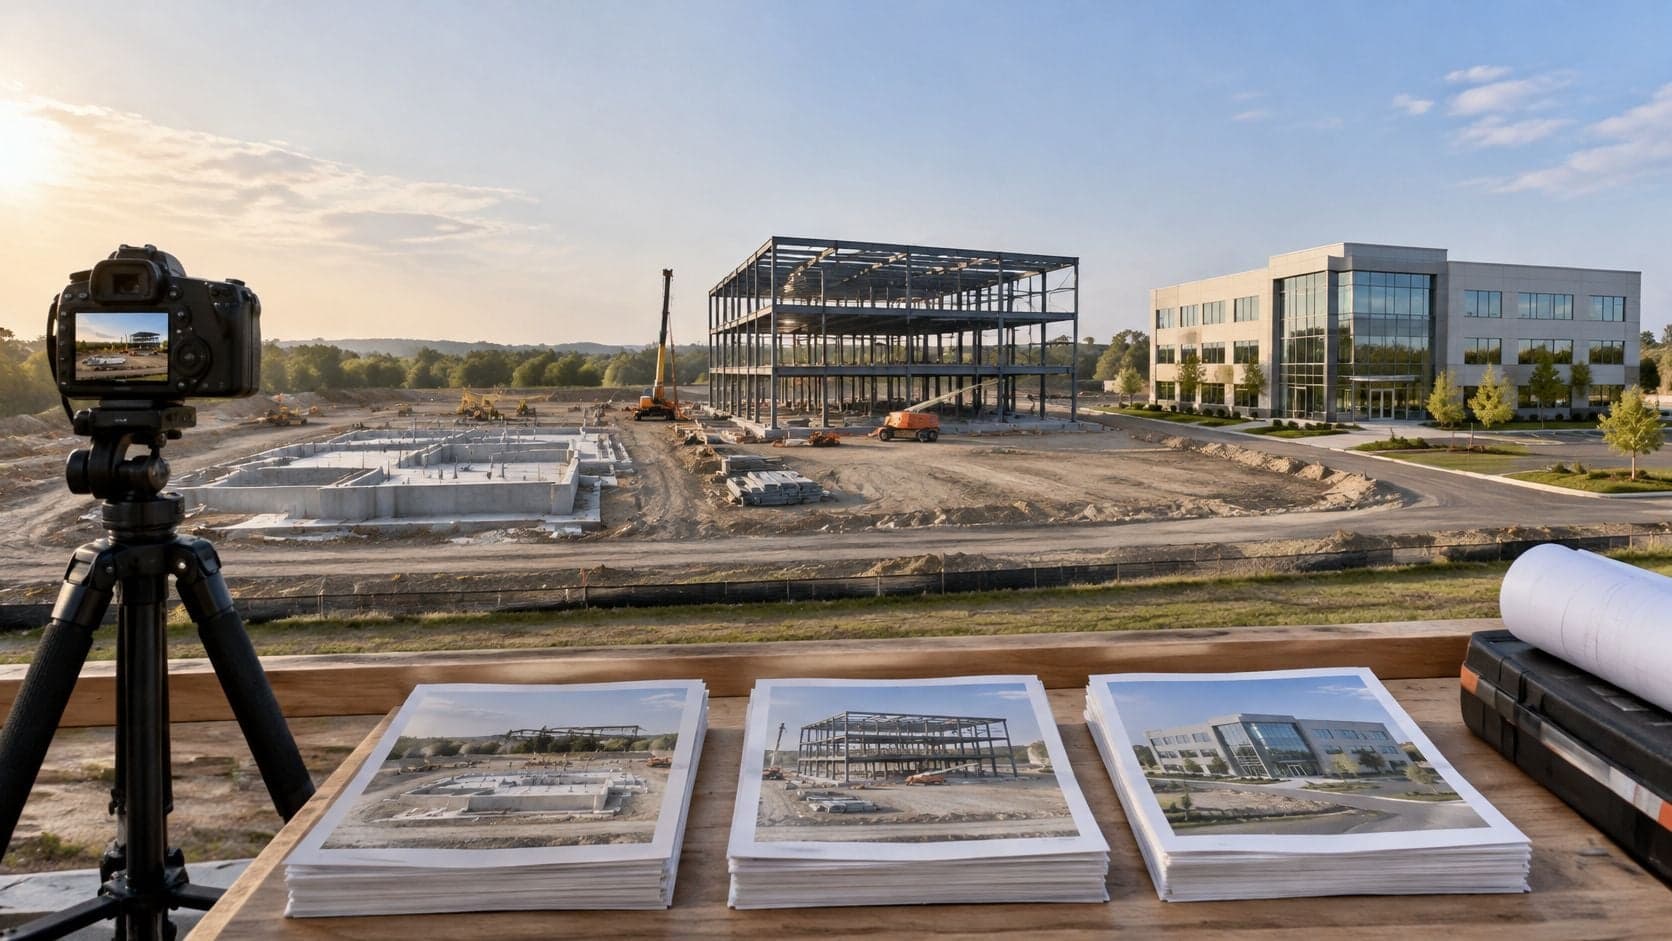
A stakeholder update is due Friday, the site folder holds thousands of photos from three angles, and nobody has time to edit them frame by frame. That situation is where a construction time lapse helps, provided the preparation is honest. The short answer is simple. Cull the archive to one viewpoint in date order, choose an interval that matches how fast the work changed, generate a concise clip, then label that clip as a visual summary. It tells the story of progress. It doesn't prove every day was filmed, and it doesn't replace labeled progress photos, measurements, or safety records.
Capture Intervals for a Construction Time Lapse
Start with the math, because interval choice decides whether the archive stays manageable. A six-month project captured every 10 minutes for 10 working hours per day produces 60 frames a day, and across 26 workdays a month that adds up to 156 capture days and roughly 9,360 images before exclusions, according to the calculation in the Nordlys timelapse interval guide. That same guide notes that a 25-frames-per-second video needs 250 images for 10 seconds of footage, so the six-month archive holds far more film than a stakeholder update will ever use. Storage, upload time, and culling become the actual cost.
Practical rule: Match the interval to how fast the work changes, and don't use the shortest interval for the whole job.
Photo Intervals by Construction Pace
| Work pace | Interval | Images in 10 hours | Best used for |
|---|---|---|---|
| Fast operation such as pour, lift, or façade | 1 to 5 minutes | 120 to 600 | Continuous action that would vanish at a long gap |
| Standard building progress | 10 to 15 minutes | 40 to 60 | Daily structural change during working hours |
| General progress film | 10 to 30 minutes | about 20 to 60 | Milestones without a huge archive |
| Slow multi-year work | 15 to 30 minutes | 20 to 40 | Major stages across a long schedule |
| Contract progress photos | about every 30 days | not a film rate | Labeled sets when the contract asks for monthly records |
The first row covers event-based work. The Enlaps setup guide puts general construction progress at 10 to 30 minutes between photographs and faster work, such as concrete pours, major equipment operations, or structural erection, at 1 to 5 minutes. A crane lift, demolition sequence, or façade panel installation can start and finish between two widely spaced frames. A short interval on that day preserves the movement.
Rows two and three suit most ordinary building days. Foundations, framing, and enclosure change visibly across hours and days, not across seconds. A 10 to 15 minute rhythm during working hours shows daily structural change without recording every minor movement. Widening toward 30 minutes still shows milestones, while the archive shrinks and the edit gets easier.
For slow, multi-year work, 15 to 30 minutes is usually enough because the structure changes gradually. A separate high-frequency window for milestone days beats shooting every minute for years. Teams planning the wider photo routine around the film can compare approaches in the guide to construction photography workflows for builders, which treats site photography as an organized project workflow rather than a pile of loose images.
Checking the Daily Counts
Full-day counts run higher than the table because daylight capture can exceed a 10-hour shift. The Builder Cam time-lapse reference estimates about 288 photographs per day at a 5-minute rate, while a 60-second video at roughly 30 frames per second needs around 1,800 images, equivalent to approximately 6 to 7 days at that rate. At 15 minutes, capture drops to about 96 images per day. At 30 to 60 minutes, it falls to roughly 24 to 48 images per day.
Shorter gaps keep equipment movement and crew progression. Longer gaps show major milestones with a lighter archive. That is the trade-off, and it works like a zoom control: the closer the interval, the more detail you keep and the more you pay to store it.
One more reason to pick a steady interval and hold it. A clip assembled from evenly spaced frames can claim coverage of working hours from one viewpoint, while a sequence stitched from irregular snapshots cannot. Still images beat locking the record as in-camera video because individual frames can be dropped, reordered for review, or rendered into different outputs later. Pick the row that fits the next phase, then change the rate when the pace changes.
Prepare One Viewpoint Before You Generate
Sequences that look broken usually have a camera that moved. A knocked tripod, a changed crop, scaffolding in front of the lens, or a van parked in the sightline breaks the visual thread. Once framing jumps, viewers cannot tell whether the building changed or the camera did.
Preparation starts with a written capture note.
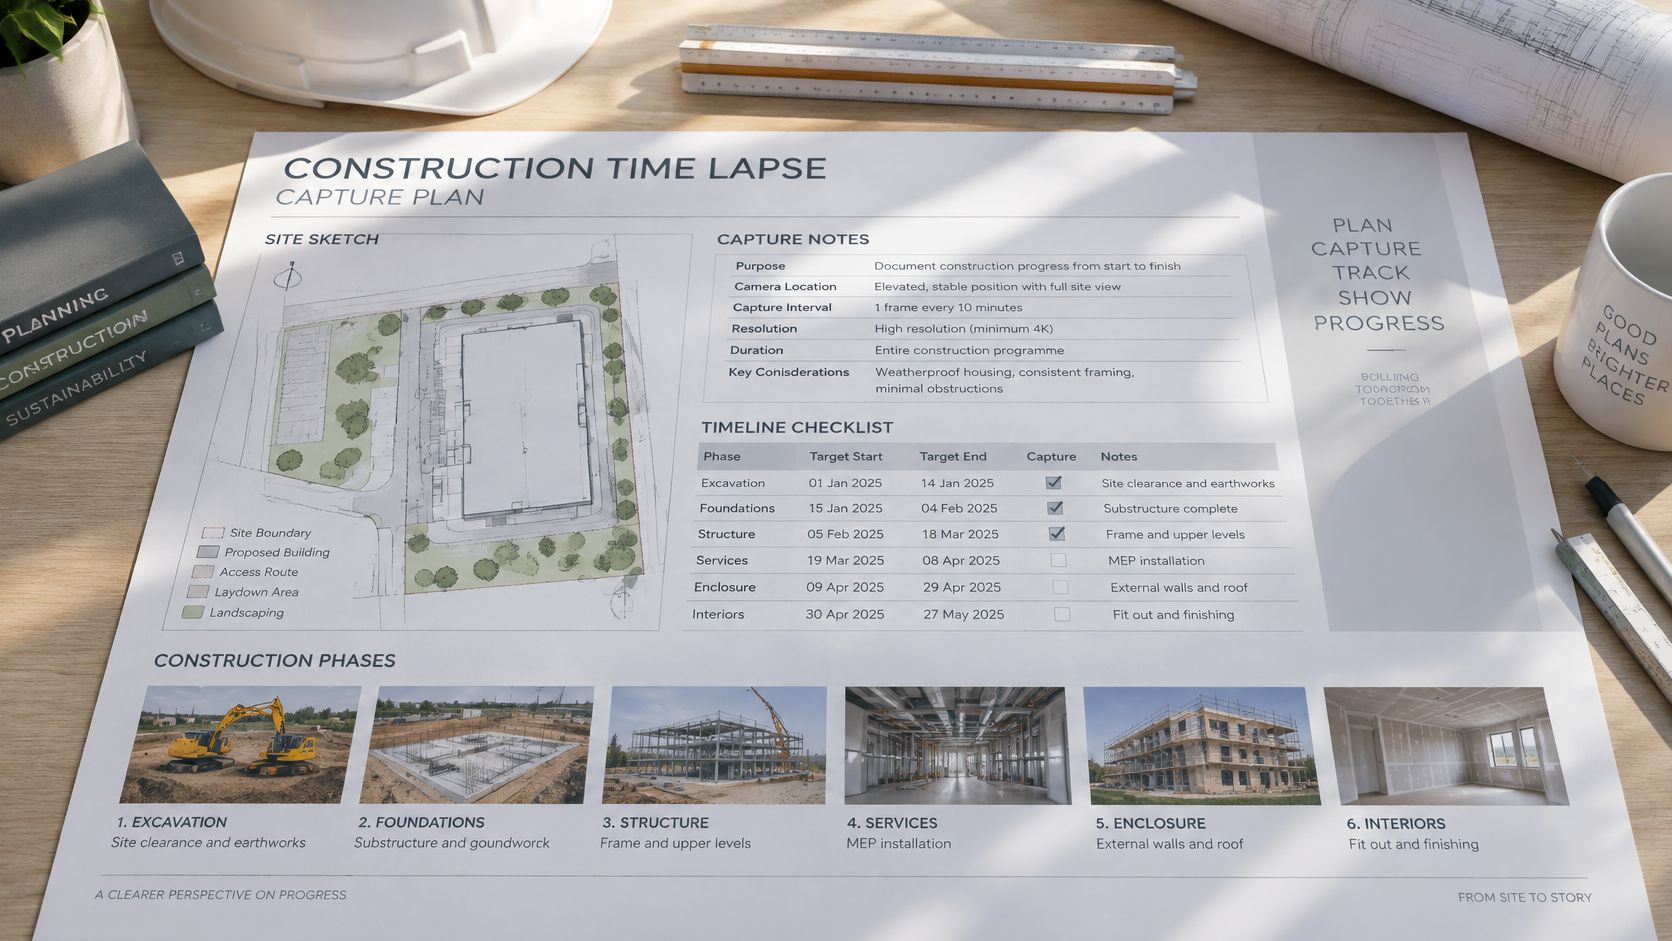
Illustration: a capture plan keeps one viewpoint consistent across months of site work.
Name the phases the clip needs to show. A typical sequence runs through excavation, foundations, structure, services, exterior enclosure, and interiors. Then lock one secure viewpoint that still sees the work after scaffolding and hoarding go up. The Victorian construction partner guidelines for photo, time-lapse and drone work describe a time-lapse camera as producing still photographs at scheduled intervals, with examples such as one image every 5 minutes, and recommend writing the interval into the production brief according to how frequently the work changes.
The Cull and Label Routine
Sorting happens outside any generator, in this order:
- Sort by date: Keep one camera position in strict chronological order, from early site to later structure.
- Remove unusable frames: Drop blurred, obstructed, badly exposed, corrupted, or nighttime frames with no useful work.
- Check the sightline: Flag dust, vibration, weather obstruction, power gaps, and any frame where the composition shifts.
- Mark milestone frames: Pick the clearest image for foundation completion, structure, enclosure, and other named stages.
- Note the gaps: Write down missing days or viewpoint changes before generation, not after questions arrive.
The count explains why culling is routine work. An 18-month project photographed every 15 minutes across a 10-hour working day produces approximately 15,000 frames, about 10 minutes of footage at 25 frames per second, according to the estimate in the Enlaps guide to choosing a construction timelapse camera. No one reviews that volume frame by frame. A culled sequence with known gaps is more useful than a complete dump nobody trusts.
Exposure shifts deserve a quick pass during the cull. Frames shot across seasons can swing from flat winter light to harsh summer glare, and inconsistent color makes the progression harder to read. The practical advice in this guide on how to color correct photos before video work applies to evening out a sequence before generation.
A sequence with disclosed gaps reads as a record of stages. A sequence with hidden gaps reads as a claim nobody can check.
Keep formal records separate from the film. Label a small milestone set with project name, view location, date, and photographer when the same photos may support a progress file. Daily overall views, concealed work photographed before covering, deliveries, and safety conditions belong in the project archive whether or not they appear in the clip. The preparation goal is narrow: one chronological story from one angle, with every gap already identified.
Generate the Clip in the Construction Timelapse Template
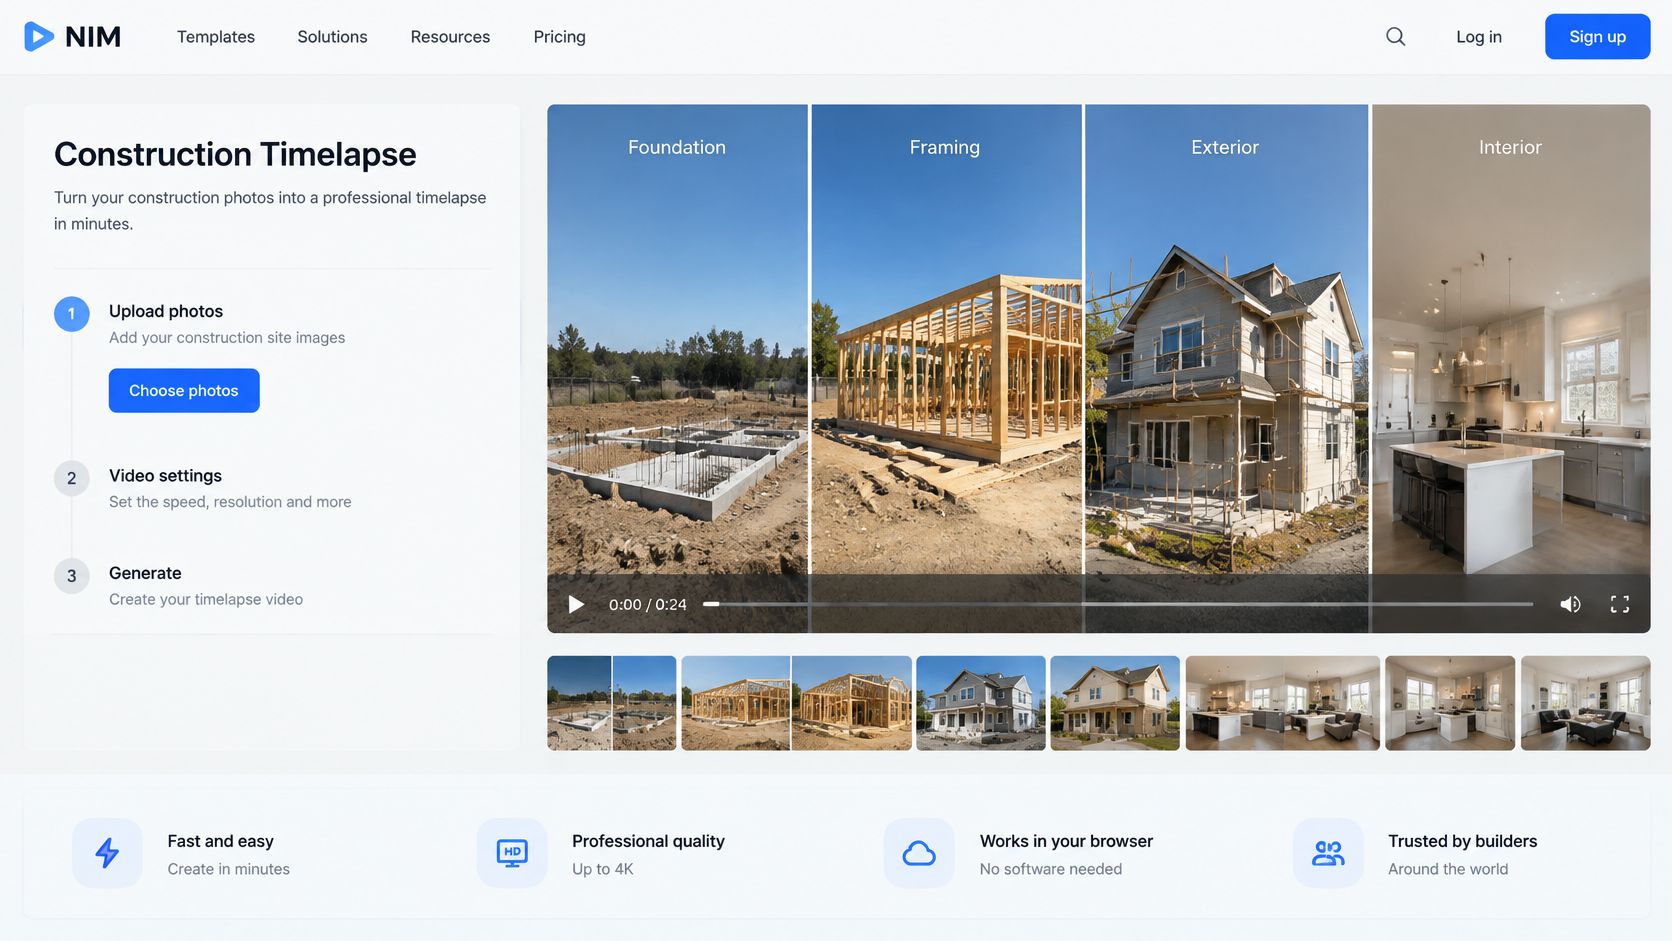
With the sequence culled, generation becomes the short part of the job. The Construction Timelapse template takes prepared construction imagery and produces a timelapse-style progress clip, sparing the manual frame-by-frame assembly a long build would otherwise demand.
The Confirmed Sequence
Template pages change, so only a short, high-level sequence is worth stating. Anything beyond what the form itself requests would be guesswork:
- Finish the external sort: One viewpoint, date order, unusable frames removed, gaps noted.
- Open the template: Go to the Construction Timelapse template page.
- Provide the requested input: Supply whatever the template form asks for. That may be source imagery rather than a full site archive. If the form requests something else, follow the form instead of forcing a bulk upload.
- Generate the sequence: Run the generation once the requested input is in place.
- Review the progression: Check that early site, structure, and later stages read in order from the same angle, and that no smooth transition hides a real gap.
- Download the result: Save the clip when the template page offers a download.
Promotional copy describes an outcome, not a control list, so treat any setting you cannot see on the page as unknown rather than assumed. Readers comparing broader approaches to stills-based video can read about how creators turn photos into videos with AI, which covers the general pattern behind image-driven generation.
What the Template Is and Is Not Doing
Confusion usually starts here. A generated construction time lapse clip is an assembly and presentation of progress imagery. It compresses the frames supplied to it, and it adds no days that were never photographed. If the source sequence jumps from foundations in March to enclosure in June, the generated transition will still look smooth. Smoothness is a presentation quality and does not prove continuity.
For that reason, input quality decides output honesty. A form that accepts source imagery rewards the culled, single-viewpoint set. A mixed folder from three angles produces a montage rather than a time lapse, no matter how polished the rendering looks. The related guide to using an image animation maker explains the same preparation logic for animating stills more generally.
Optional sound, captions, and timeline cuts belong to a separate editing pass after download. Keep the division clean: preparation outside the tool, generation inside the template, finishing touches elsewhere.
The template's job ends at the download. The honesty of the result was decided earlier, at the moment the frames were chosen and the gaps were kept visible instead of smoothed over.
Review the Recap Against Real Gaps
Watch the finished clip once with the milestone list open beside it. Foundation, structure, enclosure, plus any fast operation shot at 1 to 5 minutes. Each stage should appear in order, from the same angle, at roughly the weight it held in the actual schedule. If a stage flashes past in a single frame, the source sequence was thin there. State in the caption where a stage was thinly documented, so the clip presents the gap instead of hiding it.
A misleading recap has recognizable signs:
- Hidden camera moves: The viewpoint shifts mid-sequence and a transition covers the jump.
- Season skips: Bare trees become full foliage with no acknowledgment that weeks are missing.
- Invented continuity: A generated transition implies steady work across a period with no photographs.
- Missing milestone: A named stage, such as roofing, never appears.
A polished construction time lapse is less useful than a shorter honest one if missing periods are concealed.
Safe Uses and Unsafe Claims
Label the result as a visual summary and use it where summaries belong. Stakeholder updates, portfolio pieces, and marketing cuts are all reasonable homes. In each setting, the clip answers one question: what did progress look like from this viewpoint across these stages?
A summary carries no measurements, and it shows only what one camera position could see. Anything that needs to stand as project documentation, such as a dispute filing or a compliance record, belongs to the labeled photo set instead. The Timelapse Robot step-by-step construction guide draws the same line, advising builders to organize the sequence around one consistent visual story. Disclosure is a one-sentence habit. A caption can state that the camera was offline for a period, or that the viewpoint changed when scaffolding rose. That sentence protects the clip's credibility instead of weakening it.
Short projects may not need a dedicated film at all. A labeled photo report can communicate a brief fit-out or a small extension on its own. Longer builds are where compression earns its keep, and where gaps do the most damage, because viewers assume months of footage were continuous. The U.S. Census Bureau figures reported for 2024 put single-family homes completed in 2024 at an average of 9.1 months from authorization to completion, including 7.6 months from construction start to completion, so even a single house spans far more time than monthly contract photos suggest.
Readers refining the review step can borrow the frame-checking mindset from this walkthrough on how to animate a photo, where the output gets judged against the source still. The rule transfers directly: compare what the clip shows against what the sequence contained. Keep the monthly labeled photo set as the record, and let the generated clip remain the story told from it.
Clear People and Neighbors Before You Publish
Construction cameras don't only photograph buildings. They catch workers, visitors, passersby, vehicle plates, and neighboring windows. A dramatic wide shot exposes far more personal and surrounding detail than a restrained crop of the structure, and that exposure carries obligations a generator can't discharge.
Clearance happens before generation. Drop frames that aren't needed. Crop or blur sensitive areas in an external editor where required. One published owner approach uses coarse, distant imagery so people and vehicles aren't easily identifiable, limits public viewers to hourly stills or a finished time lapse, and retains source material for a defined period after completion, as set out in the CA Immo data privacy information for construction site cameras, which describes retention for up to 12 months after completion.
Formal records follow a different rhythm from creative footage. The Clemson University photographic documentation requirements require progress documentation at predetermined intervals, no less than once per month, with photographs labeled by project name, view location, exposure date, and photographer. That labeled, limited set is easier to clear and retain than a full public archive.
Generating a clip doesn't make the footage privacy-compliant. Consent, signage, retention, and local law sit outside the template, and the reel shouldn't double as workforce monitoring or disciplinary evidence. If a wide marketing angle can't be cleared, the restrained crop wins.
Before publishing, run a short checklist:
- Active work area only: The frame excludes unnecessary surroundings.
- People not identifiable: Faces and plates aren't readable where policy requires distance.
- No neighbor interiors: Windows and private spaces stay out of the shot.
- Retention decided: Source files have a defined keeping period and secure storage.
- Caption states the limits: The clip is labeled as a visual summary.
Open the Template With a Culled Sequence
A short source folder makes this step fast. Bring only the culled, single-viewpoint sequence, the milestone list, and one sentence naming any missing weeks so it can sit beside the clip wherever it is posted.
Open the Construction Timelapse template, supply the input it requests, generate, then review the stages against that milestone list before downloading if the page offers that option. Nim lists Timelapse among its video styles and creation categories, alongside UGC, Keyframes, Motion transfer, Animations, Cinematic, Celebrity selfie, and Fashion videos, so this template is the focused route for the recap.
Treat each transition as compression between two real frames. If the archive has no usable milestone frame for a phase, leave that phase out and name the gap in the caption; a smooth cut must not imply continuous coverage. For a client update or marketing cut, the honest version is the useful one.
Open Nim and start from the prepared sequence, generate the construction progress clip in the Construction Timelapse template, compare it with the milestone list, disclose gaps in the caption, and publish it only as a visual summary.
- construction time lapse
- site photos
- capture interval
- progress video
- Nim