Ecommerce Video Marketing: Which Nim Template to Use
Ecommerce video marketing with Nim: pick the right template for product demos, UGC-style ads and background-replaced clips, with inputs and testing steps.
By Nim
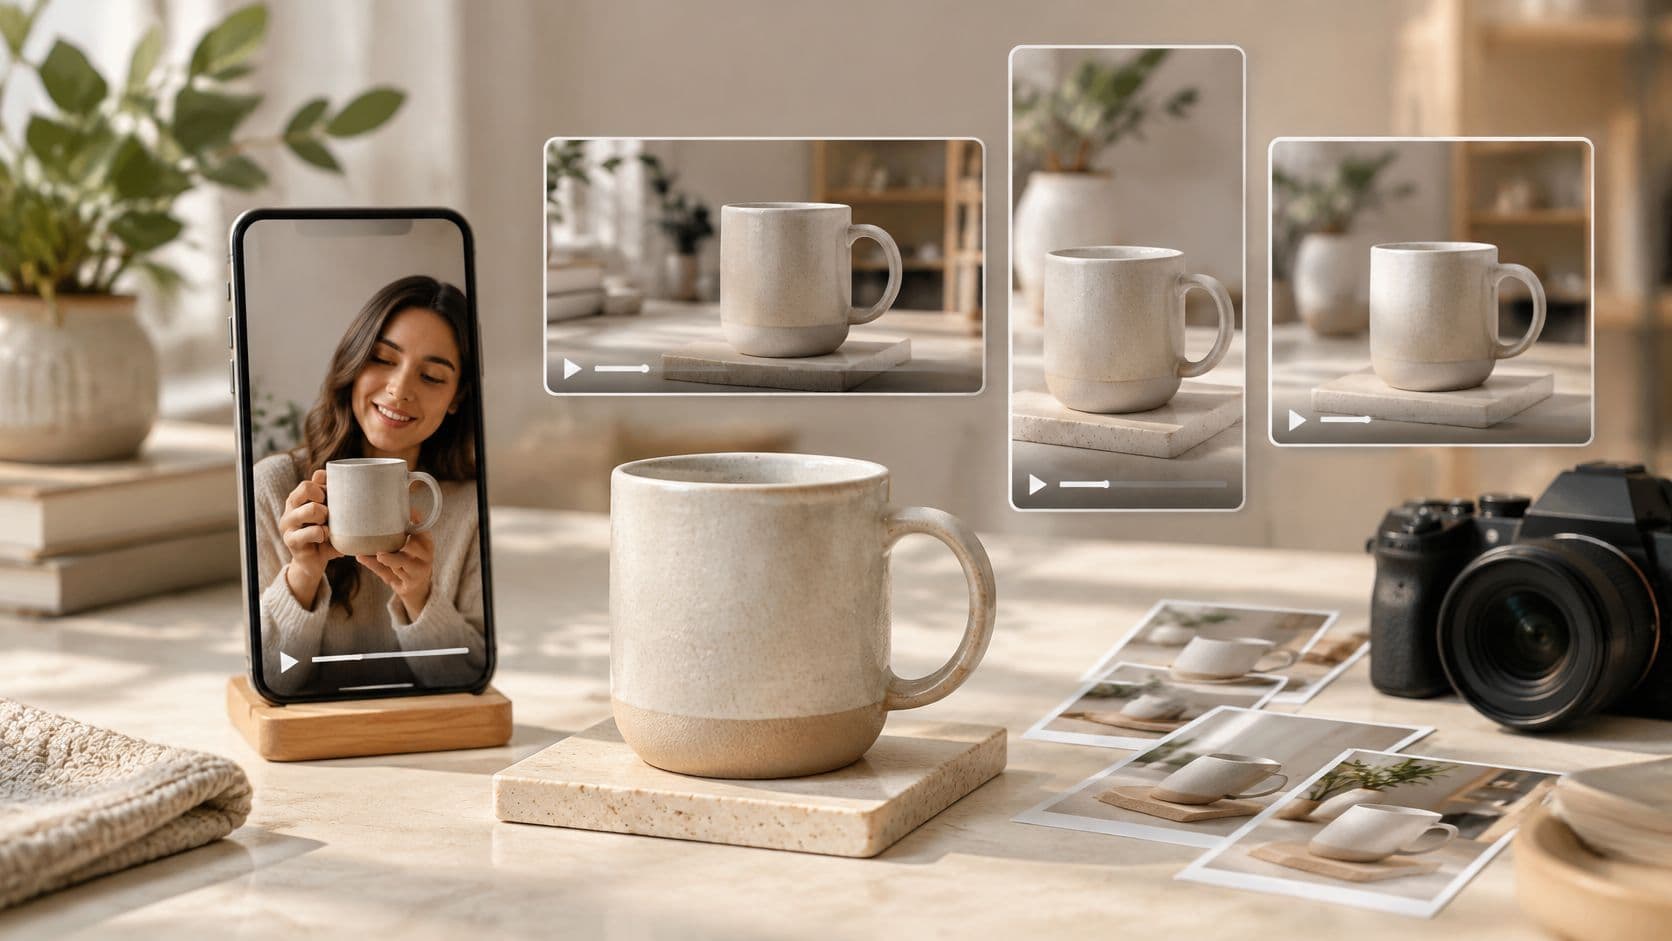
Your product page has a clean hero image, a description that explains the basics, and an empty space beside the gallery where a video should be. The same product is also due to run in a mobile feed and a creator-style ad, and each of those three placements needs a different frame. Making the video isn't the hard part. Deciding which version to build first, and what file to feed it, is where most sellers stall.
The short answer is to choose the placement before the template, then match the template to the photo you already have. One product usually needs a master demonstration plus a few variants, not a single hero asset stretched across every surface. What follows maps each common ecommerce video format to the Nim template to open and the input to prepare, and it's candid about where a template form stops confirming things for you.
Which Video Format Fits Your Product Page and Ads
A product-page video and a full-screen mobile ad need different compositions, even when they feature the same item. Choose the placement first, then select a matching Nim video style and prepare the input the template requests.
Ecommerce video formats and placement ratios
| Ad or listing format | Ratio to plan for in your ad platform | Nim video style or category | Input to prepare |
|---|---|---|---|
| Product page or desktop placement | 16:9 horizontal | Cinematic or product demo | Clean product image showing the whole item |
| Full-screen mobile short | 9:16 vertical | UGC or Animations | Product image framed for a vertical opening |
| Feed or square placement | 1:1 square | Keyframes or Motion transfer | Product image with the key detail visible |
| Creator-style UGC ad | 9:16 vertical | UGC or Celebrity selfie | Product image and any text the template requests |
| Product in a new setting | Match the placement, such as 16:9 for a page or 9:16 for a feed | Cinematic or Animations | Product photo with clear, sharp edges |
| Product demo for assembly or use | 16:9 for a product page, 9:16 for mobile | Motion transfer or Timelapse | Source image of the product in the state the template expects |
Google's guidance on creative assets for video campaigns recommends preparing video ads in horizontal 16:9, vertical 9:16, and square 1:1 orientations. It also advises using multiple creative versions with different messages. Treat those ratios as placement targets in the ad platform, not as confirmed Nim output sizes. A vertical cut needs its own framing; squeezing a horizontal composition into a narrow frame can hide the product or its defining detail.
Vertical 9:16 suits full-screen mobile placements such as Shorts. Square and horizontal versions can serve other campaign placements. Build each version as a separate test variant, tied to one placement and one template input, rather than relying on a single hero video. For the role each variant can play in a campaign, see this breakdown of video ad funnel strategy. For mobile framing, consult the guide to Instagram Reels resolution before preparing a vertical cut.
Practical rule: If the product is hard to recognise at thumbnail size, revise the composition for that placement.
Three questions before opening a template
- Where will this run? A product detail page, mobile feed, and paid placement call for different compositions. Decide on the placement before choosing the video style.
- Will the product read at that size? A wide shot of a small item may lose the detail a buyer needs in a vertical frame.
- Which style fits the input I have? Choose a template category that suits the source image and intended video. If the image is soft or cluttered, improve it before using it.
The ratios above are targets for the ad platform. A template form may not confirm an output size, so check its stated inputs and output details before planning a campaign around a particular ratio.
How to Build a Product Demo Video in Nim
A demo is the one asset worth getting right first, because every ad variant later is a cut of it. The illustration below shows the workflow at a glance; the numbered sequence underneath explains why each step matters.
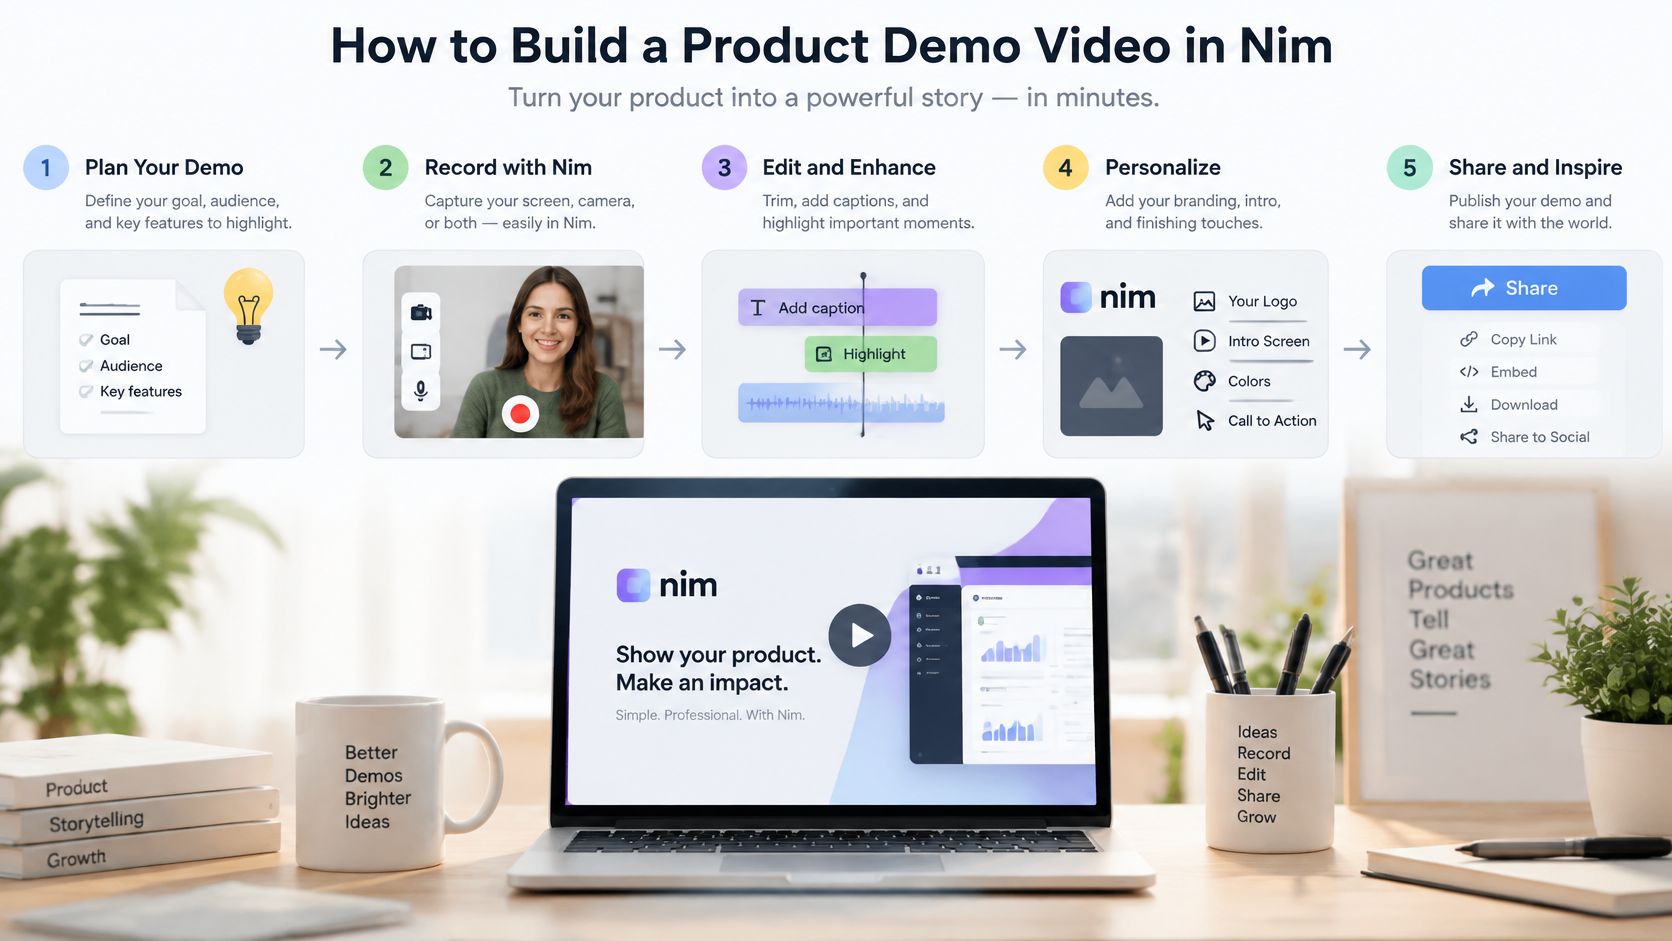
-
Choose one product and one source image. The frame should show the whole item with no competing products behind it. A second product in shot splits attention and confuses a template that works from the main subject.
-
Prepare the input before touching the template. Keep edges sharp, clear clutter that competes with the product, and check that packaging and branding are readable. This is file preparation outside Nim, not a setting inside it, and it's the step that decides whether the output is usable.
-
Open the template that matches the demo. The Ecommerce templates collection covers most product work; an assembly or usage demo belongs in the Assembling product template instead. Read what the form requests before uploading.
-
Supply the image and any text the form asks for, then generate. Generate only the variants that template supports. A form that doesn't request a script or a prompt won't use one, so don't plan around inputs it never asked for.
-
Review the output against the original photo. Compare product shape, colours, label wording and any detail that's been cropped. A blurred source produces soft product detail, and cropped packaging hides the product name, which is exactly what a buyer is checking.
-
Download the approved version and store the source image beside it. Keeping the pair together is what lets you repeat the test later with the same starting point.
Captions, voiceover, editing and any export beyond what the template provides happen outside Nim as a separate task. Plan that work as its own step rather than assuming the generated file is publish-ready.
A demo earns its place by answering one blocking question in the first seconds: what the product is, how big it is, or how it behaves in use.
What a good demo looks like. The product appears early, in use or at a clear scale, with no distorted proportions and no guessing about what's in the box. Everything else is decoration.
Writing a UGC-Style Ad That Hooks in Seconds
A UGC-style ad is a creator-voice product message, and it fits when the buyer needs a reason to care rather than a better look at the item. That's where it differs from the plain product demo: the demo answers "what is this", the creator-style version answers "why would I bother".
Take a seller with a kitchen gadget that pits olives. Three openings, same product, same offer:
- The frustration opening. Begin on the mess of a manual pitter, then cut to the gadget doing the job in one motion.
- The task opening. Show the product completing the task inside five seconds, no preamble, no logo.
- The benefit opening. Lead with the outcome (pitted olives in a bowl, no stained hands) and hold the price back.
Google Ads recommends making the first 5 to 10 seconds do clear explanatory work: present the customer's problem, show how the product solves it, and repeat the offer or call to action in spoken or on-screen form. The same guidance suggests creating multiple creative variants, at least five when possible, differing by call to action, headline or video asset. That settles the production brief for a seller: shoot an immediate product-use opening, follow with the relevant feature or outcome, and close on a direct action such as "Buy now" or "Learn more".
A slow logo animation or an abstract lifestyle shot at the top wastes the only seconds that decide whether the rest gets watched.
For the template side, the UGC ads templates cover creator-style product visuals. If the starting material is an existing product page rather than a photo, the URL to UGC video template is the destination to check, and whether it accepts a URL should be confirmed on the form before planning a batch around it. A background primer on what UGC ads are helps here if the format is new to the team.
Generate distinct versions around different opening claims only when the selected template accepts the required input. Then apply the test that matters: can someone tell what the product is without watching to the end? If not, the opening is carrying too much and the product shot too little.
Background-Replaced Product Clips for Listings
A product photo may be ready for a listing while its setting is not. For that case, use Nim's Background replace template to create a background variant. If the source image is soft, prepare a clearer image first with Enhance product photo.
The illustration below shows a mixed catalog set. For a listing clip, prepare one product image at a time, with clean edges and even lighting. Those details give you a clearer basis for judging the result against a new setting.
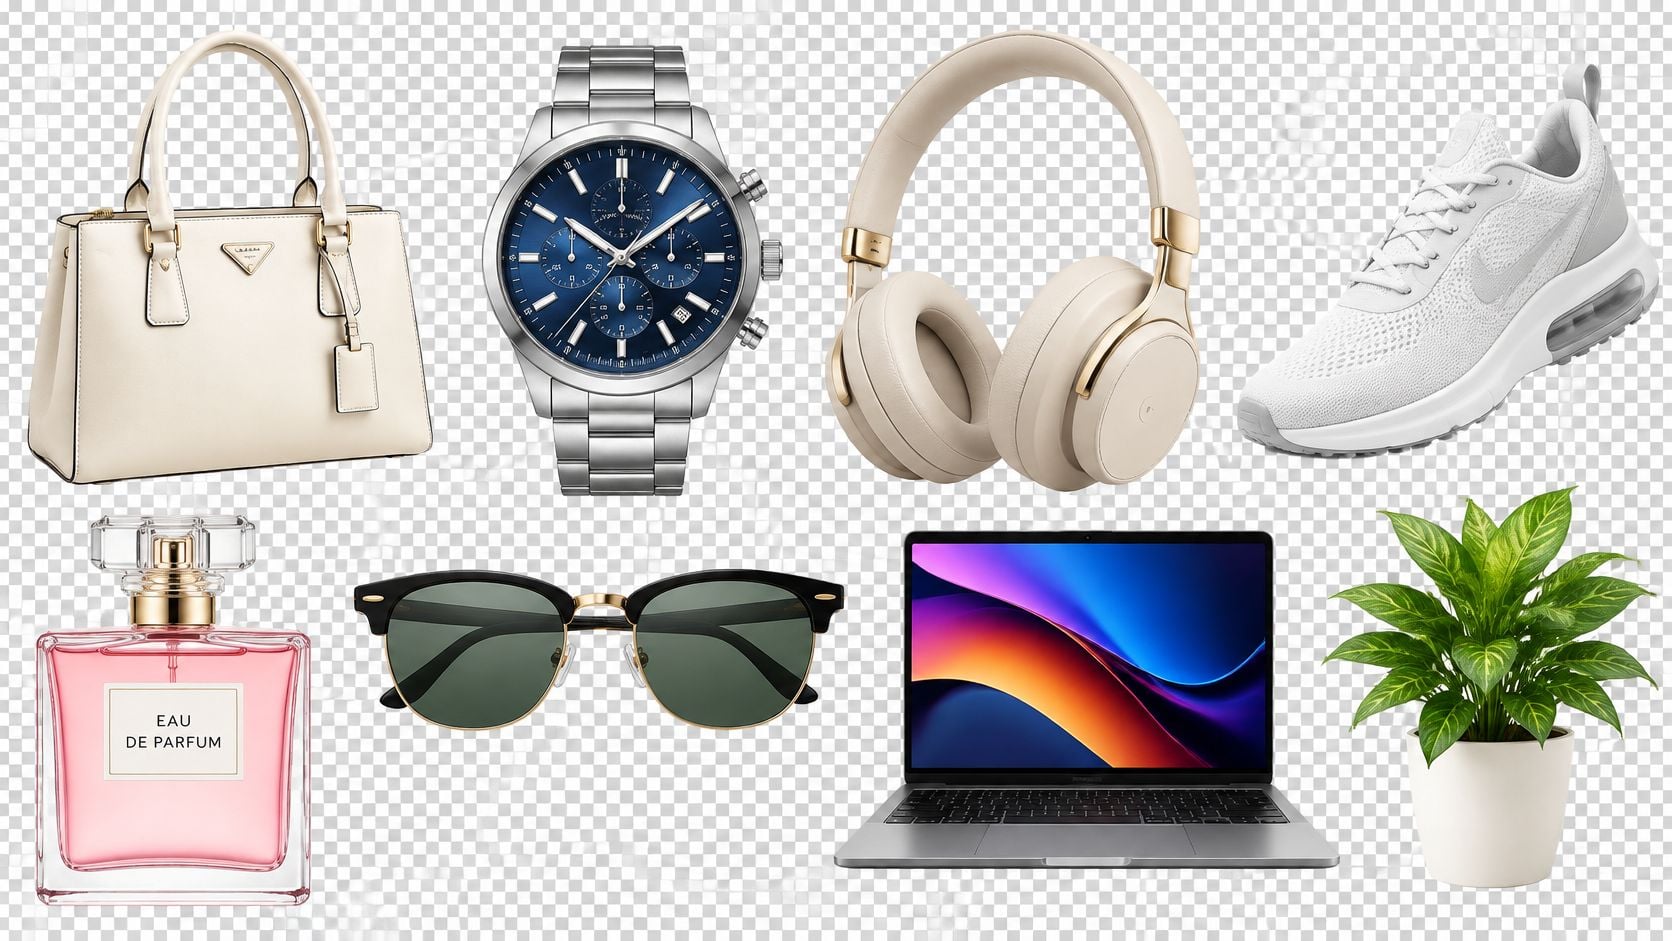
Before using the image, check that the product's outline is distinct and its lighting is even. After generating the clip, review whether the product remains clear against the background. The guide to adding backgrounds to videos explains the practical considerations for background changes.
Worked example. Start with a ceramic mug photographed on a plain background. Create one version with a kitchen setting and another with a plain studio setting. Keep the mug's shape, glaze colour and base label consistent, then compare how each setting presents the same product.
A background variant should help the listing answer a specific buyer question, such as how the mug's finish looks in context. The Critelli Furniture guide for Ontario shoppers discusses what buyers may look for in product photos. Place the clip near the image gallery, alongside a still that shows the product clearly.
Treat a generated background as a styled setting, not a real customer's home. Keep the listing's product details grounded in the actual item.
Testing Variants and Diagnosing Weak Results
Build variants that change one variable at a time: the opening demonstration, the benefit emphasis, the background, or the pacing. Keep the product identity and the offer constant, so a difference in results points to the thing you changed and not to a new price or a new hero shot.
Platform benchmarks are directional baselines, not targets. Compare creatives within the same placement, audience, objective and attribution window, and keep paid impressions separate from qualified product-page visitors. Where the platform allows it, run the comparison as a randomized creative test.
Diagnose in funnel order. Completion tells you whether the opening holds attention. Click-through tells you whether the viewer has a reason to act. Add-to-cart tells you whether the page and the offer close the sale.
Funnel symptoms, likely causes and next fixes
| Symptom | Likely cause | Next fix to test |
|---|---|---|
| Viewers leave in the first seconds | Slow or unclear opening | Open on the product in use and state the benefit early |
| Strong completion, low click-through | Weak reason to act | Add a clearer benefit and a direct call to action |
| Strong click-through, weak add-to-cart | Product page or offer problem | Keep the video, check the product page and offer |
| Product hard to identify in any version | Cropped or unclear framing | Re-frame for each ratio and review packaging and branding |
Don't call a winner from a handful of views or a single day of data, and don't assume a result on one placement transfers to another. A creative that wins in a full-screen mobile feed can lose badly on a product page, because the audience and the intent aren't the same.
Disclosure and Checks Before You Publish
The assumption worth challenging is that disclosure belongs in the caption. It doesn't. If a video contains an endorsement or a creator-style recommendation, the commercial relationship has to be disclosed clearly and conspicuously, and the FTC's endorsement guides state that the rule applies regardless of review format or placement. For an endorsement delivered in a video, the disclosure should sit in the video itself, preferably both visually and audibly, rather than only in the description.
That means saying it out loud and showing it on screen, and leaving it up long enough to be noticed. Burying it in a hashtag block, using a vague label, or dressing paid creator content as an independent customer experience all fail the same test.
Pre-publish checks
- Product identifiable in every ratio, not just the one you previewed.
- Branding readable at the size the video will run.
- Disclosure visible long enough to register and spoken where the format allows.
- Claims matching the product, with no invented benefits added during editing.
- On-screen text readable without sound, since plenty of viewers watch muted.
Nim can produce the product or UGC-style visual when the chosen template supports that task, but the advertiser stays responsible for disclosing sponsorships, affiliate relationships and gifted products. Captions and alt text are post-production tasks handled outside Nim unless a specific template confirms otherwise.
Feed-based campaigns have their own rules. Google's requirements for video campaigns using product feeds specify that the Merchant Center feed must contain at least four products, with more than four recommended, that each advertised product needs an image with an aspect ratio between 0.6 and 1.4, that only the primary image is used, and that every ad needs a call to action. Confirm these against current documentation, because they decide which product visual you prepare.
Start Your First Ecommerce Video Test
Choose one product and one placement, such as a product page, a mobile short, or a creator-style ad. The placement determines which format to test; the template determines what input to prepare.
- Set the goal and placement the video will run in.
- Choose a matching template from the first table.
- Check the template form and prepare the input it requests, using the relevant guidance from the demo or UGC sections.
- Generate a small set of variants, changing one variable at a time when the template allows it.
Diagnose results by symptom: if viewers leave early, review the opening; if they watch but do not click, check whether the product and offer are clear. Change one element in the next variant so you can assess its effect.
Nim is an app for AI video production, with styles and creation categories including UGC, Keyframes, Motion transfer, Animations, Cinematic, Timelapse, Celebrity selfie and Fashion videos. Disclosure, feed setup and post-production remain your responsibility.
Open the Nim video creation platform and select a format suited to your first placement. Confirm the input requested by that template before preparing your source material. Treat each video as a placement-specific test, not a universal hero asset.
- ecommerce video marketing
- product video
- UGC ads
- Nim templates
- video ad creatives